To launch a print-on-demand store with Printcart, pick a selling model, build a custom product catalog, configure the online product designer and print options, connect a fulfillment or printing partner, then run launch QA before going live. Most teams reach a sellable storefront in a focused week when catalog data and artwork are ready.
Key takeaways
What do you need before you launch a print-on-demand store?
A print-on-demand store lets customers buy custom products that are printed only after they order, so you never hold inventory. Before launch you need four things: a product list with print areas and variants, brand and template assets, a fulfillment path, and a storefront the customer actually buys from. Printcart provides the product designer, catalog, and print-options layer that turn those inputs into a working store.
You do not need a finished brand or a large budget to start. You do need clarity on what you sell, how it is priced, and who prints it. The steps below assume you are starting from a product idea, not from a live store.
How do you launch a print-on-demand store with Printcart, step by step?
Launching breaks into five stages. Each stage produces something the next stage depends on, so run them in order rather than in parallel.
Step 1Choose your selling model
Decide where customers will buy. Printcart supports two common paths: a Printcart-powered storefront, or the Printcart product designer and print options added to a platform you already use, such as Shopify, WooCommerce, or Wix. If you already have a store and traffic, add Printcart to it. If you are starting fresh, a dedicated Printcart storefront removes platform overhead. You can review the platform-specific options on the Printcart apps page.
Step 2Build your product catalog
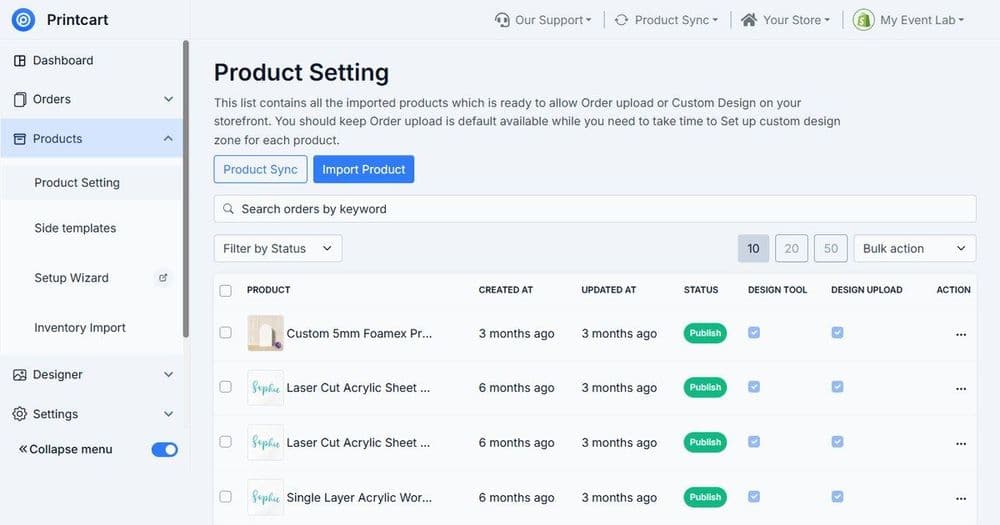
Create the products you will sell with real variants (size, color, material) and correct print areas. A clean catalog is the foundation of everything downstream: pricing, the designer, and fulfillment all read from it. If your catalog is complex, follow the companion guide on building a custom product catalog before moving on.
Step 3Set up the online product designer and print options
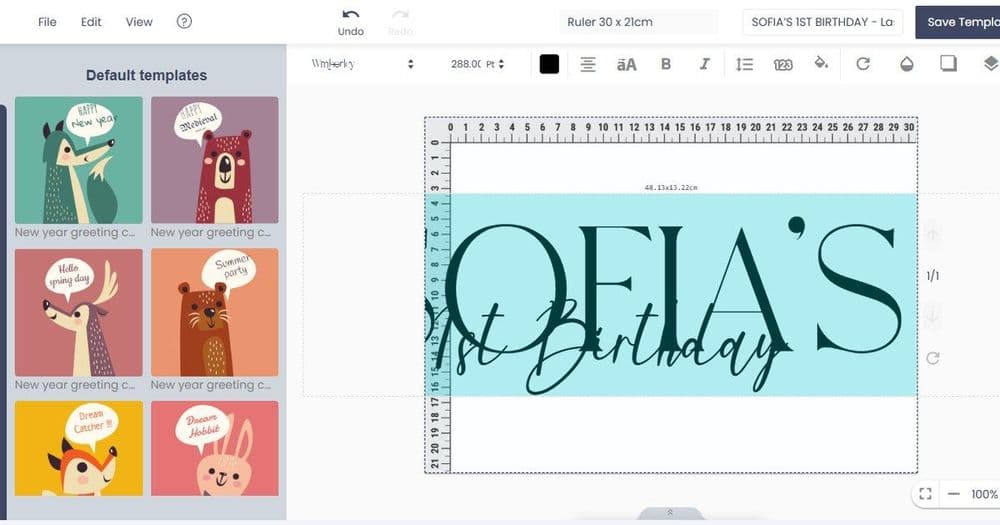
Configure the product designer so customers can personalize products with text, images, and templates inside safe print areas, and set your print product options and pricing rules. This is where a POD store becomes genuinely sellable rather than a static listing. Use real templates from your template library so the customer preview matches production output.
Step 4Connect fulfillment
Route orders to a printing partner or your own production. Confirm turnaround times, shipping zones, and how print-ready files are handed off. Test one real order end to end before you announce anything.
Step 5Run launch QA
Place test orders across your top products and variants, check the customer preview against the produced file, confirm pricing after all costs, and verify order and shipping notifications. Only then open the store.
Which launch model fits your situation?
Use this comparison to choose between a dedicated Printcart storefront and adding Printcart to an existing platform.
| Factor | Dedicated Printcart storefront | Printcart on your existing platform |
|---|---|---|
| Best for | New sellers, print shops going online | Stores with existing traffic and checkout |
| Setup effort | Catalog + designer + fulfillment only | App install plus your platform's product sync |
| Customer experience | Built around personalization from day one | Adds a designer to a familiar store |
| Where you sell | Printcart-powered store | Shopify, WooCommerce, Wix, and more |
How long does it take to launch?
A focused team with product data and artwork ready can reach a sellable store in about a week: a day or two for the catalog, a day or two for the designer and print options, a day to connect fulfillment, and a day for QA. Complex catalogs, many variants, or custom platform integrations extend this. Treat the first month as a controlled pilot and expand only after quality and timing are proven.
Common launch mistakes to avoid
- Skipping print areas. A design that looks right on screen can print off-center without correct print-area setup.
- Pricing before costs are known. Add printing, platform, payment, shipping, and return costs before setting a price, not after orders arrive.
- Launching without a test order. One real end-to-end order surfaces most fulfillment problems.
- Too many products at once. Launch a tight catalog you can fulfill reliably, then expand.
Next best step
Once your store is live, protect your margin from the start with the guide on calculating print-on-demand profit margins. If you want setup handled for you, Printcart offers a POD store launch and setup service that configures catalog, product designer, print options, and fulfillment workflow with launch QA. For the concept behind on-demand custom production, see the web-to-print solution guide.
Ready to launch? Create a free Printcart account to build your catalog and product designer, or talk to the Printcart team for a guided launch.
Printcart field note
What to verify before you roll out How to Launch a Print-on-Demand Store with Printcart
This tutorial is written from Printcart implementation patterns across catalog structure, design controls, and customer personalization. Before treating it as complete, test the workflow with one real product, one real design file, and one real order path.
How to Launch a Print-on-Demand Store with Printcart — common questions
What do you need before you launch a print-on-demand store?
A print-on-demand store lets customers buy custom products that are printed only after they order, so you never hold inventory. Before launch you need four things: a product list with print areas and variants, brand and template assets, a fulfillment path, and a storefront the customer actually buys from. Printcart provides the product designer, catalog, and print-options layer that turn those inputs into a working...
How do you launch a print-on-demand store with Printcart, step by step?
Launching breaks into five stages. Each stage produces something the next stage depends on, so run them in order rather than in parallel.
Which launch model fits your situation?
Use this comparison to choose between a dedicated Printcart storefront and adding Printcart to an existing platform.
How long does it take to launch?
A focused team with product data and artwork ready can reach a sellable store in about a week: a day or two for the catalog, a day or two for the designer and print options, a day to connect fulfillment, and a day for QA. Complex catalogs, many variants, or custom platform integrations extend this. Treat the first month as a controlled pilot and expand only after quality and timing are proven.
Next steps in Printcart
Connect how to launch a print-on-demand store with printcart with catalog setup, templates, production workflows, and implementation support.
Want to put how to launch a print-on-demand store with printcart into practice?
Use the related Printcart tool below, or create a free account to start building with the product designer.