A print-ready file needs at least 300 DPI at final size, 3 mm of bleed, print color settings (CMYK for most presses), and outlined or embedded fonts so nothing shifts in production. Check resolution, bleed, safe margins, color, and fonts before you send a file, because these five issues cause most reprints in print-on-demand and custom print.
Key takeaways
What makes a file "print-ready"?
Print-ready means the file will reproduce on a press without manual fixes: sharp at final size, with room to trim, correct colors, and text that will not reflow. Screen files often look fine but fail in print because screens are low-resolution and use different color. Getting these basics right prevents blurry output, white edges, wrong colors, and missing fonts.
These rules apply whether a customer uploads artwork, a designer creates it, or a template generates it. The goal is the same: catch problems before production, not after.
What are the safe values for each requirement?
| Requirement | Safe value | What goes wrong if ignored |
|---|---|---|
| Resolution | 300 DPI at final print size | Blurry, pixelated print |
| Bleed | 3 mm beyond the trim edge | White slivers after trimming |
| Safe margin | Keep key content 3-5 mm inside trim | Text or logos cut off |
| Color | CMYK for most presses (check provider) | Colors shift from screen |
| Fonts | Outlined or embedded | Text reflows / substitutes |
| File format | Print PDF (or provider spec) | Rejected or re-rendered file |
How do you check a file before production?
Step 1Check resolution at final size
A file's true resolution depends on its print size. A 1000×1000 px image is sharp on a small label but soft on a large poster. Confirm DPI at the actual output dimensions, not just the pixel count.
Step 2Confirm bleed and safe area
Extend background art to the bleed edge and keep important content inside the safe margin. This survives the small variation in where the press trims.
Step 3Verify color and fonts
Use print color settings so what you approve is close to what prints, and outline or embed fonts so no text substitutes on another machine.
Step 4Run a preflight check
Before production, run a preflight to flag resolution, bleed, color, and font issues automatically. Printcart's AI-assisted preflight can flag many of these risks — use the free print file preflight tool to check a file, and note that a human or production review is still recommended for critical jobs.
What if a customer uploads a low-resolution file?
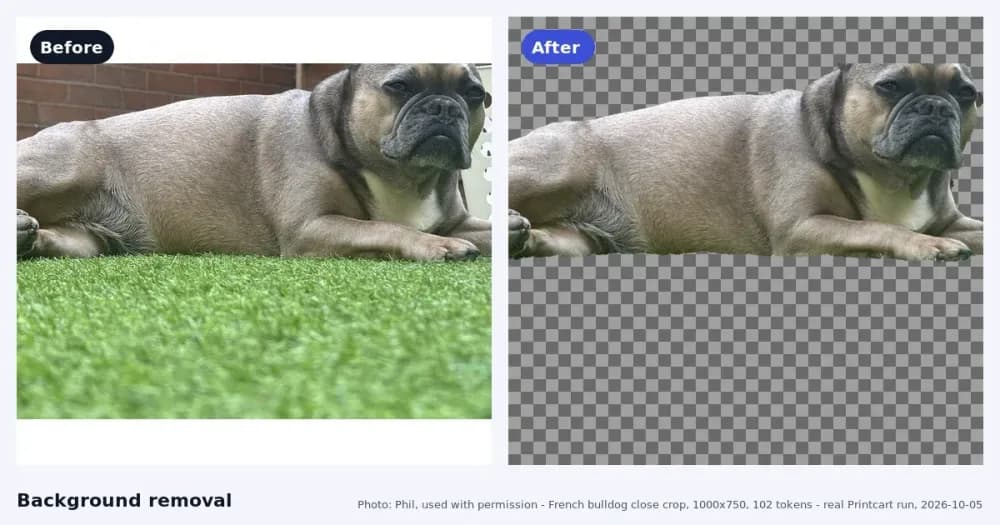
Low-resolution uploads are the most common cause of poor print quality in print-on-demand. Set minimum requirements on upload, warn the customer before checkout, and where the source allows, improve it with an AI-assisted upscale before production — see the image upscale tool. AI upscaling helps, but it cannot rescue a very poor source, so still review the result before printing.
How does Printcart help produce print-ready files?
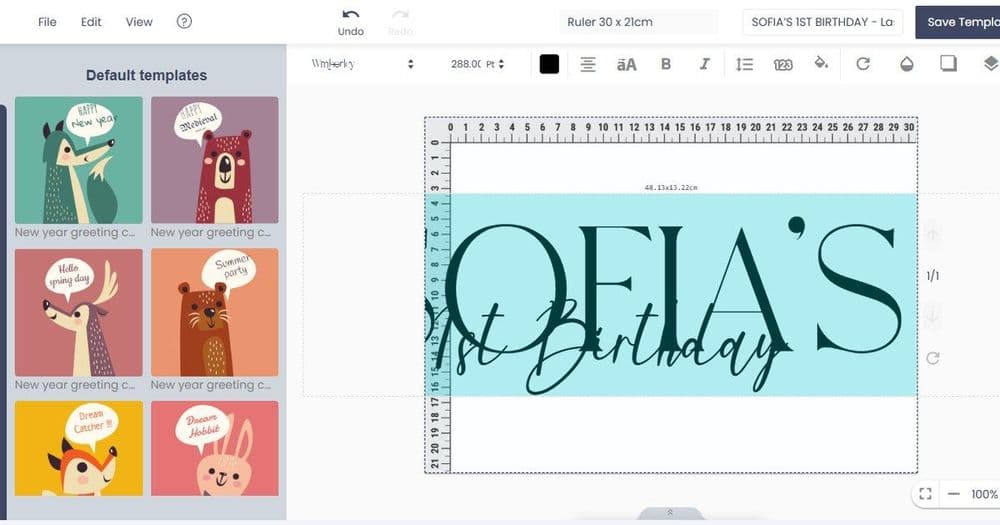
Printcart's product designer generates print-ready output from templates, and its AI-assisted preflight and upscale tools flag and improve file issues before production, reducing reprints for POD sellers and print shops. For a full setup, see the AI print file preflight setup service and the related guide on optimizing design resolution.
Print-ready file checklist
- 300 DPI at final print size
- 3 mm bleed on all edges
- Key content inside the safe margin
- Print color settings (CMYK unless provider says otherwise)
- Fonts outlined or embedded; export as a print PDF
- Preflight check run before production
Want to catch file problems before they print? Try the free print preflight tool, or create a free Printcart account to build print-ready templates and talk to the Printcart team.
Printcart field note
What to verify before you roll out Preparing Print-Ready Files: DPI, Bleed, Color, and Fonts
This tutorial is written from Printcart implementation patterns across file quality, proofing, and production risk. Before treating it as complete, test the workflow with one real product, one real design file, and one real order path.
Preparing Print-Ready Files: DPI, Bleed, Color, and Fonts — common questions
What makes a file "print-ready"?
Print-ready means the file will reproduce on a press without manual fixes: sharp at final size, with room to trim, correct colors, and text that will not reflow. Screen files often look fine but fail in print because screens are low-resolution and use different color. Getting these basics right prevents blurry output, white edges, wrong colors, and missing fonts.
What if a customer uploads a low-resolution file?
Low-resolution uploads are the most common cause of poor print quality in print-on-demand. Set minimum requirements on upload, warn the customer before checkout, and where the source allows, improve it with an AI-assisted upscale before production — see the image upscale tool . AI upscaling helps, but it cannot rescue a very poor source, so still review the result before printing.
How does Printcart help produce print-ready files?
Printcart's product designer generates print-ready output from templates, and its AI-assisted preflight and upscale tools flag and improve file issues before production, reducing reprints for POD sellers and print shops. For a full setup, see the AI print file preflight setup service and the related guide on optimizing design resolution .
Next steps in Printcart
Connect preparing print-ready files: dpi, bleed, color, and fonts with catalog setup, templates, production workflows, and implementation support.
Want to put preparing print-ready files: dpi, bleed, color, and fonts into practice?
Use the related Printcart tool below, or create a free account to start building with the product designer.