With Printcart Canvas the buyer presses Design your canvas , uploads a photo, picks a size, frame depth, edge style, image colour and extras, sees an image-quality rating and a rendered 3D edge preview, then presses Process . The product page shows the saved design next to Add to cart , and the same thumbnail and choices follow the order through cart,...
Key takeaways
What do you need before you start?
- A canvas product that is Ready, or simply the live demo store: you can follow every step there as a buyer.
The screenshots come from a demonstration WooCommerce store running Printcart Canvas 4.5.9 with the UK Standard Canvas template. Store credentials and internal identifiers are masked. Want to see it first? Open the live demo store and press Design your canvas.
What does a buyer do, step by step?
Step 1Open the product page
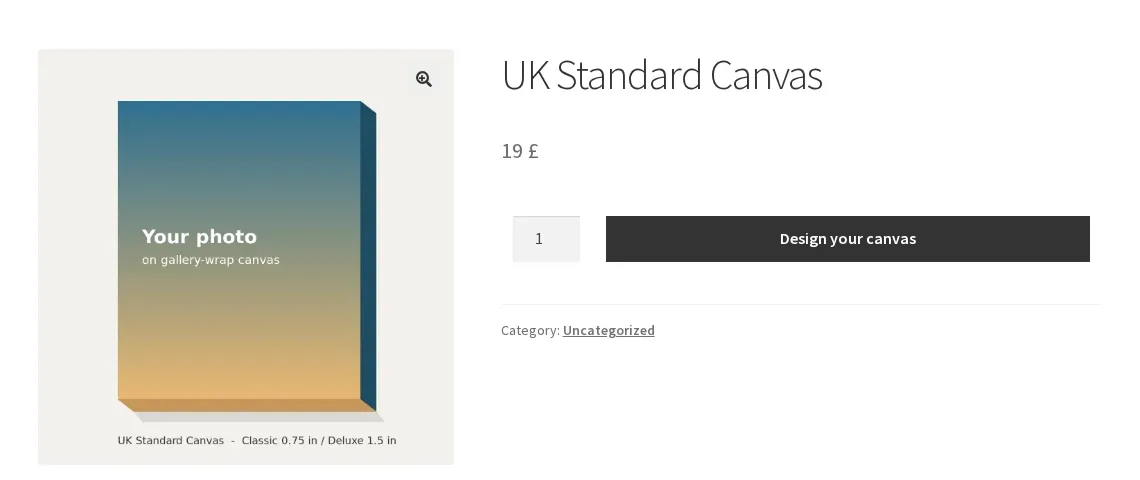
The product page shows the price and Design your canvas next to the quantity. The normal Add to cart button stays hidden until the buyer has saved a design.
Expected result: The buyer starts designing in one click.
Step 2Upload a photo
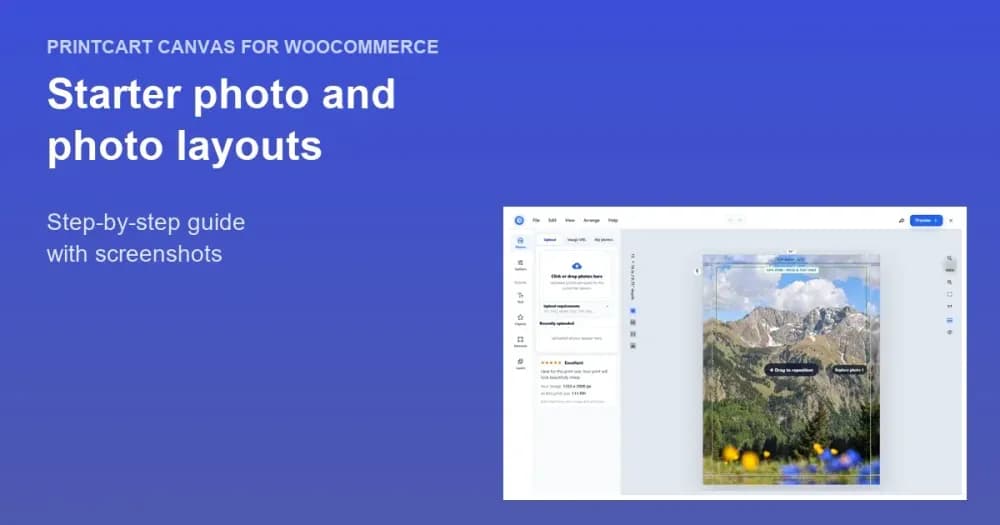
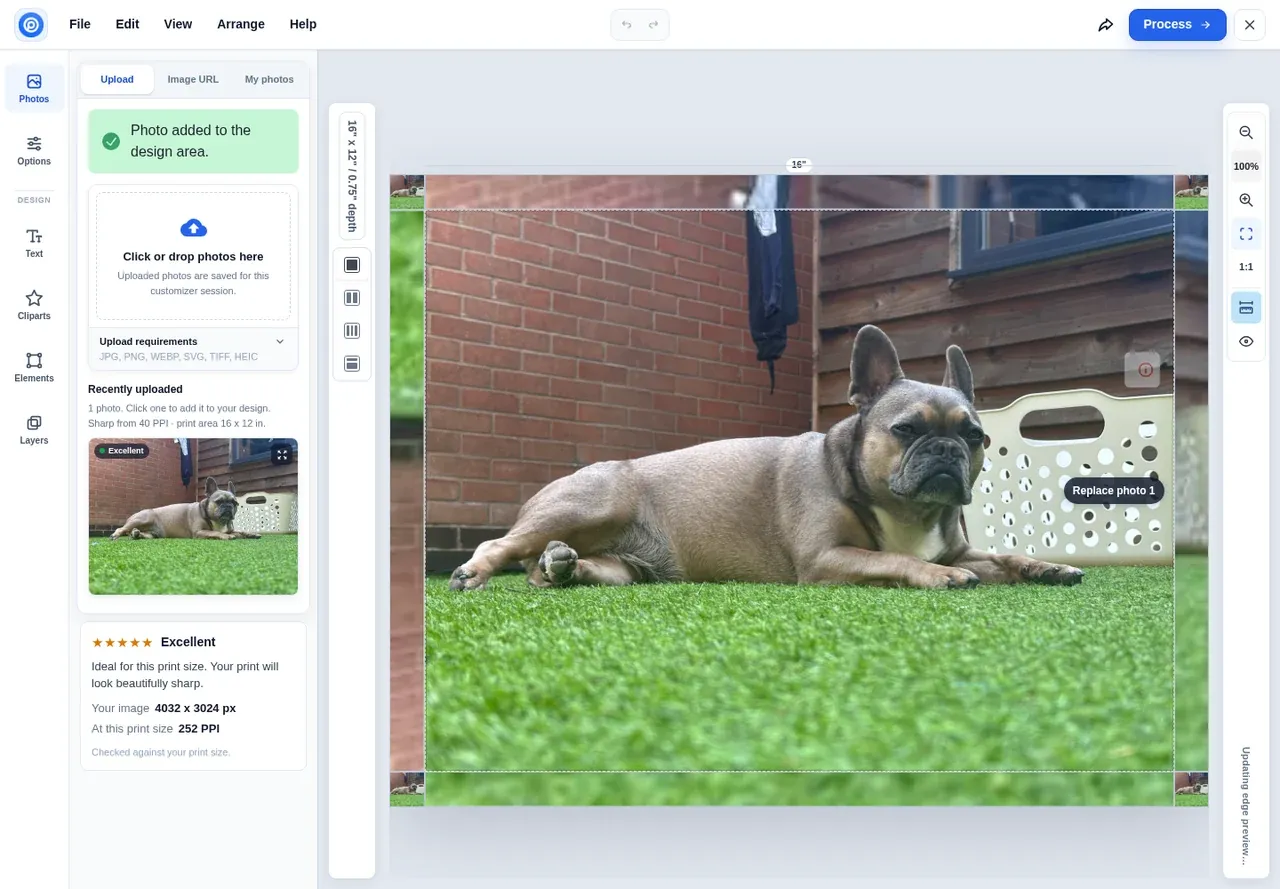
In Photos > Upload the buyer clicks or drops a photo (JPG, PNG, WEBP, SVG, TIFF or HEIC), pastes an image URL or reuses one from My photos. The photo fills the face and continues onto the wrap bands.
Expected result: The photo is placed and the quality card rates it.
Step 3Position and zoom
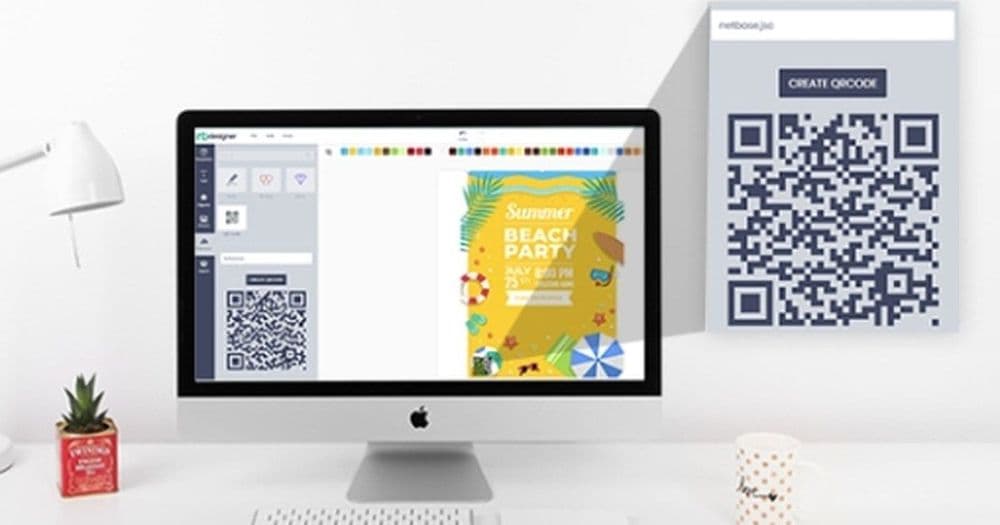
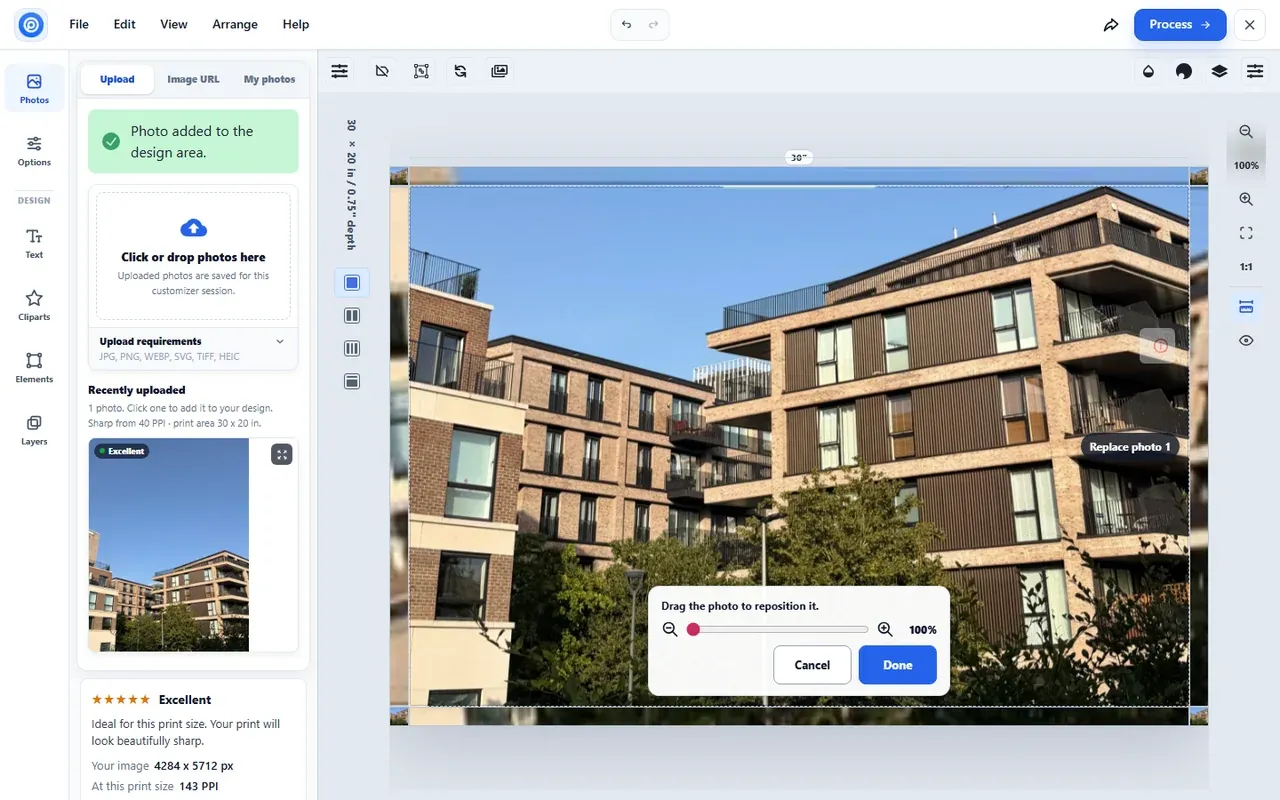
The buyer drags the photo to reposition it (portraits are placed so that heads stay in the frame), uses the zoom slider, switches between Fit and Fill, rotates by 90° or presses Replace photo. Text, cliparts, icons, shapes and QR codes can be added on top, and text prints in the font the buyer chose.
Expected result: The framing is exactly what the buyer wants.
Step 4Choose the size
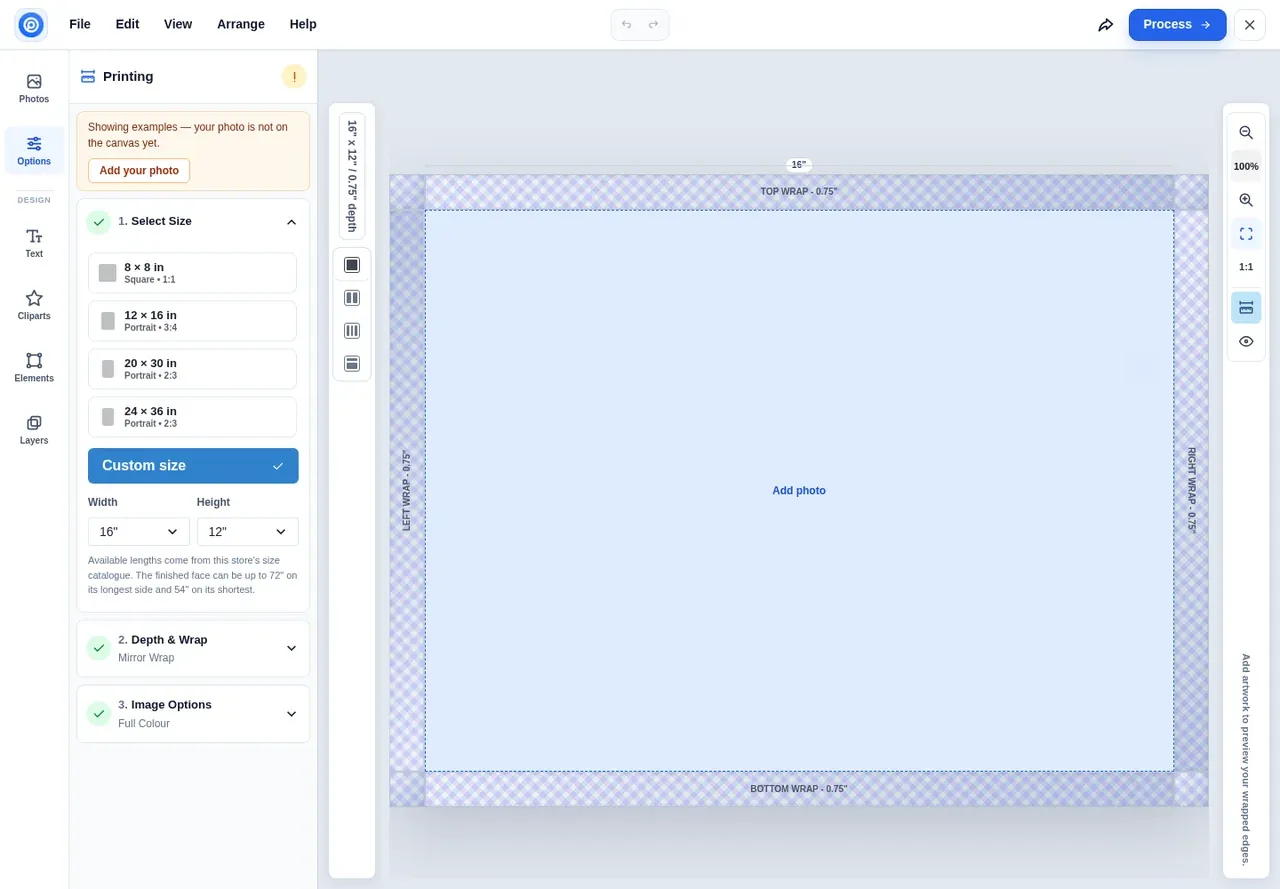
In Options > Printing > Select Size the buyer picks a listed size or a custom size from the allowed lengths. The note under the lists states the largest finished face.
Expected result: The canvas redraws at the new size and the price updates.
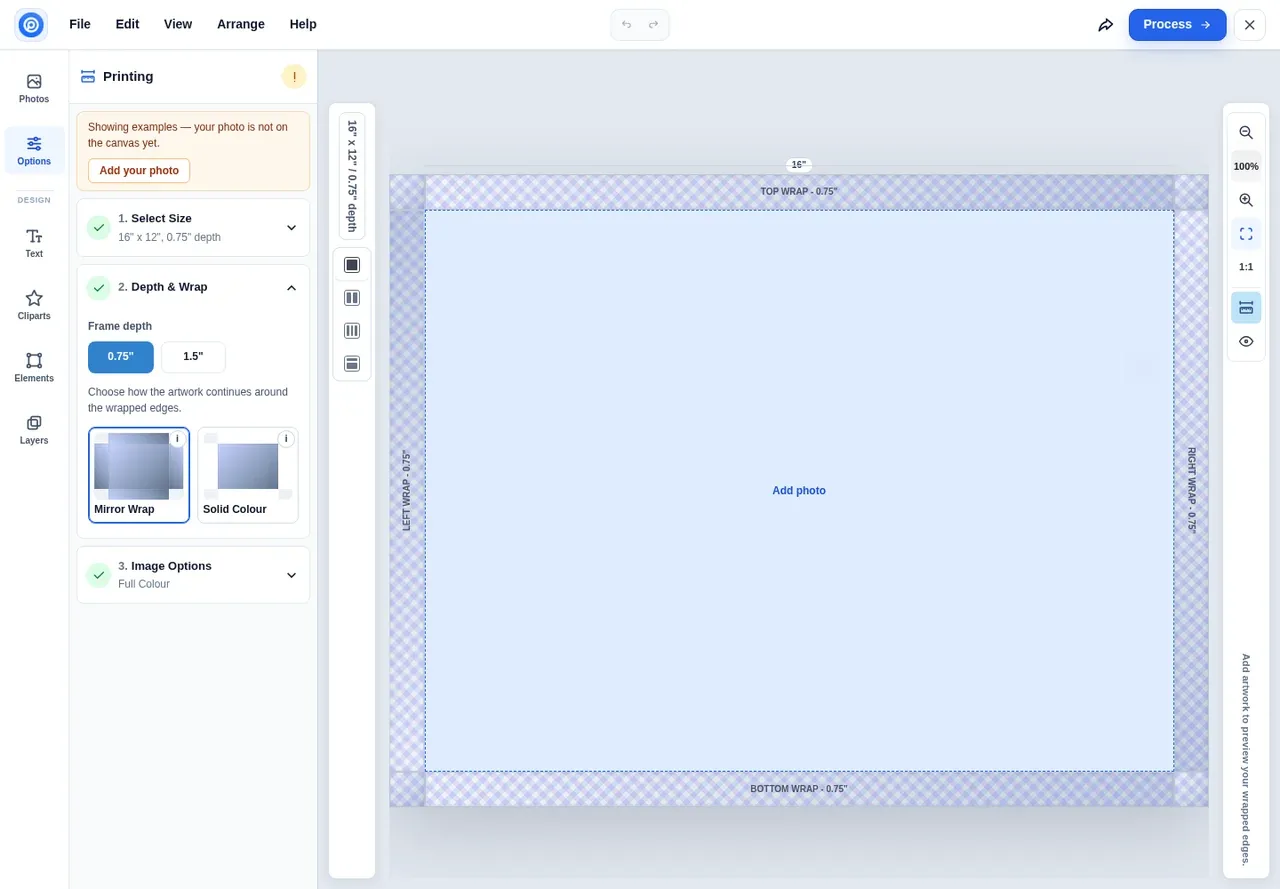
Step 5Choose depth, edge, colour and extras
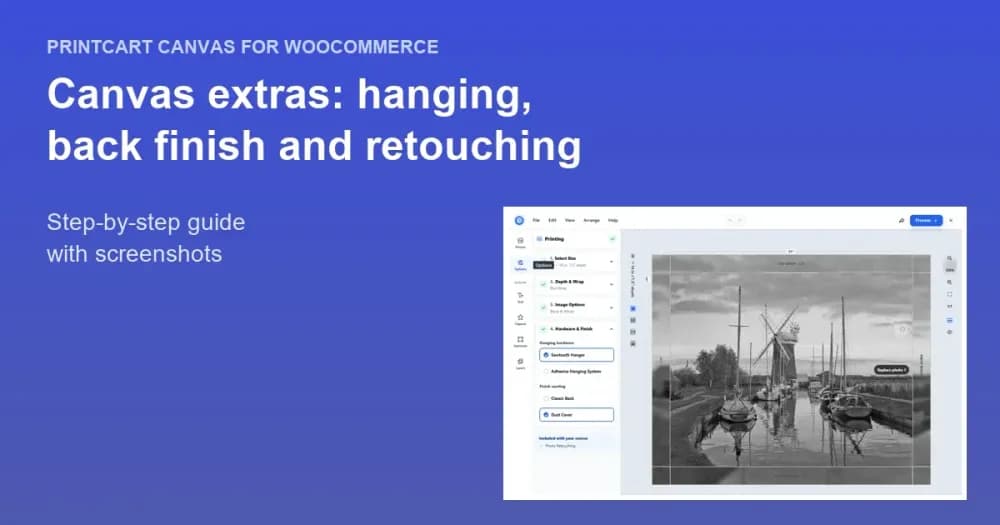
The buyer picks the frame depth and edge style, the image colour and the hanging and back finish, as explained in the edge style and extras tutorials.
Expected result: Every choice is shown live on the canvas.
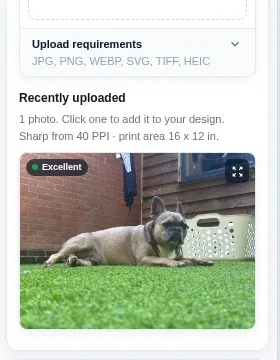
Step 6Check image quality
The quality card shows a star rating, the photo's pixel size and its PPI at the chosen size, for example "Excellent – 252 PPI". It is recalculated whenever the size, crop or zoom changes, and again at Add to cart. With the default settings a low-resolution photo only warns the buyer.
Expected result: The buyer knows the print will be sharp before ordering.
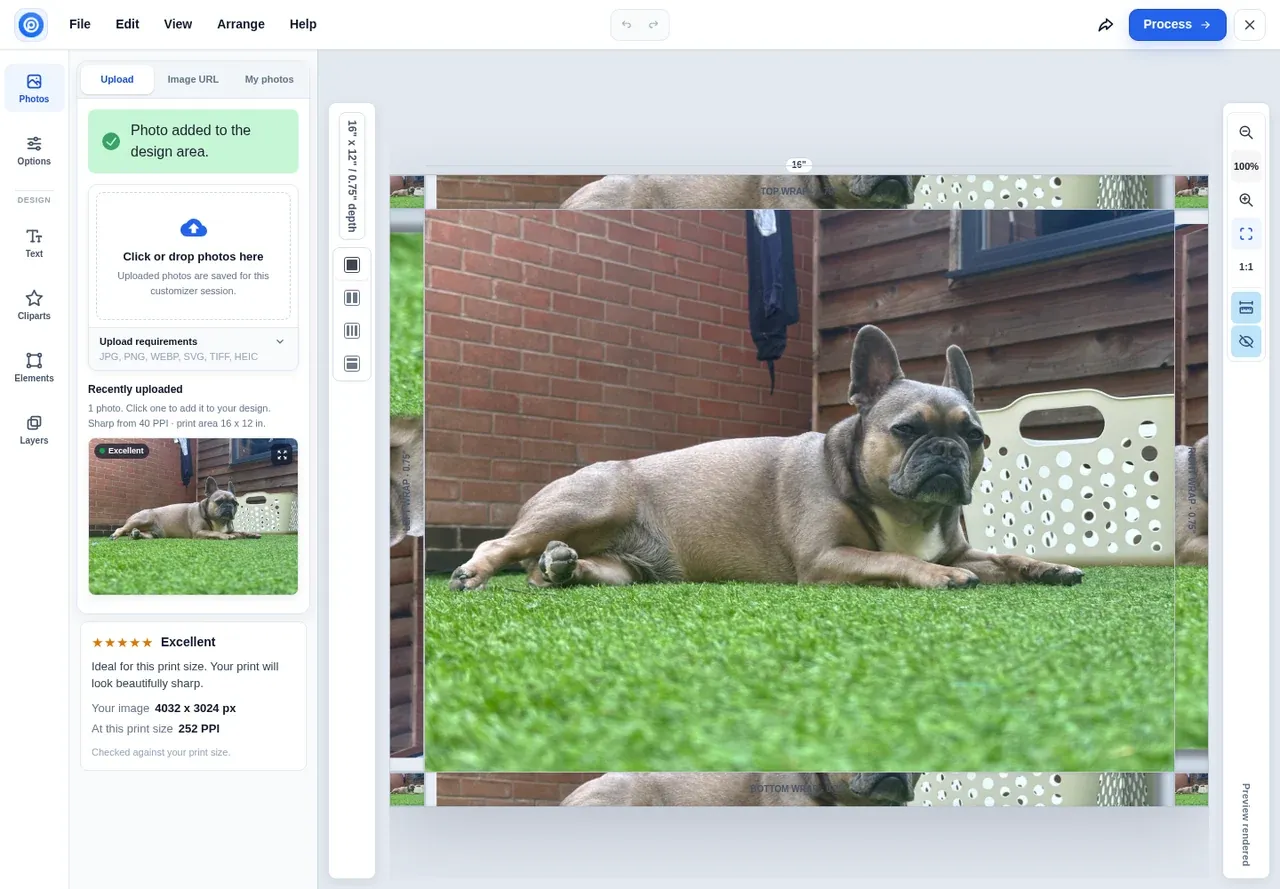
Step 7See the rendered 3D preview
After each change the designer reads "Updating edge preview…", then "Preview rendered". The eye button hides every guide so the buyer sees the finished canvas.
Expected result: A realistic image of the finished canvas, sides included.
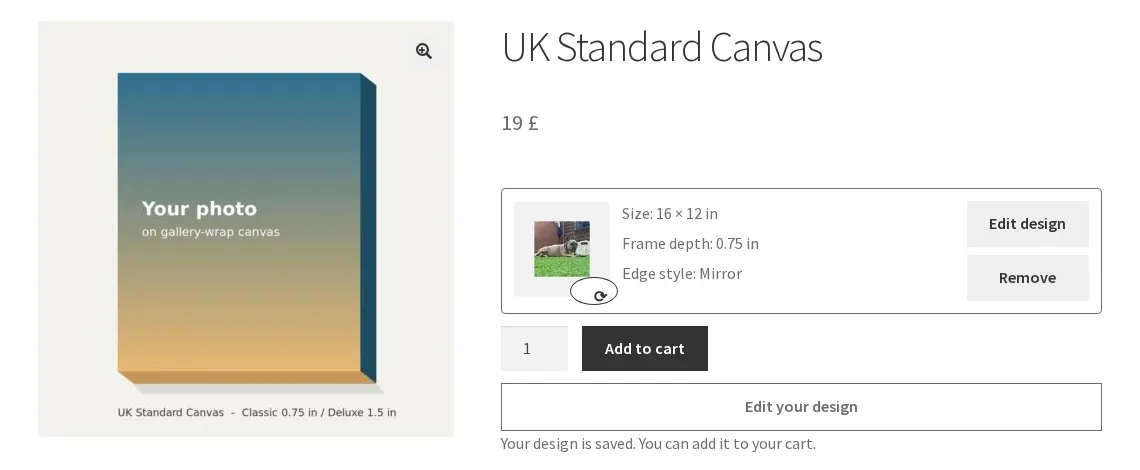
Step 8Finish and add to cart
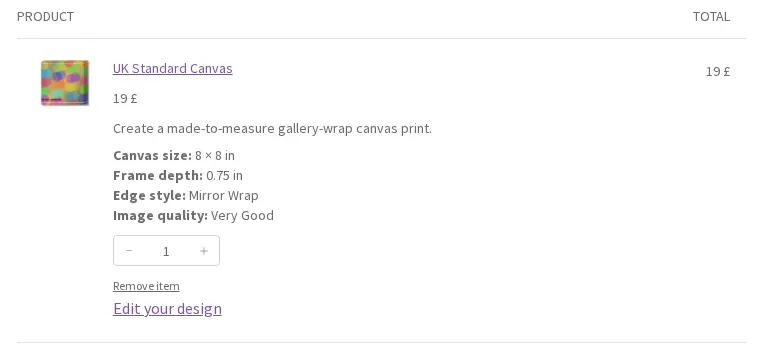
Pressing Process saves the design and closes the designer. The product page shows the design thumbnail with its size, frame depth and edge style, next to Add to cart and Edit your design.
Expected result: The canvas is ready to add to the cart.
Step 9Cart, checkout and edit from the cart
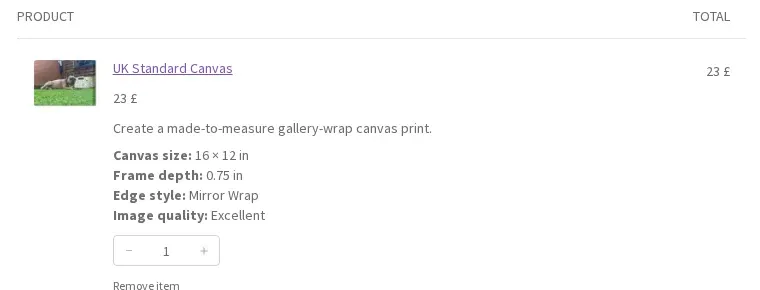
The cart line shows the design thumbnail and every choice, priced by Printcart for that selection. Until the order is placed, Edit your design reopens the same design, in both the classic and the block cart; if the size changes, the line is re-priced automatically. Once the order is placed the design is locked, so the print file always matches what was bought.
Expected result: Checkout, the order confirmation and the e-mails repeat the same rows.
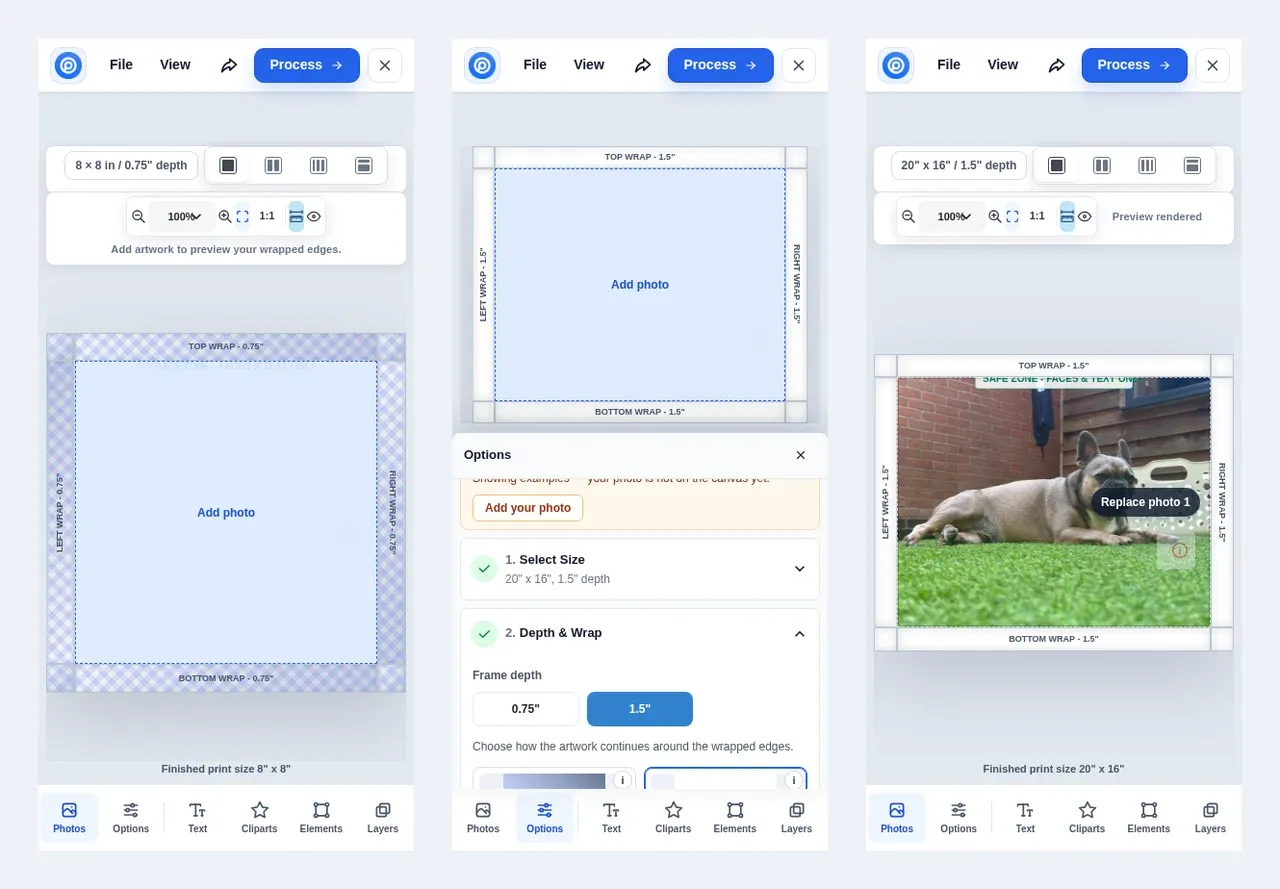
On a phone
The same journey at phone width: the designer opening, a Deluxe canvas with a white solid edge, and the rendered preview.
Does it work on phones?
Yes. At phone width the tools move to a tab bar at the bottom (Photos, Options, Text, Cliparts, Elements, Layers) and each panel opens as a sheet from the bottom of the screen. The same steps work end to end.
What if the buyer's photo is too small?
The quality card says Caution and shows the low PPI. The buyer can pick a smaller size or a better photo. Under PC Canvas > DPI Profiles you decide whether a poor photo only warns, needs a tick, or is blocked.
Why can't the buyer add the canvas to the cart?
With the Artwork switch on, a canvas line needs a saved design. The buyer must press Process in the designer first.
Try Printcart Canvas
Printcart Canvas is free on WordPress.org, from Printcart, the web-to-print platform used by 2000+ stores. Download Printcart Canvas from WordPress.org, or try the live demo as a buyer.
What should you do next?
- Download print-ready PDFs and manage canvas orders
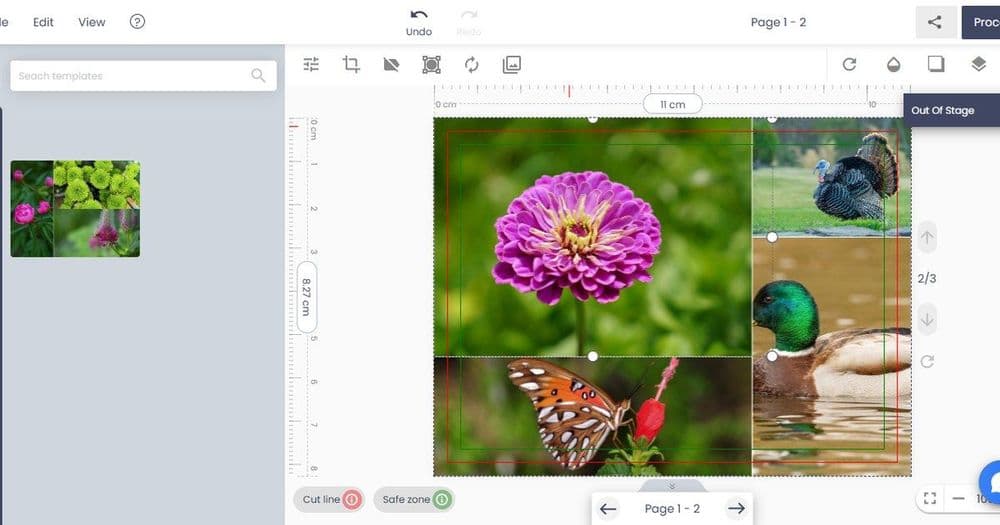
- Use a starter photo and photo layouts
- Browse all Printcart tutorials
Stuck on a step? Email [email protected] with a screenshot of the screen you are on, or a support bundle from PC Canvas > Diagnostics; it contains no credentials.
Printcart field note
What to verify before you roll out The Canvas Print Buyer Journey: From Design to Checkout
This tutorial is written from Printcart implementation patterns across catalog structure, design controls, and customer personalization. Before treating it as complete, test the workflow with one real product, one real design file, and one real order path.
The Canvas Print Buyer Journey: From Design to Checkout — common questions
What do you need before you start?
The screenshots come from a demonstration WooCommerce store running Printcart Canvas 4.5.9 with the UK Standard Canvas template. Store credentials and internal identifiers are masked. Want to see it first? Open the live demo store and press Design your canvas .
Does it work on phones?
Yes. At phone width the tools move to a tab bar at the bottom (Photos, Options, Text, Cliparts, Elements, Layers) and each panel opens as a sheet from the bottom of the screen. The same steps work end to end.
What if the buyer's photo is too small?
The quality card says Caution and shows the low PPI. The buyer can pick a smaller size or a better photo. Under PC Canvas > DPI Profiles you decide whether a poor photo only warns, needs a tick, or is blocked.
Why can't the buyer add the canvas to the cart?
With the Artwork switch on, a canvas line needs a saved design. The buyer must press Process in the designer first.
Next steps in Printcart
Connect the canvas print buyer journey: from design to checkout with catalog setup, templates, production workflows, and implementation support.
Want to put the canvas print buyer journey: from design to checkout into practice?
Use the related Printcart tool below, or create a free account to start building with the product designer.