Printcart Canvas lets you offer optional extras with every canvas: Photo Retouching, hanging hardware (Sawtooth Hanger or Adhesive Hanging System) and a back finish (Classic Back or Dust Cover). Each price comes from the product's pricing template and is added to the line total. The choices are listed on the cart, checkout, order confirmation, e-mails and...
Key takeaways
What do you need before you start?
- Printcart Canvas installed and connected (see Install Printcart Canvas and connect your store).
- A canvas product whose Printcart printing option includes the extras. The UK Standard Canvas template (version 2) includes them.
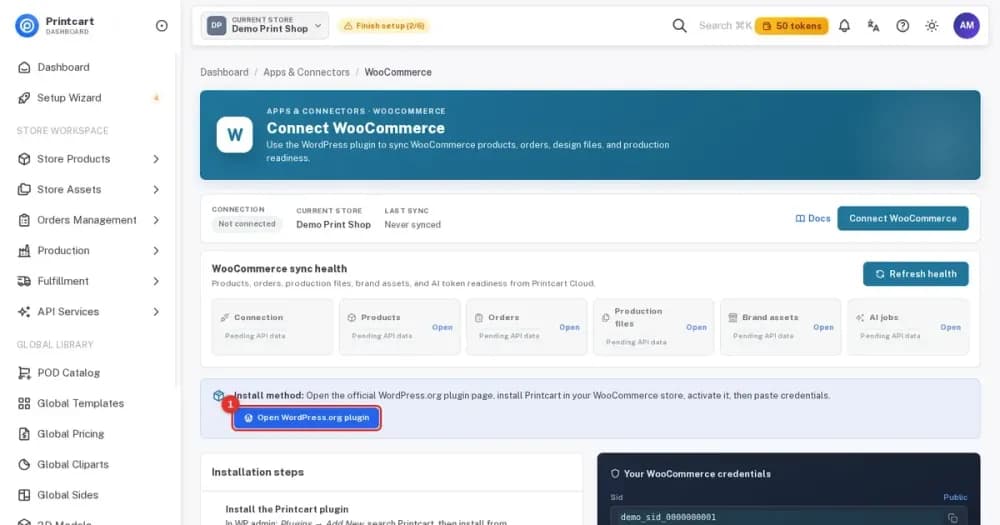
The screenshots come from a demonstration WooCommerce store running Printcart Canvas 4.5.9 with the UK Standard Canvas template. Store credentials and internal identifiers are masked. Want to see it first? Open the live demo store and press Design your canvas.
How do you offer and fulfil canvas extras?
Step 1Price the extras
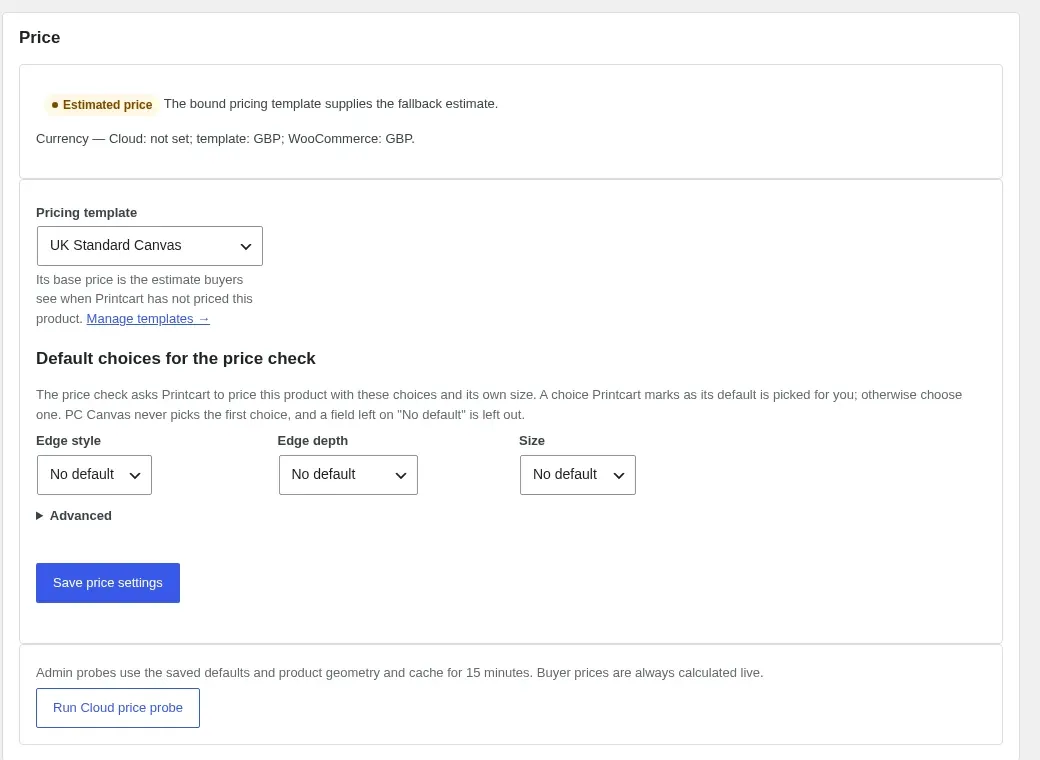
Set the price of each extra in the product's pricing template, for example a charge for the Dust Cover and nothing for the Classic Back. Prices are shown with two decimals, so an extra such as £7.99 is never rounded. In Product Setup > Link to Printcart, map the hanging, back finish and add-on families and press Save Mapping.
Expected result: The extras appear in the designer for that product.
Step 2Buyers pick their extras
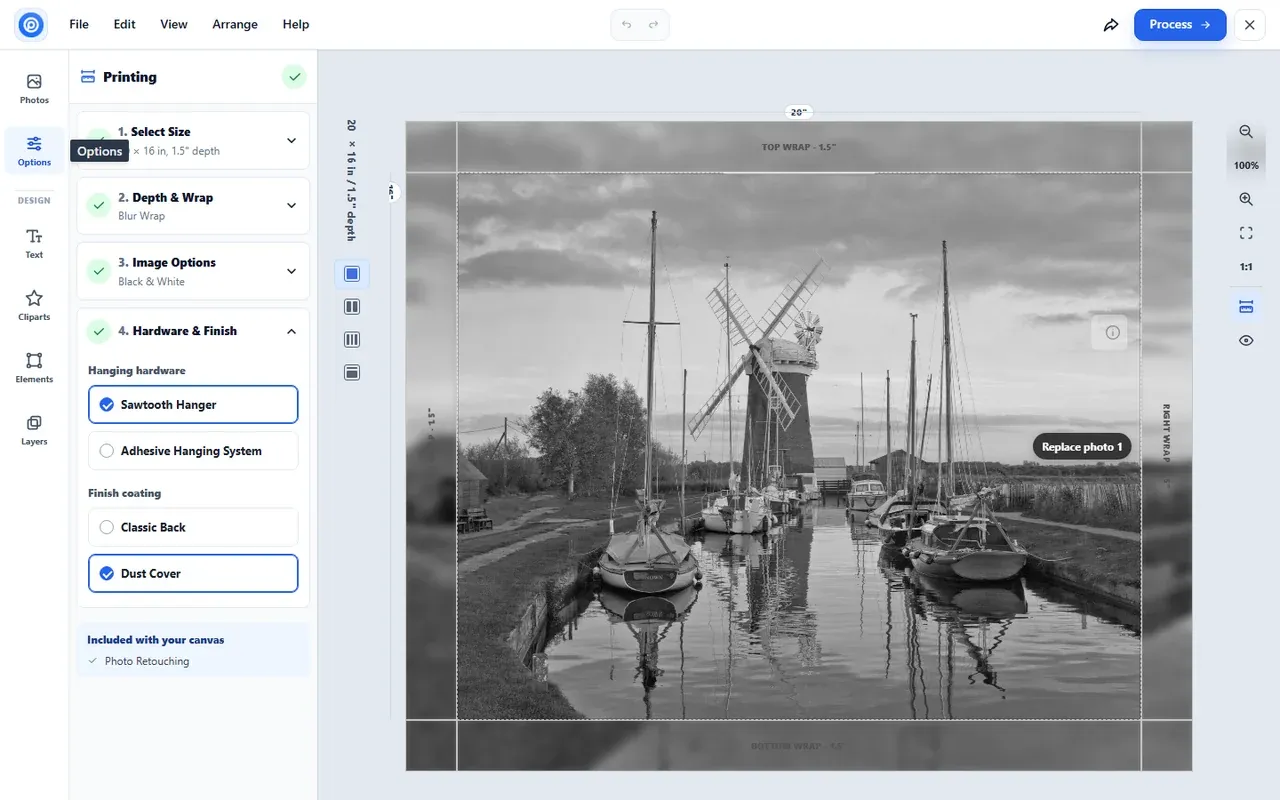
In the designer, Options > Hardware & Finish lists the hanging hardware and the back finish. The buyer picks one of each, and any price you set is added to the canvas price. An add-on such as Photo Retouching with no charge is listed under Included with your canvas; when it carries a charge it appears as a tick box.
Expected result: The live price includes the extras.
Step 3Extras follow the canvas to the cart
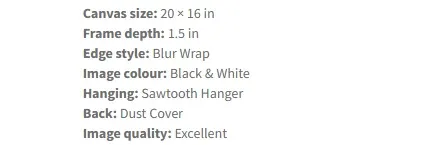
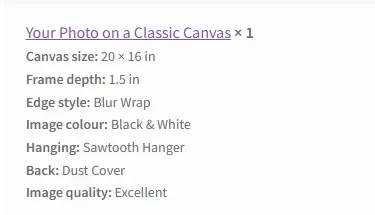
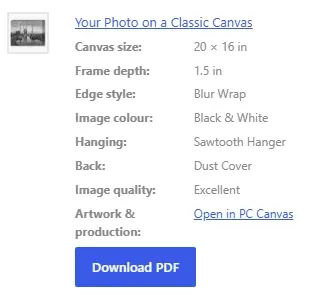
The cart line lists the edge style, image colour, hanging hardware and back finish, and the line total includes them. Checkout, the order confirmation and the order e-mails repeat the same rows.
Expected result: The buyer can check every choice before paying.
Step 4Production sees every extra
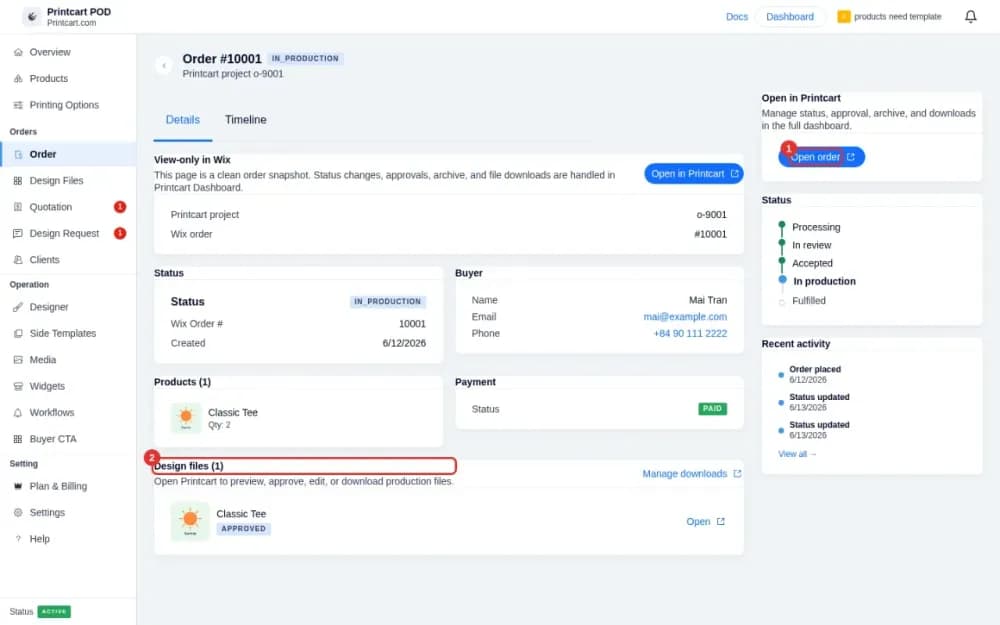
On the PC Canvas order detail, Selected canvas options lists everything the buyer chose. The same rows appear on the WooCommerce order.
Expected result: Edge style, image colour and extras are visible at a glance for production.

Can an extra be free?
Yes. An add-on with no charge is listed to the buyer as "Included with your canvas" instead of a tick box.
Do extras change the print file?
Hanging hardware and back finish are production instructions recorded on the order. The image colour is the one choice baked into the print file.
Try Printcart Canvas
Printcart Canvas is free on WordPress.org, from Printcart, the web-to-print platform used by 2000+ stores. Download Printcart Canvas from WordPress.org, or try the live demo as a buyer.
What should you do next?
- Download print-ready PDFs and manage canvas orders
- The buyer journey: from design to checkout
- Browse all Printcart tutorials
Stuck on a step? Email [email protected] with a screenshot of the screen you are on, or a support bundle from PC Canvas > Diagnostics; it contains no credentials.
Printcart field note
What to verify before you roll out Add Canvas Print Extras: Retouching, Hanging Hardware and Back Finish
This tutorial is written from Printcart implementation patterns across order operations, approval routing, and fulfillment handoff. Before treating it as complete, test the workflow with one real product, one real design file, and one real order path.
Add Canvas Print Extras: Retouching, Hanging Hardware and Back Finish — common questions
What do you need before you start?
The screenshots come from a demonstration WooCommerce store running Printcart Canvas 4.5.9 with the UK Standard Canvas template. Store credentials and internal identifiers are masked. Want to see it first? Open the live demo store and press Design your canvas .
Can an extra be free?
Yes. An add-on with no charge is listed to the buyer as "Included with your canvas" instead of a tick box.
Do extras change the print file?
Hanging hardware and back finish are production instructions recorded on the order. The image colour is the one choice baked into the print file.
What should you do next?
Stuck on a step? Email [email protected] with a screenshot of the screen you are on, or a support bundle from PC Canvas > Diagnostics ; it contains no credentials.
Next steps in Printcart
Connect add canvas print extras: retouching, hanging hardware and back finish with catalog setup, templates, production workflows, and implementation support.
Want to put add canvas print extras: retouching, hanging hardware and back finish into practice?
Use the related Printcart tool below, or create a free account to start building with the product designer.