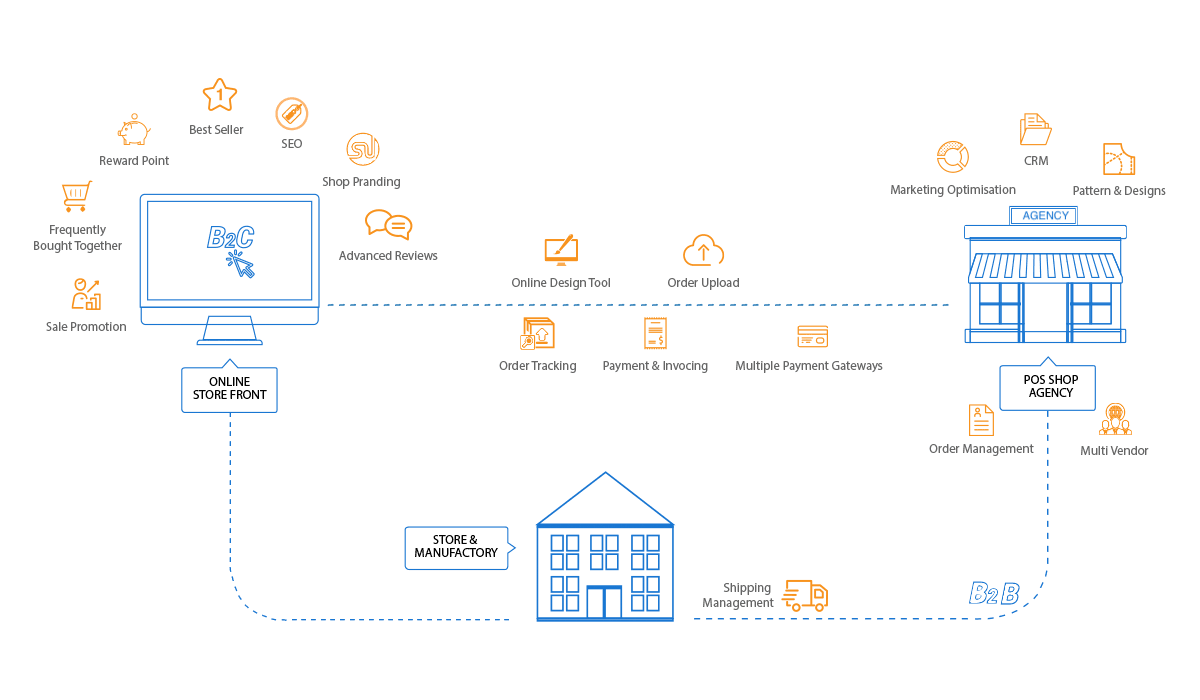
Go to Printing Options, click New option set, name it, choose the Wix product, add fields with choices and extra prices, then Save. Published sets appear on the product page and adjust the price buyers pay.
Key takeaways
Before you start
- Printcart POD connected to your Wix site.
- A product that is already imported (see the first-product tutorial).
Create an option set, step by step
Step 1Open Printing Options
Click Printing Options in the menu. This is where you define the choices and prices buyers pick on the product page, such as size, paper or a gift message. Existing sets are listed with their linked product and a PUBLISHED badge. Click New option set (1).
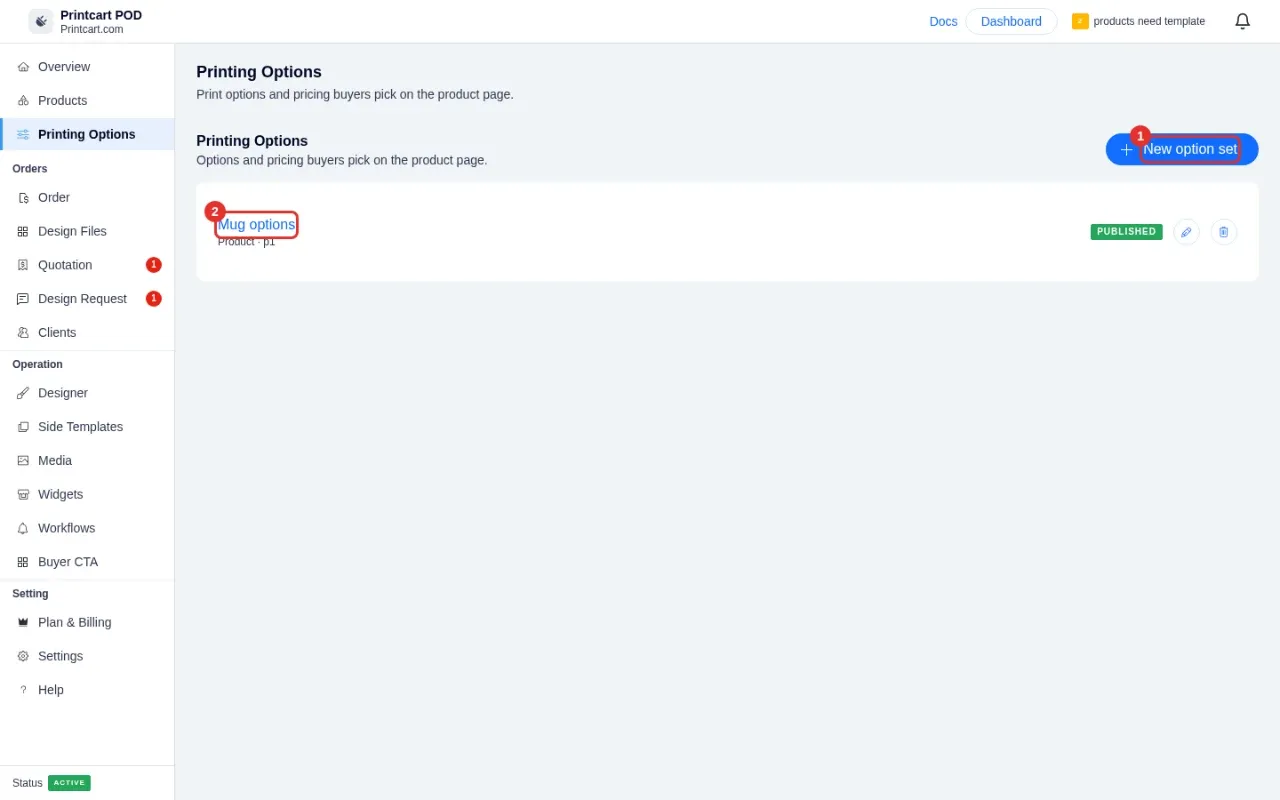
Expected result: The New option set form opens.
Step 2Name the set and choose the product
Type a clear Option set title (1), for example Mug options. In Apply for product (2), search and select the Wix product these options belong to. Keep Publish (3) on when you want buyers to see them.
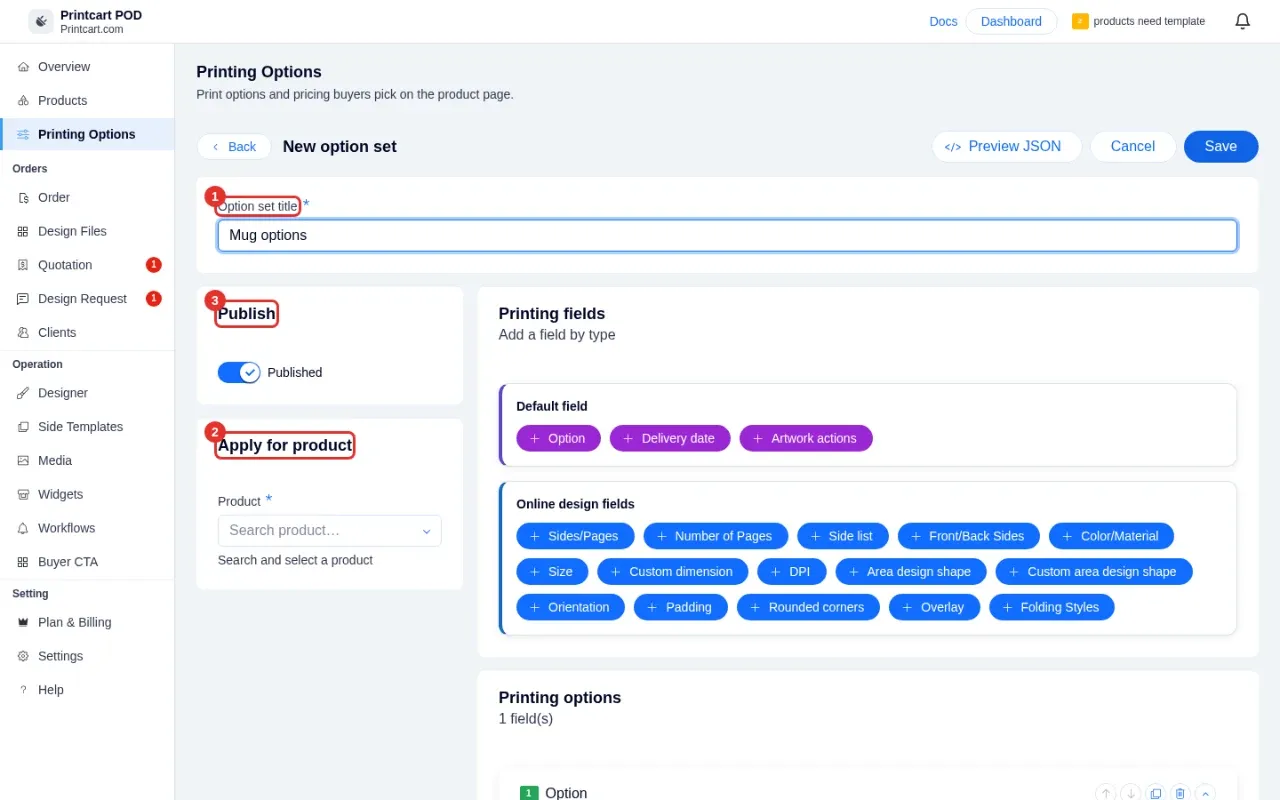
Expected result: The title, product and publish switch are set.
Step 3Add a field
Under Printing fields, click a button to add a field. Option creates a list of choices. The purple Default field buttons add common fields such as a delivery date or artwork actions. The blue Online design fields (sides, size, DPI, orientation, folding style and more) are for products that use the designer.
Expected result: A numbered field appears under Printing options.
Step 4Add choices and set prices
Give the field a title (for example Size), then add its choices and an additional price for each. In the example, 11 oz adds nothing and 15 oz adds 2.50. A second field, Gift message, is a text input that adds 1.00. Mark a choice as selected to make it the default, and use the arrows to reorder fields.
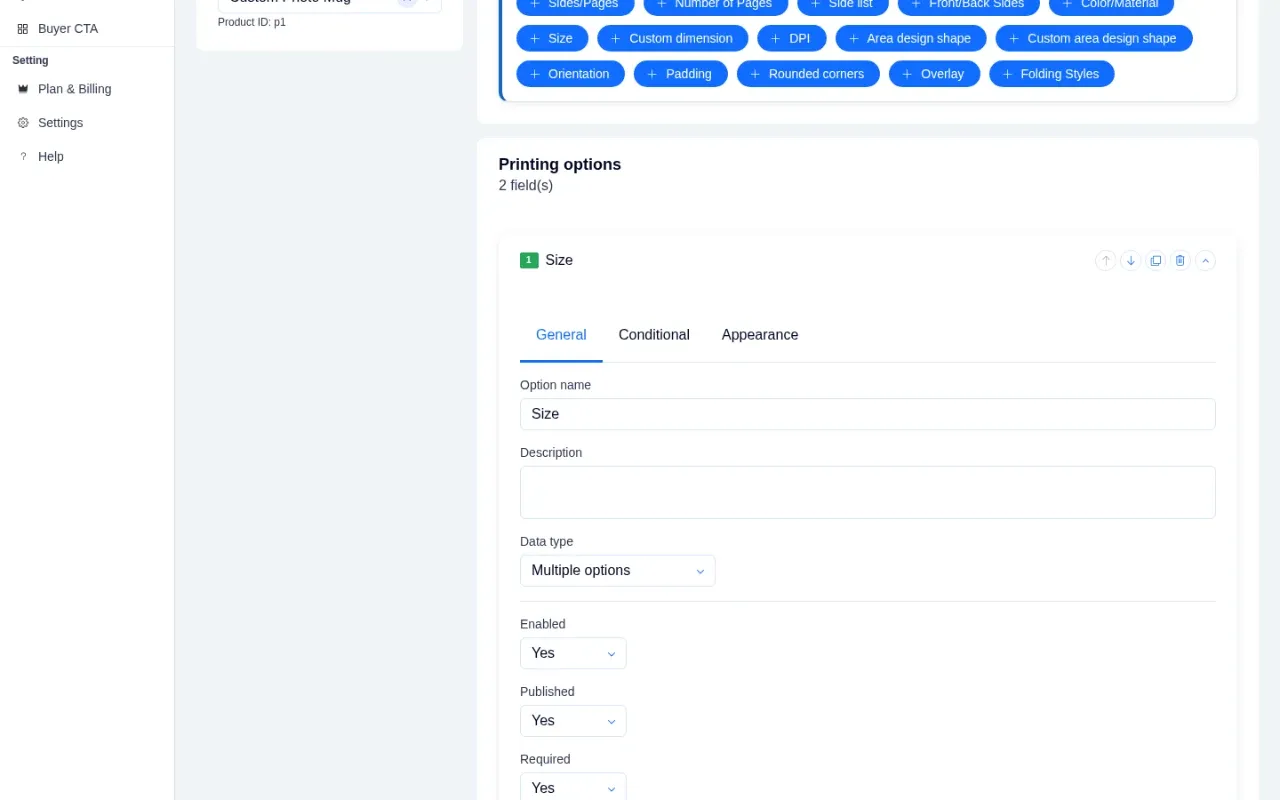
Expected result: Each field shows its choices with the extra price next to them.
Step 5Save and publish
Click Save for a new set (or Update when editing). Use Preview JSON if you want to inspect what will be saved. Back in the list, the set shows PUBLISHED; use the pencil to edit it later or the bin to delete it.
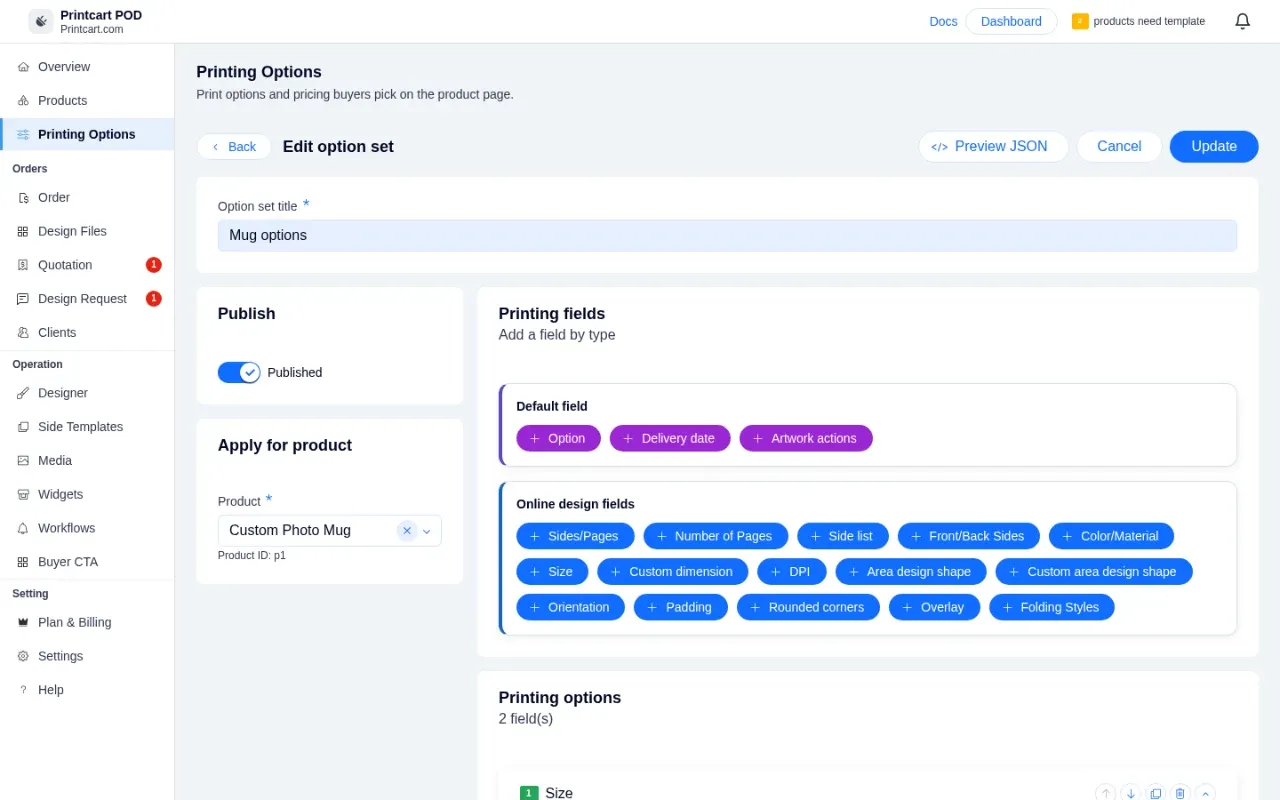
Expected result: The set appears in the Printing Options list as PUBLISHED.
Step 6Test the options on your product page
Open the product on your live Wix site. The options should appear near the buy button, and the price should change as you pick choices such as the larger size.
On the live product page you see the printing options, such as Size choices and a Gift message, and the price updates as you pick them.
Expected result: Buyers see your options and the price updates with their choices.
Can I use the same options for several products?
A set applies to one product or one collection at a time. Create one set per product, or duplicate a field inside the editor.
How do I hide an option set without deleting it?
Open the set and switch off Published, then click Update.
Next steps
- Create your first customizable product on Wix
- Receive Wix orders and download print files
- Printcart integrations guide
Need help?
Message us on WhatsApp at +84 937 869 689 or email [email protected]. Tell us your Wix site name and which step you are on.
Printcart field note
What to verify before you roll out Set Up Printing Options and Pricing on Wix with Printcart
This tutorial is written from Printcart implementation patterns across web-to-print launch planning, buyer experience, and repeatable production. Before treating it as complete, test the workflow with one real product, one real design file, and one real order path.
Set Up Printing Options and Pricing on Wix with Printcart — common questions
Can I use the same options for several products?
A set applies to one product or one collection at a time. Create one set per product, or duplicate a field inside the editor.
How do I hide an option set without deleting it?
Open the set and switch off Published, then click Update.
Need help?
Message us on WhatsApp at +84 937 869 689 or email [email protected] . Tell us your Wix site name and which step you are on.
Next steps in Printcart
Connect set up printing options and pricing on wix with printcart with catalog setup, templates, production workflows, and implementation support.
Want to put set up printing options and pricing on wix with printcart into practice?
Use the related Printcart tool below, or create a free account to start building with the product designer.