

Key takeaways
Part 2 of 5 in the Printcart Product Personalizer for Shopify series. The series starts on the Printcart Product Personalizer for Shopify page.
What you need before you start
- The app installed and connected, with the app embed on (see Part 1).
- Products synced from Shopify.
- For Design products: a clear product photo to use as the designer background.
How this guide was checked. We ran every step on 11 November 2026 on a Shopify development store with the Printcart Product Personalizer installed, three real products (a T-shirt, business cards and kraft mailer boxes) and a test checkout. The screenshots are from that store. Names, emails and checkout links are blurred or made up.
Step 1Open Products and pick an action per product
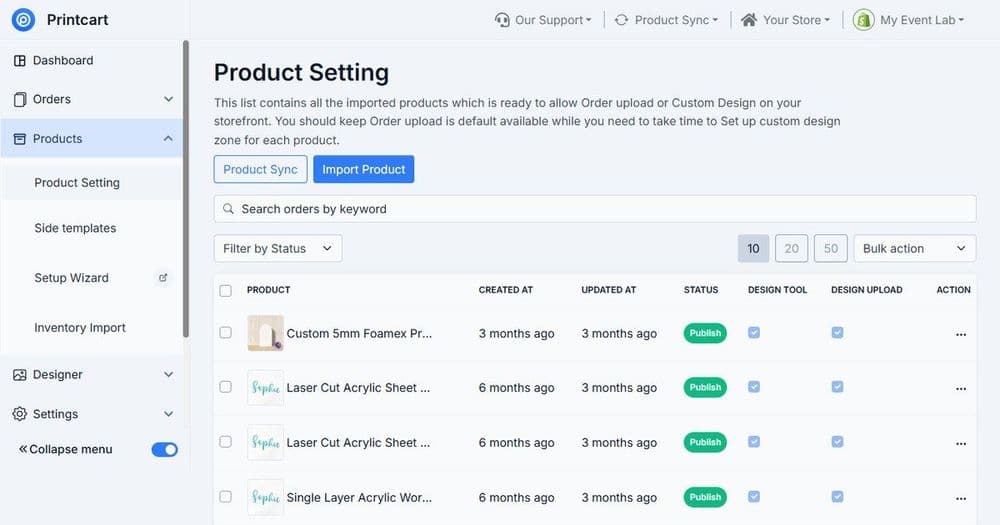
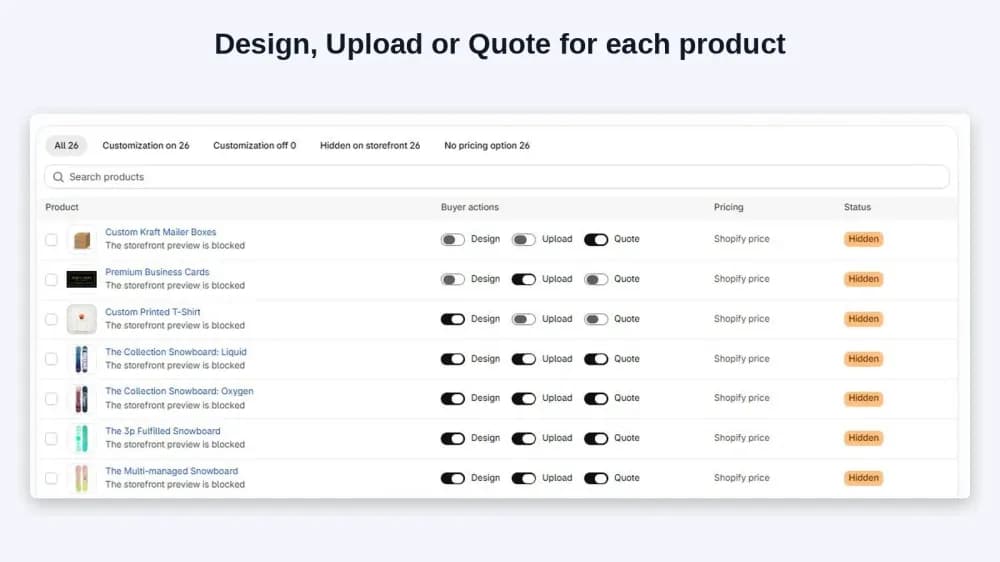
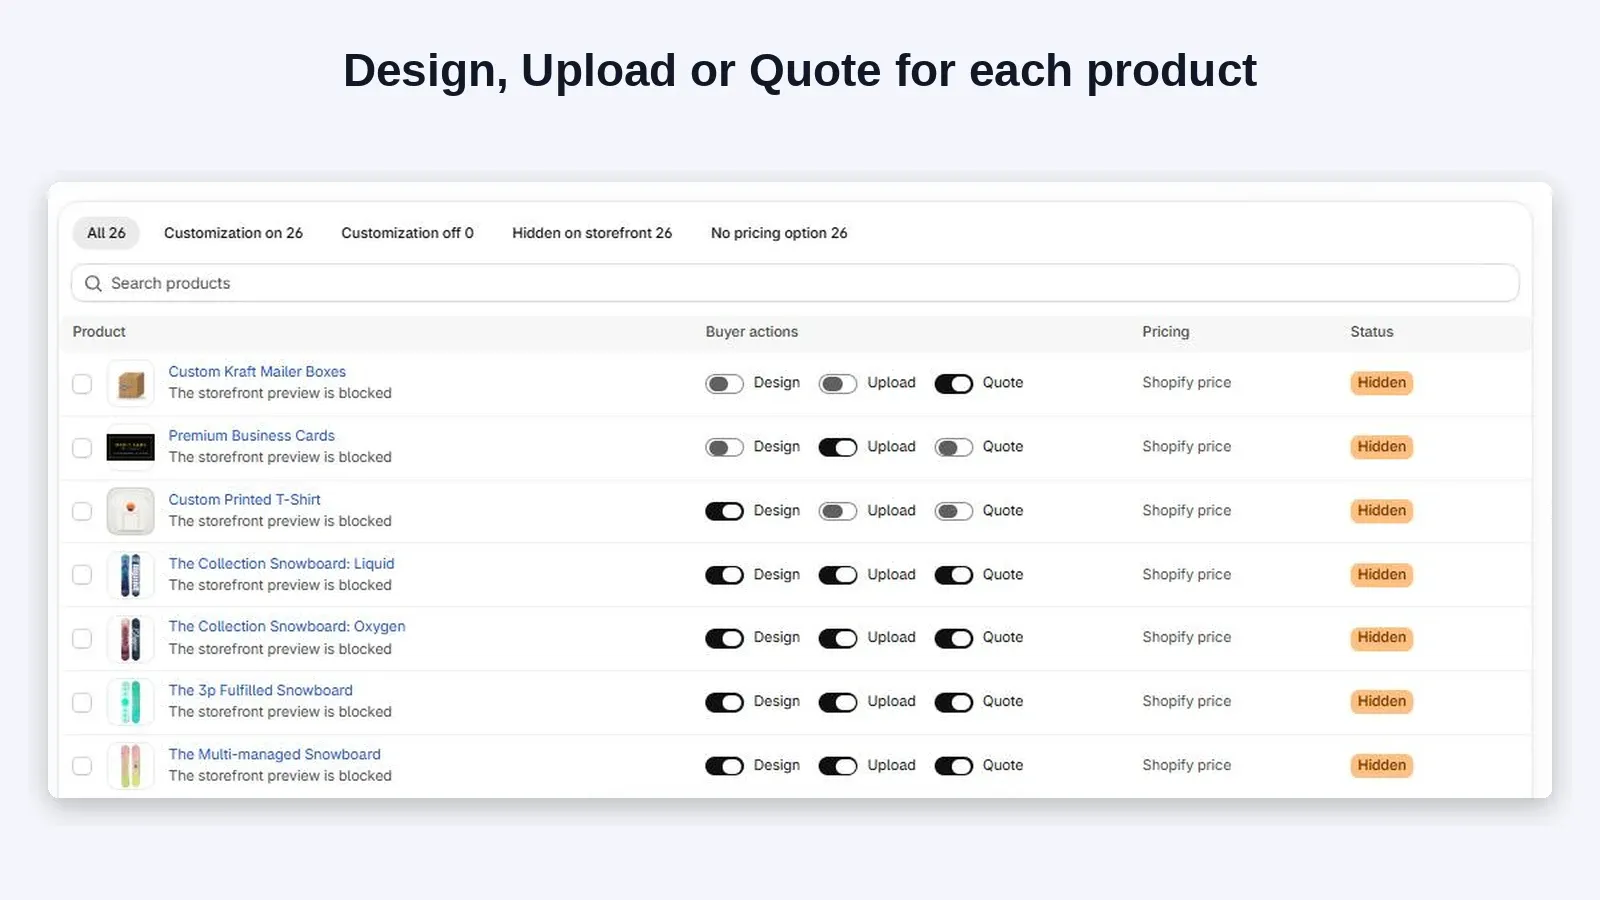
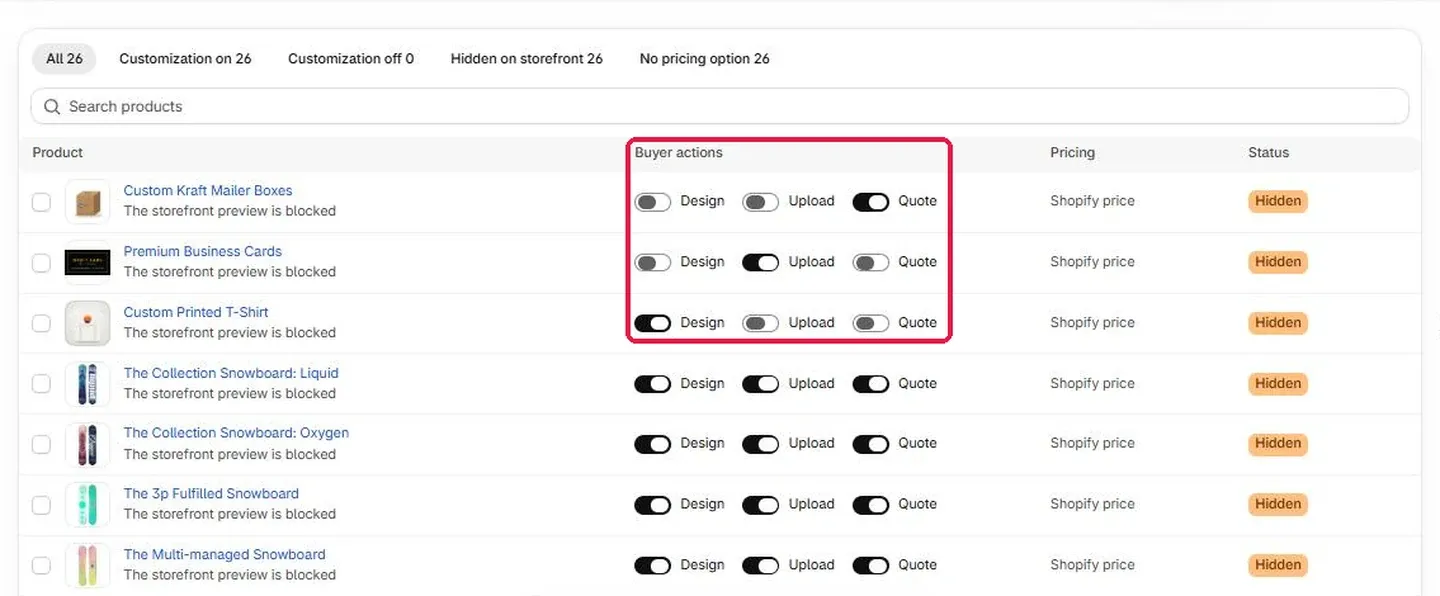
Open Products in the app. The tabs at the top count products with customization on or off, hidden on the storefront and without a pricing option. Use the Buyer actions switches on each row. A product can have more than one action on, but one clear action per product is easier for buyers.
Expected result: Each product row shows which of Design, Upload and Quote is on.
Step 2For Design products, set the print area
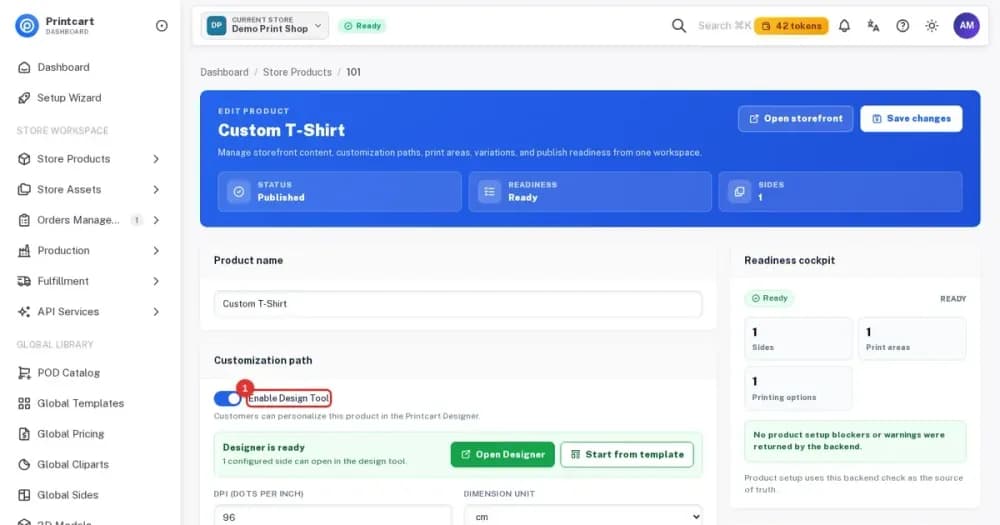
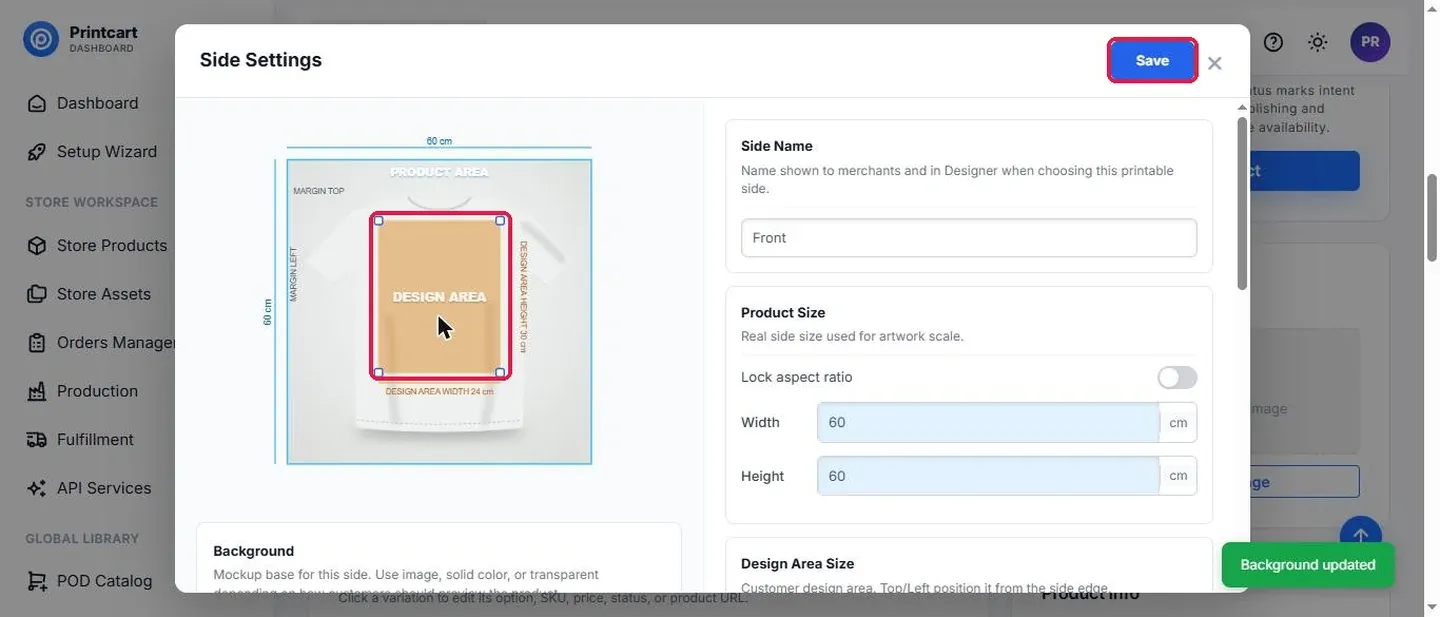
The designer needs to know where artwork may go. In Printcart Dashboard open Store Products and the product, add a side (we called it Front), enter the real product size and draw the design area. For our T-shirt the side is 60 × 60 cm and the design area is 24 × 30 cm on the chest. Click Save.
Expected result: The side preview shows the design area on the product photo.
Step 3Preview a Design product
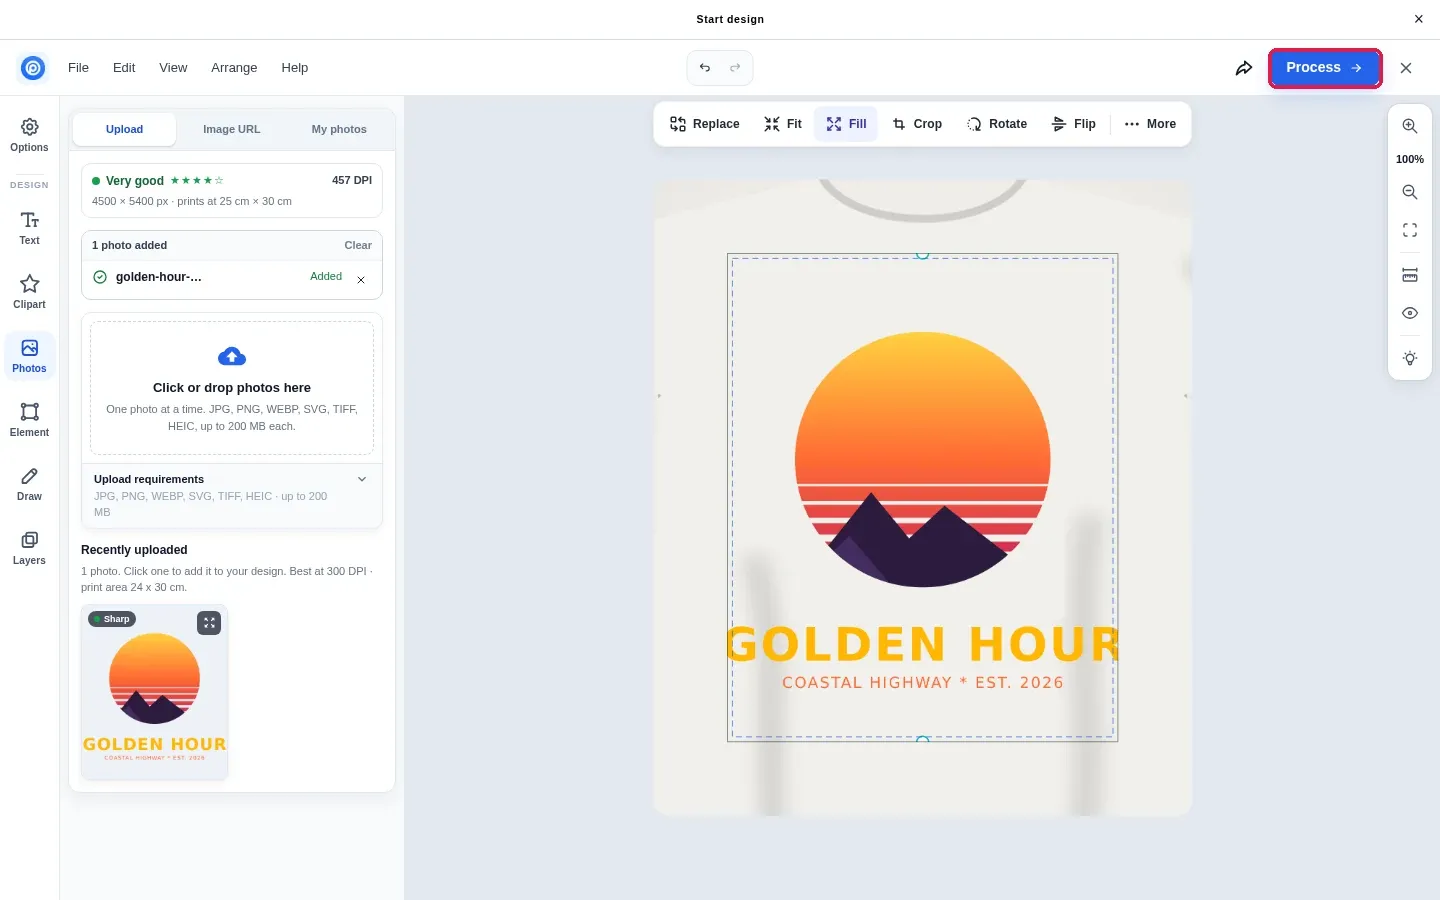
Open the product page on your store and click Personalize. The designer opens with your print area. Add a photo or text, then click Process. Back on the product page you see Your design is ready with Edit and Remove.
Expected result: The designer shows your print area and the Process button; after Process the design is attached to the item.
Step 4Preview an Upload product
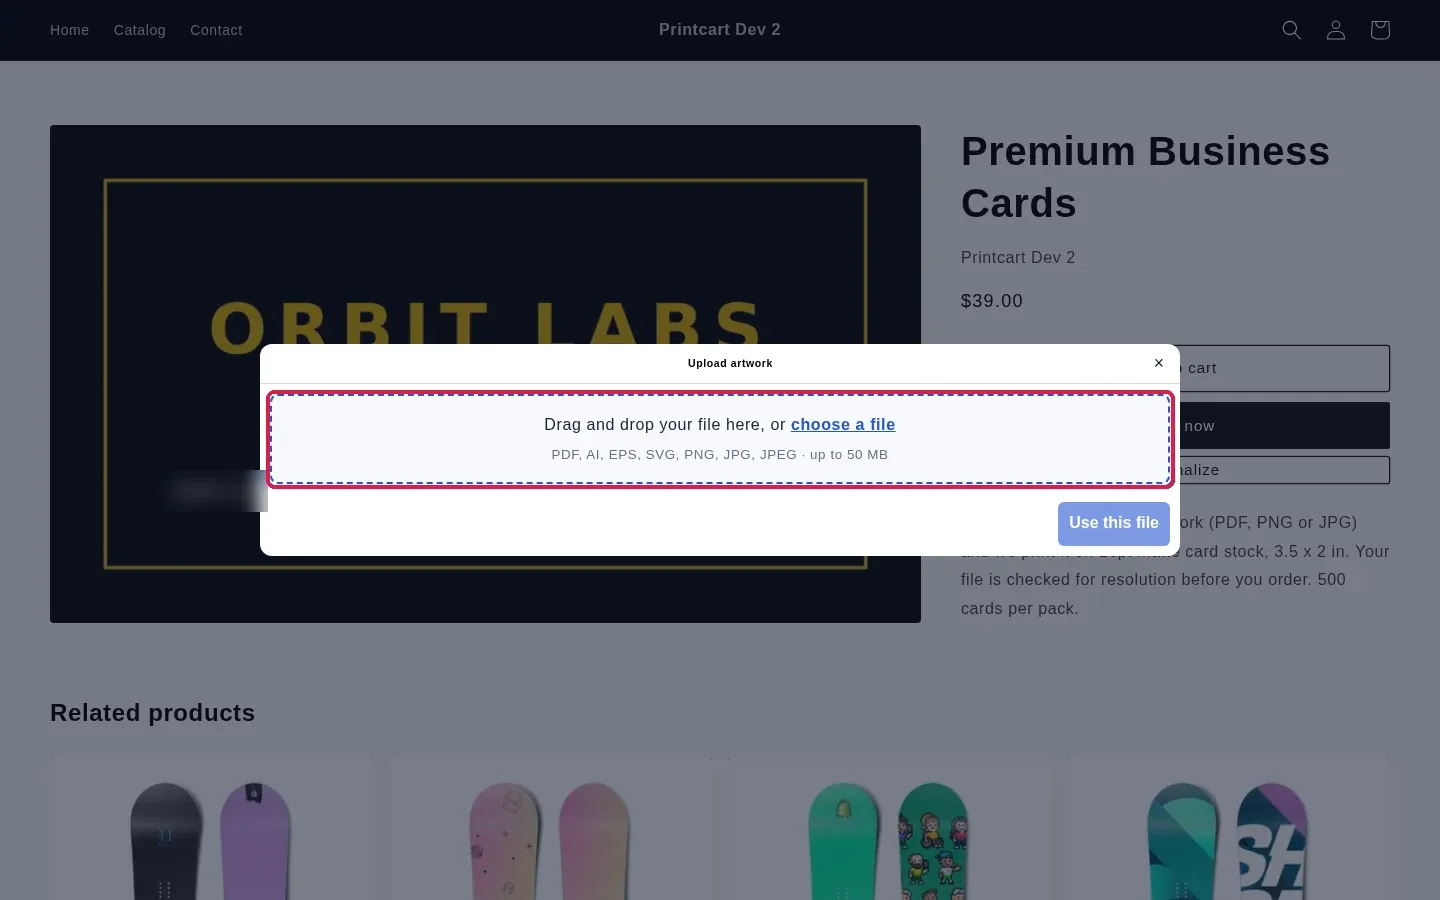
On a product with Upload on, Personalize opens the Upload artwork window. It lists the accepted file types (PDF, AI, EPS, SVG, PNG, JPG, JPEG) and the size limit (50 MB). Part 3 walks through the upload in detail.
Expected result: The Upload artwork window opens with the drop area and the Use this file button.
Step 5Preview a Quote product
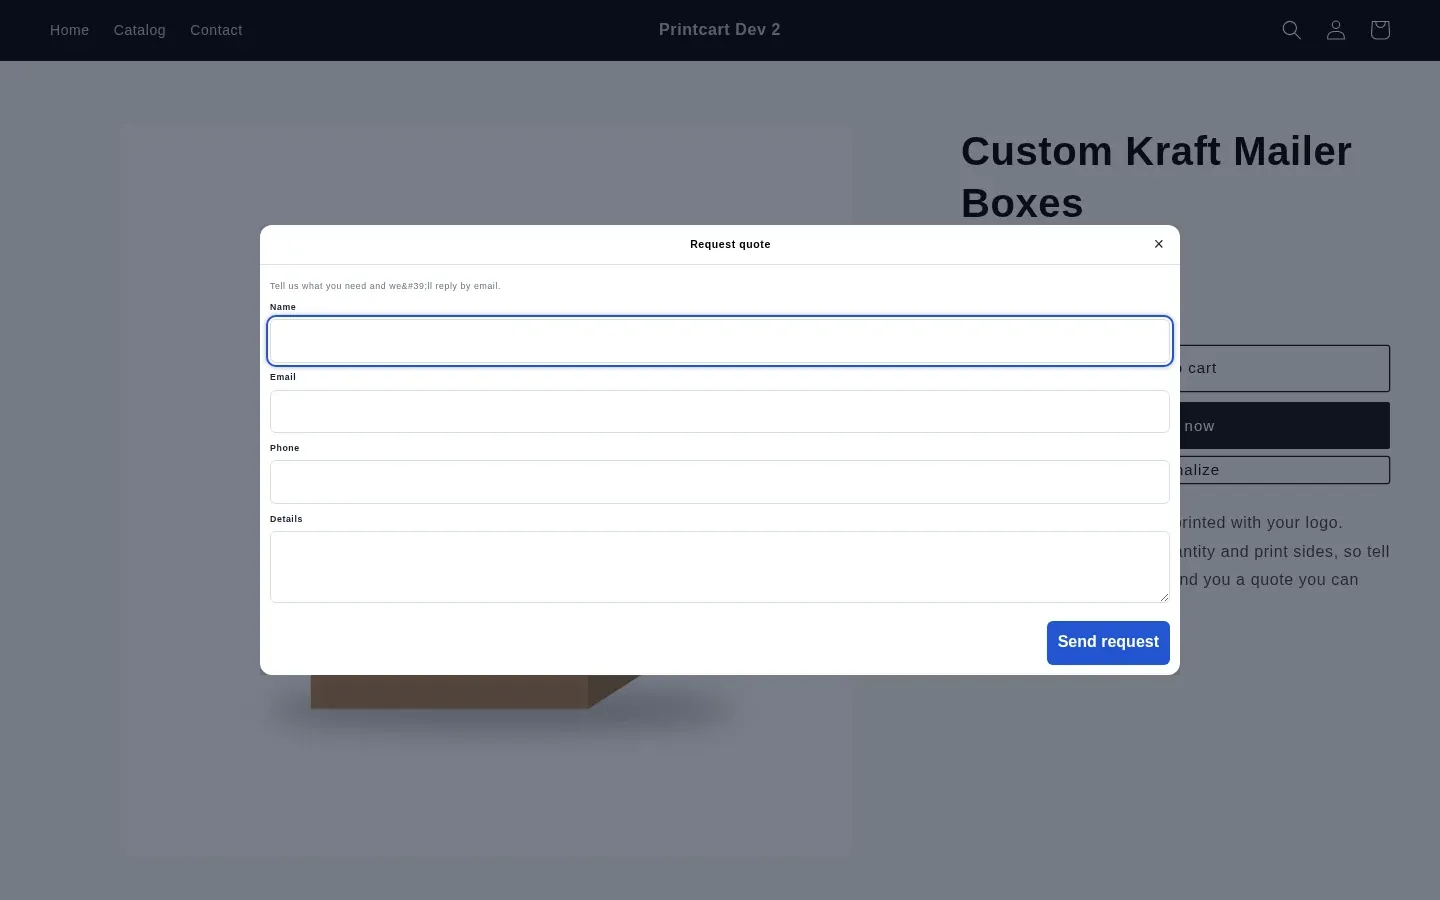
On a product with Quote on, Personalize opens Request quote with Name, Email, Phone and Details. Part 5 shows what happens after the buyer sends it.
Expected result: The Request quote form opens over the product page.
What if something goes wrong?
- The designer opens with a default photo frame instead of your product area. The product has no side or design area yet. Add one in Printcart Dashboard and save.
- A Quote-only product still shows Add to cart and Buy it now. Those buttons come from your theme. We saw this on our test store; hide them in the theme for quote-only products if you do not want direct orders.
- Products show Hidden in the Status column. On our store this was because the storefront was password protected, so the app could not preview it. It changes once the store is open.
Frequently asked questions
Can one product have Design and Upload at the same time?
Yes, the switches are independent. Buyers then choose between designing and uploading, so turn on both only when you really offer both.
Where do I change the print area size?
In Printcart Dashboard, on the product's side settings. The size you enter is the real print size, so the designer can tell buyers how sharp their image will print.
How do I get help if a step does not work?
Message the Printcart team on WhatsApp at https://wa.me/84937869689 or email support@printcart.com. Send the product name, the step you are on and a screenshot of the screen.
What should you read next?
Your launch checklist
What should you check before you launch How to Turn On Design, Upload or Quote for Each Shopify Product and Preview It as a Buyer?
This guide covers web-to-print launch planning, buyer experience, and repeatable production in Printcart. Before you offer it to your own buyers, place one test order yourself with a real product, a real design file and a real checkout, then answer the questions below.
Sources
How to Turn On Design, Upload or Quote for Each Shopify Product and Preview It as a Buyer — common questions
Can one product have Design and Upload at the same time?
Yes, the switches are independent. Buyers then choose between designing and uploading, so turn on both only when you really offer both.
Where do I change the print area size?
In Printcart Dashboard, on the product's side settings. The size you enter is the real print size, so the designer can tell buyers how sharp their image will print.
How do I get help if a step does not work?
Message the Printcart team on WhatsApp at https://wa.me/84937869689 or email support@printcart.com. Send the product name, the step you are on and a screenshot of the screen.
Next steps in Printcart
Connect this guide with catalog setup, templates, production workflows and implementation support.
Try it

Printcart Product Personalizer
Printcart Product Personalizer is a Shopify app that adds an online design tool to your products. Buyers personalize items with templates, text and image uploads, and you receive print-ready files in SVG, PDF, PNG and JPG. It is built for print shops, print-on-demand sellers and B2B suppliers who sell custom products on Shopify. A Free plan is available.
Put this guide into practice with Printcart
Use the related Printcart tool below, or create a free account to start building with the product designer.