To let customers upload finished artwork, open the product in WooCommerce, tick Enable Upload Design in the Setting PCDesigner box, open the Upload Design tab and set the allowed file types, the number of files and the size limits. Shoppers then see an Upload print-ready artwork option on the product page. This guide shows the setup and a test upload.
Key takeaways
What do you need before you start?
- Printcart Store installed and activated.
- A WooCommerce product with the designer enabled, such as the Business Card sample product from the setup wizard.
The screenshots come from a fresh test store with the Storefront theme and Printcart Store 2.11.0. The test artwork is a plain graphic made for this guide.
How do you let customers upload their own design file?
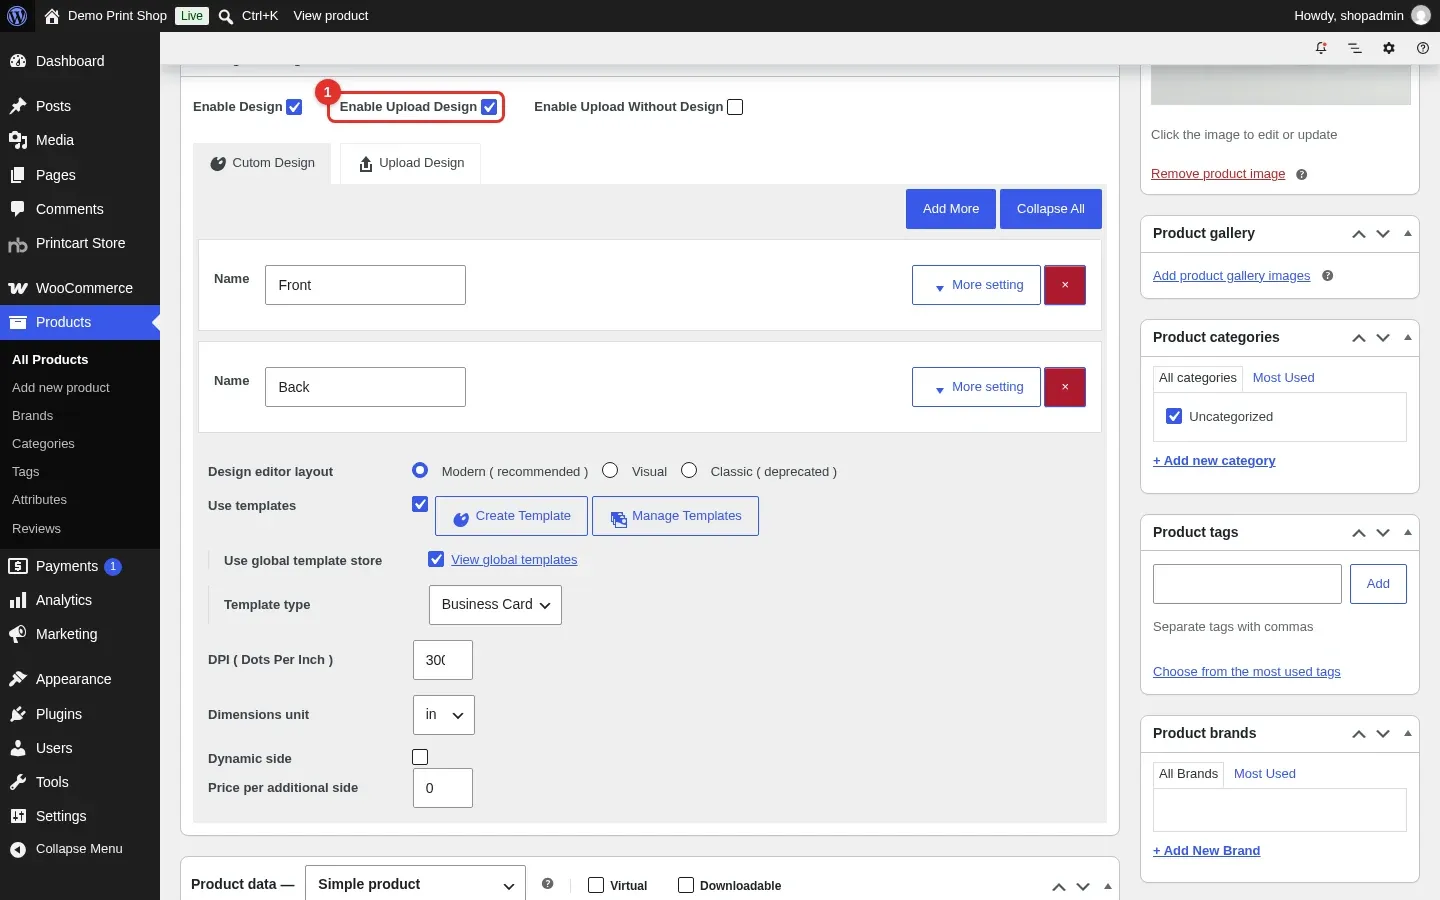
Step 1Turn on Enable Upload Design
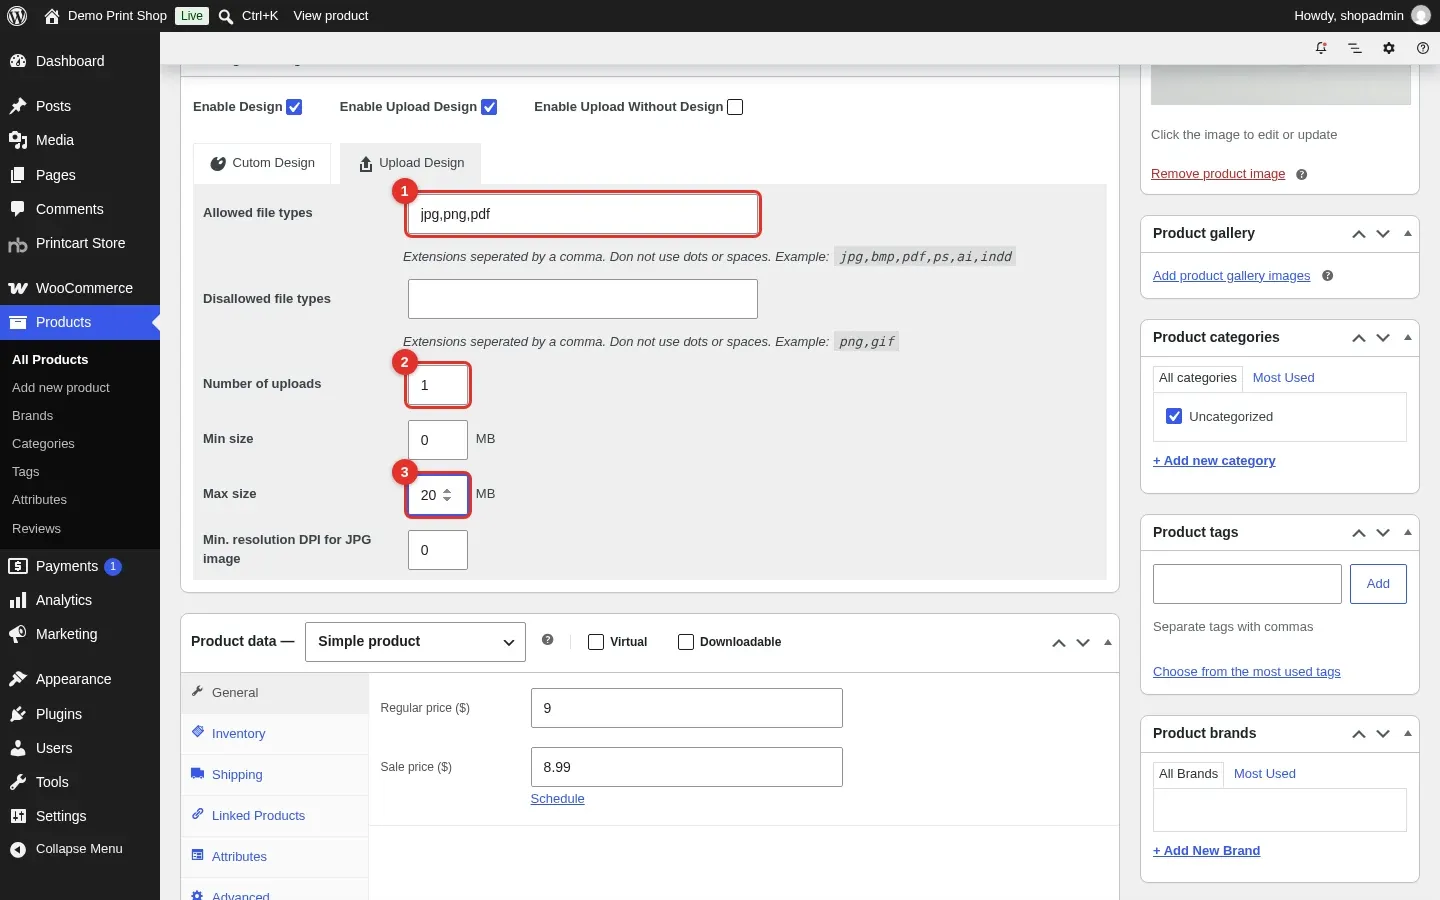
Open the product in Products > All Products and scroll to the Setting PCDesigner box. Tick Enable Upload Design.
Expected result: An Upload Design tab appears next to Custom Design.
Step 2Set the upload rules
Open the Upload Design tab. Set Allowed file types as a comma-separated list without dots or spaces (the example uses jpg,png,pdf), Number of uploads (1) and Max size in MB (20). The tab also has Disallowed file types, Min size and Min. resolution DPI for JPG image.
Expected result: The three fields hold your values.
Step 3Save the product
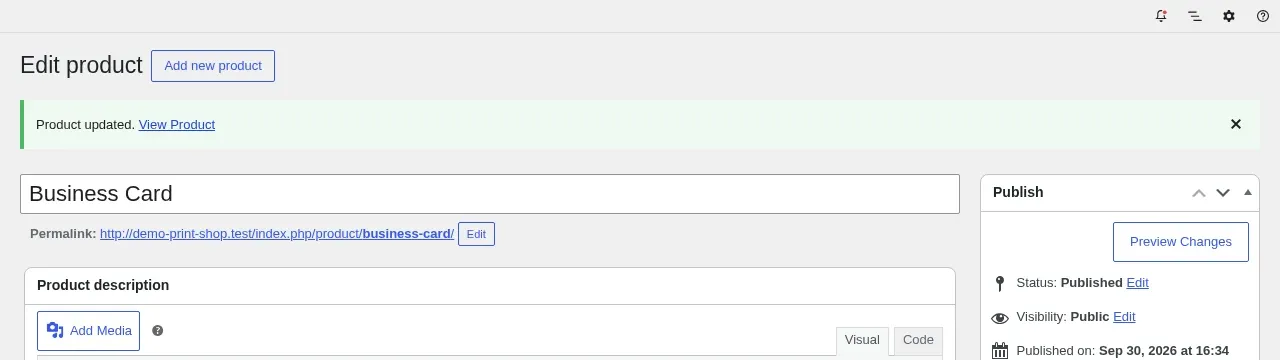
Click Update at the top right.
Expected result: A green notice reads Product updated.
Step 4See the upload option as a shopper
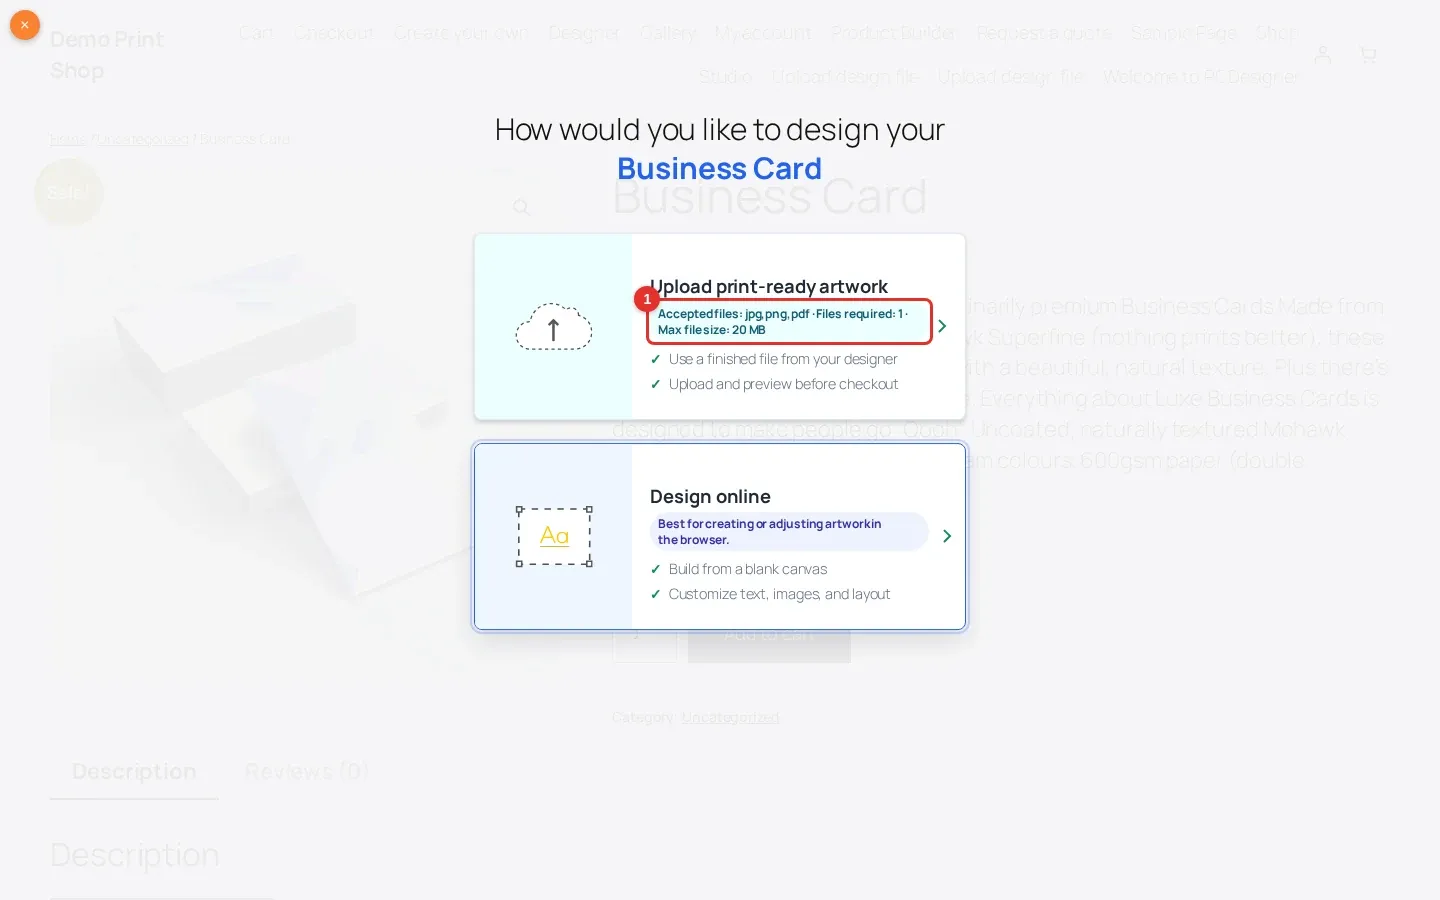
Open the product page and click the main design button. A chooser asks how to design the product. The Upload print-ready artwork card repeats your rules: accepted files, how many files are required and the maximum size.
Expected result: The card reads Accepted files: jpg,png,pdf · Files required: 1 · Max file size: 20 MB.
Step 5Upload a file
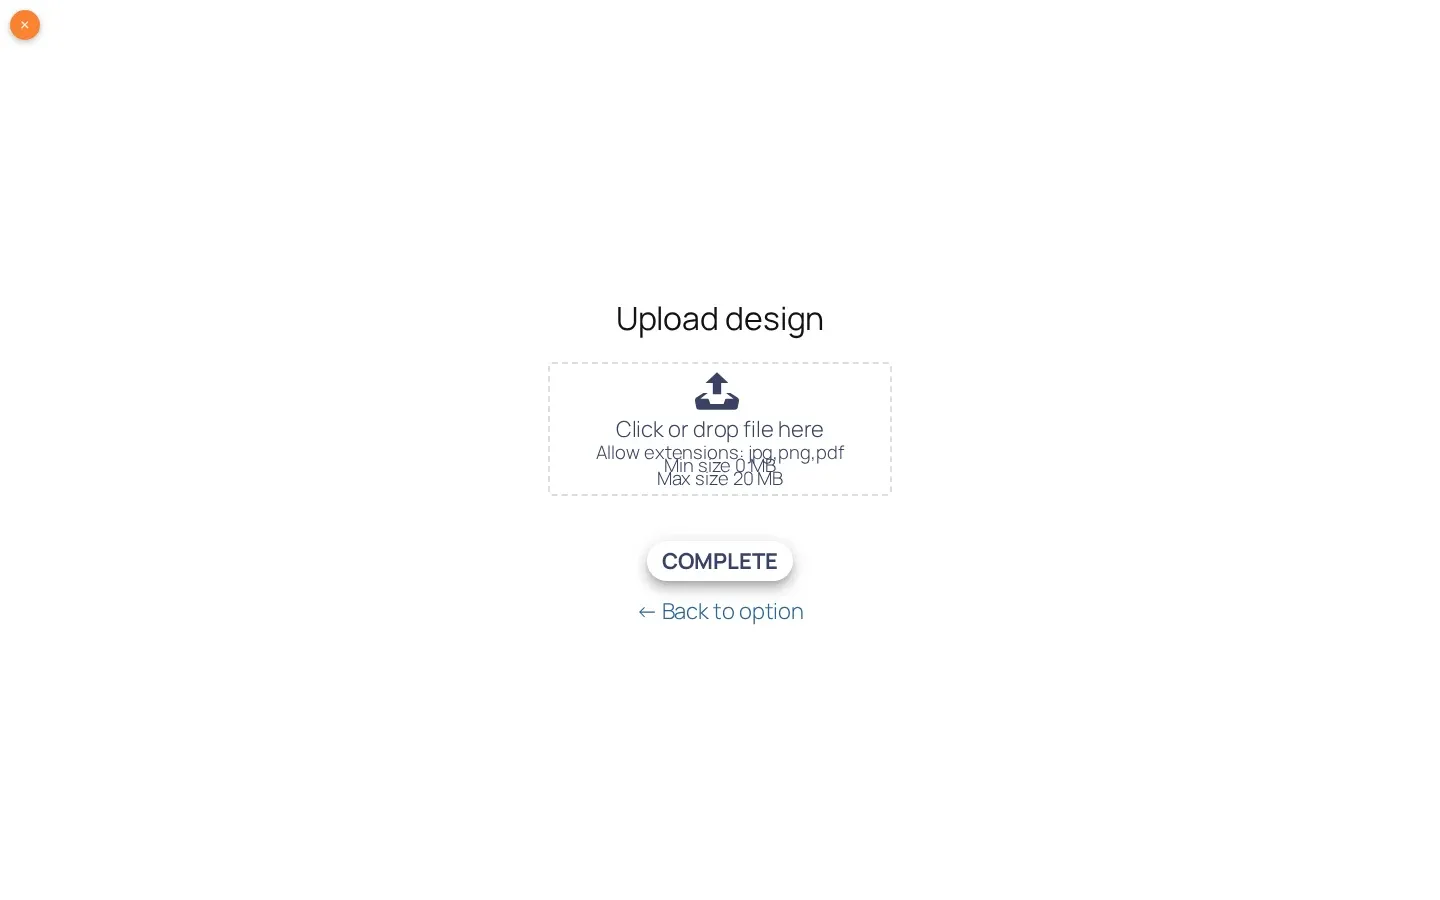
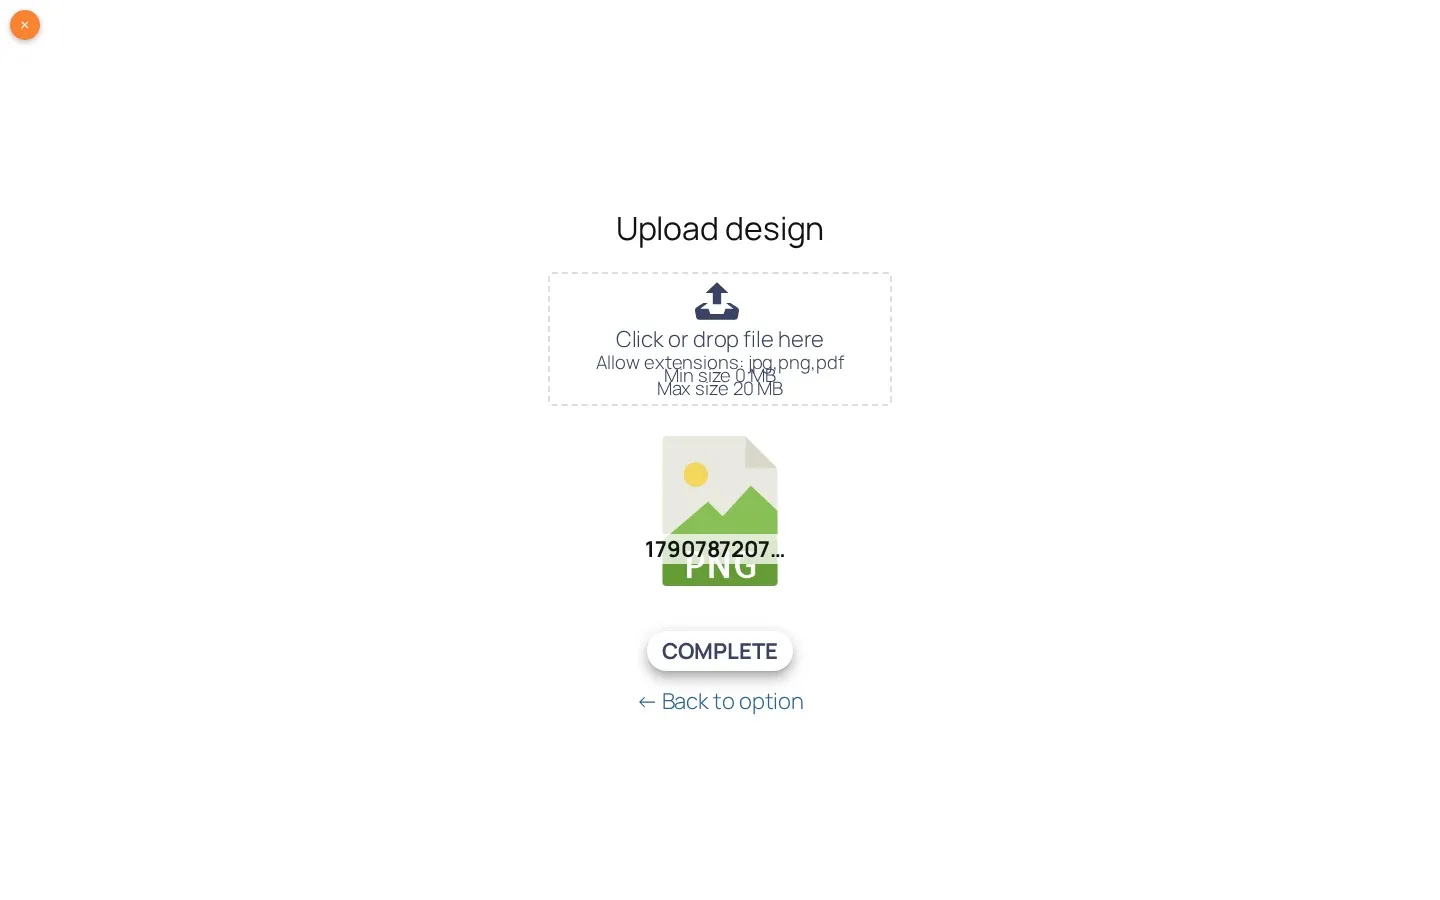
Click Upload print-ready artwork. Click the drop area (or drop a file on it) and choose your file. Then click Complete. A file with a type that is not allowed is refused with a message that lists the allowed types.
Expected result: The dialog shows a thumbnail of your file with its type.
Step 6Review the file and add it to the cart
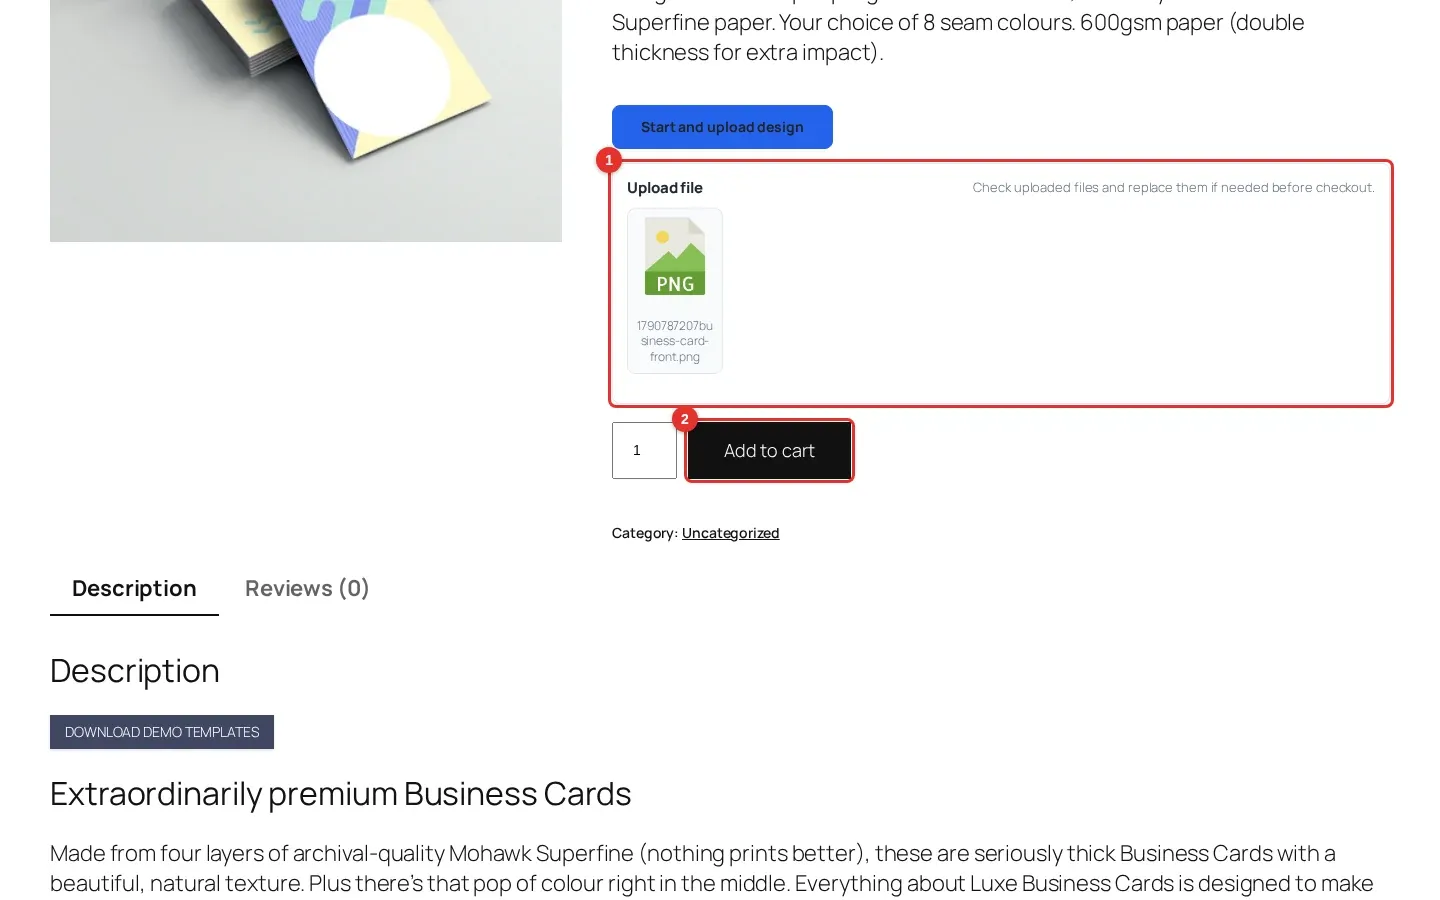
Back on the product page, the Upload file box shows the uploaded file so the shopper can check it, replace it if needed and then click Add to cart.
Expected result: The uploaded file is listed above the quantity field and the Add to cart button.
What happens when a customer uploads a file type that is not allowed?
The upload is refused and a message lists the types the product accepts. In our test, uploading a .gif to a product limited to jpg,png,pdf showed the message Only support: jpg,png,pdf.
Can I offer both the designer and file upload on the same product?
Yes. With both Enable Design and Enable Upload Design ticked, the product page shows one button that opens a chooser with Upload print-ready artwork and Design online.
Does the plugin check the print quality of uploaded files?
The Upload Design tab has a minimum resolution setting for JPG files. Print-ready PDF generation and the AI preflight check run in the Printcart cloud, so they need a connected Printcart store. Without a connection, the order screens say that preflight cannot run.
What should you do next?
- Create a customizable product with the online designer
- Manage print orders in WooCommerce
- Prepare print-ready files: DPI, bleed, color and fonts
- Browse all Printcart tutorials
Stuck on a step? Message the Printcart team on WhatsApp and include a screenshot of the screen you are on.
Printcart field note
What to verify before you roll out Let Customers Upload Their Own Artwork: File Types and Upload Rules in WooCommerce
This tutorial is written from Printcart implementation patterns across file quality, proofing, and production risk. Before treating it as complete, test the workflow with one real product, one real design file, and one real order path.
Let Customers Upload Their Own Artwork: File Types and Upload Rules in WooCommerce — common questions
What do you need before you start?
The screenshots come from a fresh test store with the Storefront theme and Printcart Store 2.11.0. The test artwork is a plain graphic made for this guide.
What happens when a customer uploads a file type that is not allowed?
The upload is refused and a message lists the types the product accepts. In our test, uploading a .gif to a product limited to jpg,png,pdf showed the message Only support: jpg,png,pdf .
Can I offer both the designer and file upload on the same product?
Yes. With both Enable Design and Enable Upload Design ticked, the product page shows one button that opens a chooser with Upload print-ready artwork and Design online .
Does the plugin check the print quality of uploaded files?
The Upload Design tab has a minimum resolution setting for JPG files. Print-ready PDF generation and the AI preflight check run in the Printcart cloud, so they need a connected Printcart store. Without a connection, the order screens say that preflight cannot run.
Next steps in Printcart
Connect let customers upload their own artwork: file types and upload rules in woocommerce with catalog setup, templates, production workflows, and implementation support.
Want to put let customers upload their own artwork: file types and upload rules in woocommerce into practice?
Use the related Printcart tool below, or create a free account to start building with the product designer.