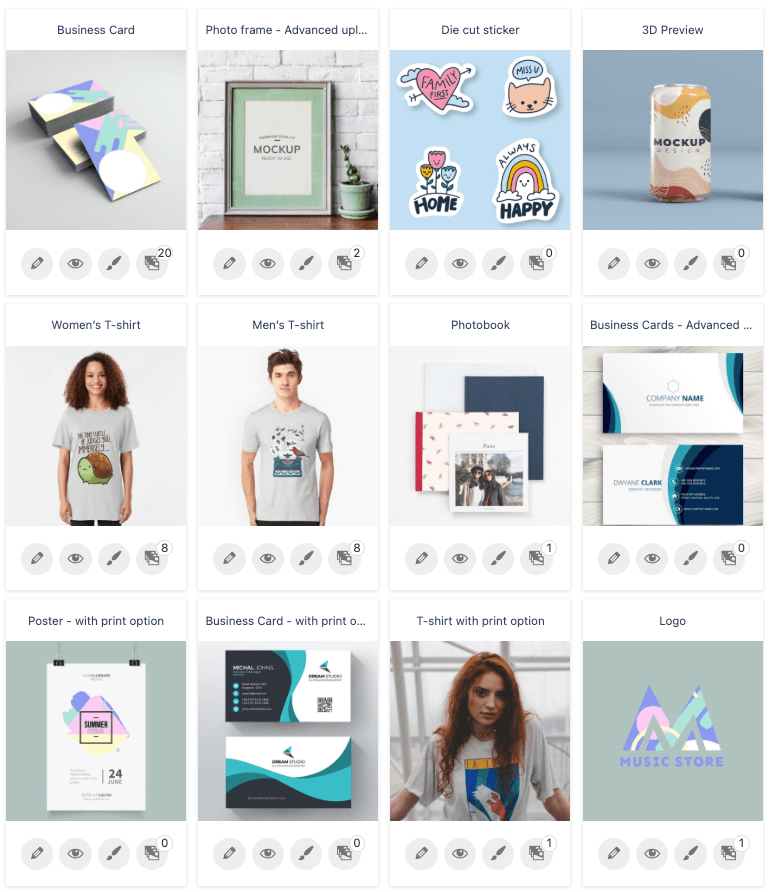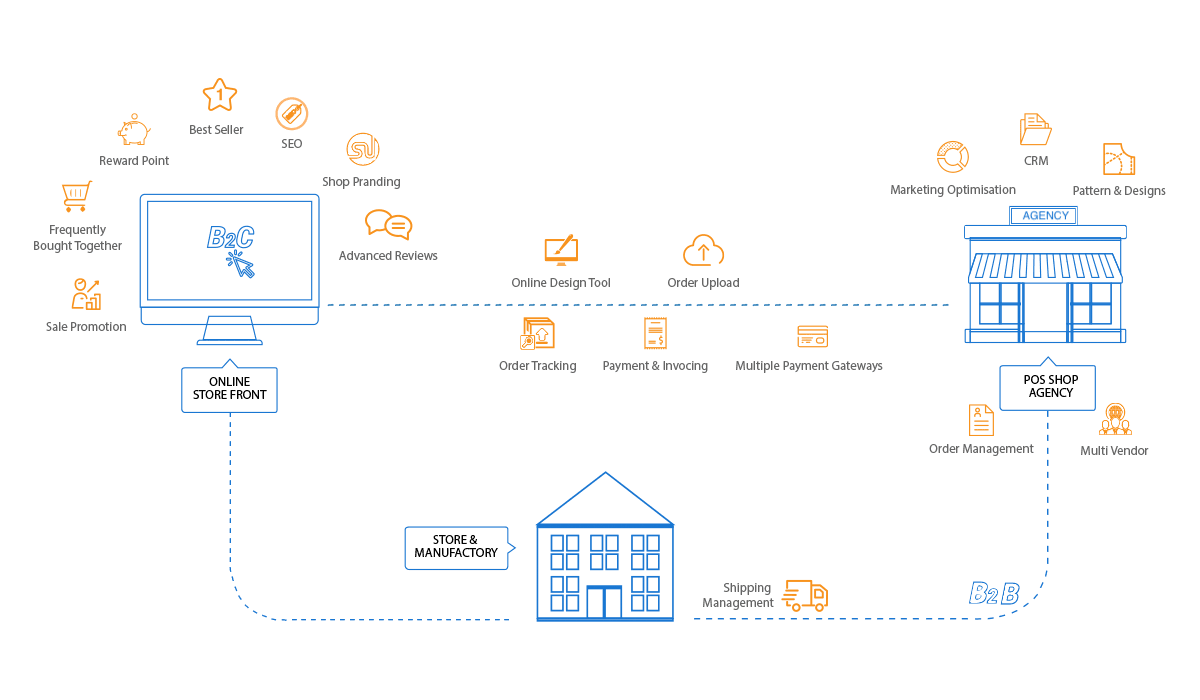
To get started with Printcart Store in WordPress, install the plugin from Plugins > Add Plugin, activate it, import a starter product in the setup wizard, and check that Enable Design is ticked on the product. Shoppers can then open the online designer from the product page and add their finished artwork to the cart. Connecting a Printcart account is...
Key takeaways
What do you need before you start?
- A WordPress site (version 5.0 or newer) running PHP 7.4 or newer, and administrator access.
- WooCommerce installed and active. The plugin card lists it as a required plugin.
- An HTTPS site for live stores. Printcart cloud features need HTTPS.
The screenshots come from a fresh test store (WordPress and WooCommerce with a default theme) using Printcart Store 2.11.0 from the WordPress.org plugin directory. Your theme will look different, but the Printcart screens are the same.
How do you install Printcart Store and publish your first customizable product?
Step 1Find Printcart Store in the plugin directory
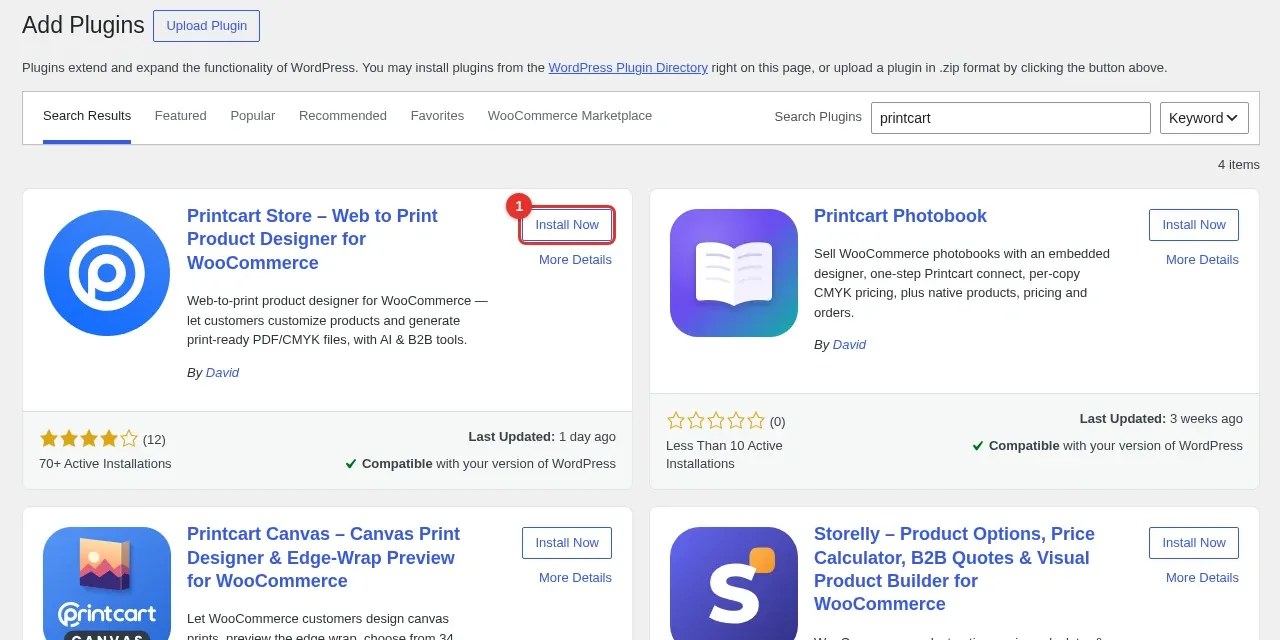
In your WordPress admin, open Plugins > Add Plugin and search for Printcart. Find Printcart Store – Web to Print Product Designer for WooCommerce and click Install Now.
Expected result: The button shows the installing state for a few seconds.
Step 2Activate the plugin
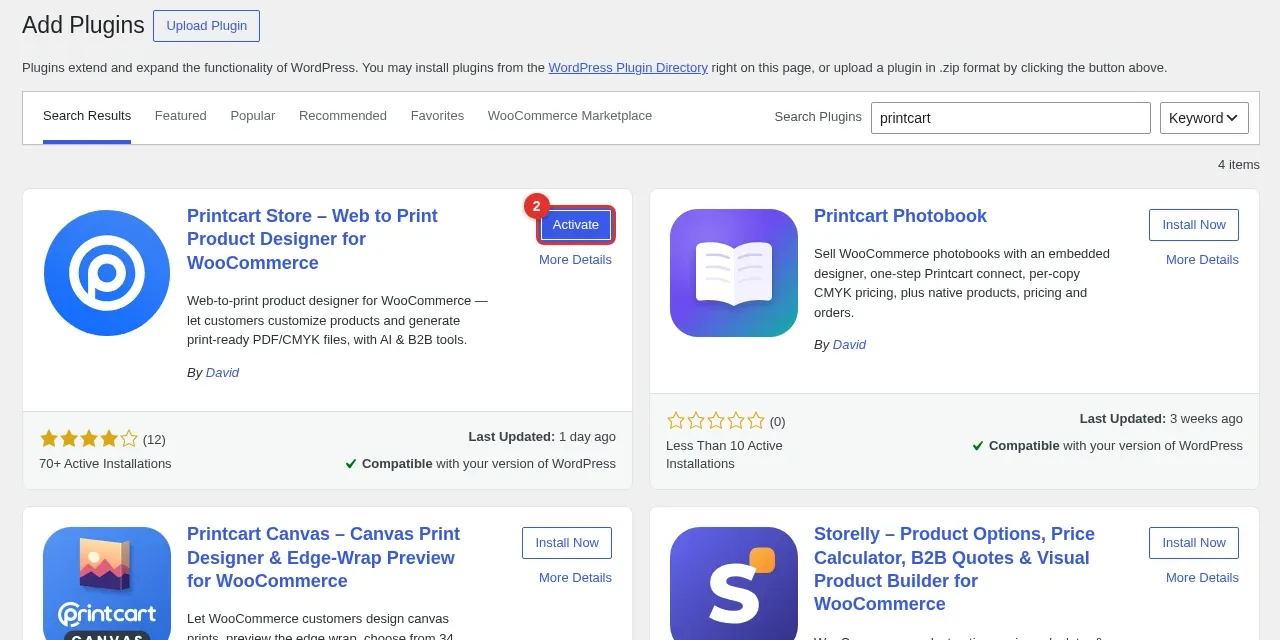
When the button changes, click Activate.
Expected result: WordPress opens the PCDesigner Set Up wizard, and a new Printcart Store menu appears in the left sidebar.
Step 3Choose whether to connect a Printcart account now
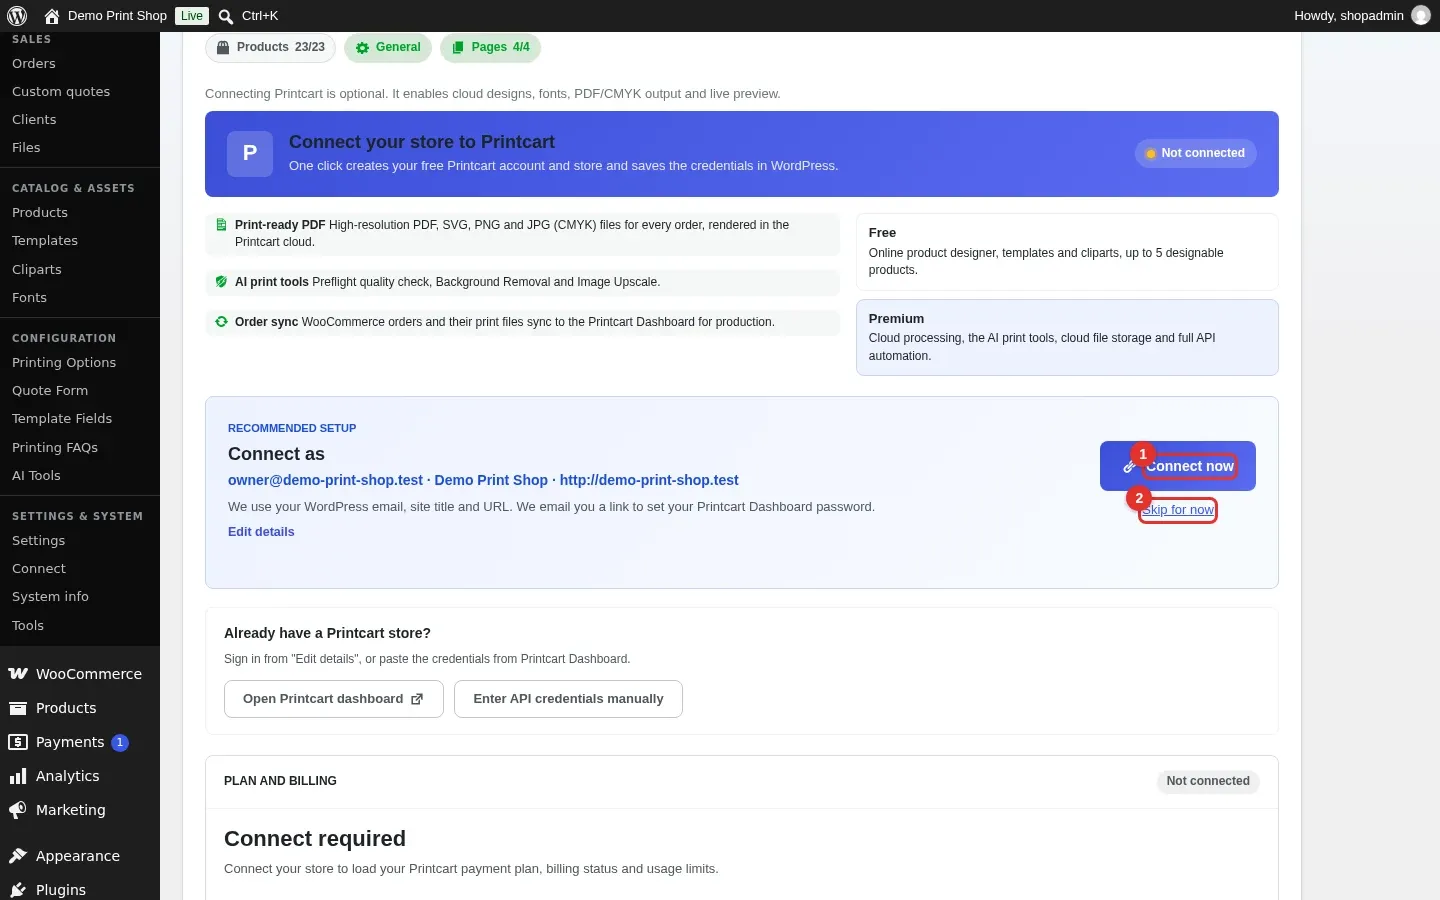
The wizard starts on Connect Printcart. The screen says connecting is optional. Connect now creates a free Printcart account and store from your WordPress email, site title and URL, and emails you a link to set your Printcart Dashboard password. It unlocks cloud designs, fonts, PDF and CMYK output, the AI print tools and order sync. Skip for now keeps everything local, and you can connect later from Printcart Store > Connect. This guide uses Skip for now.
Expected result: After you click Skip for now, the wizard moves to the Import Products step.
Step 4Import a starter product
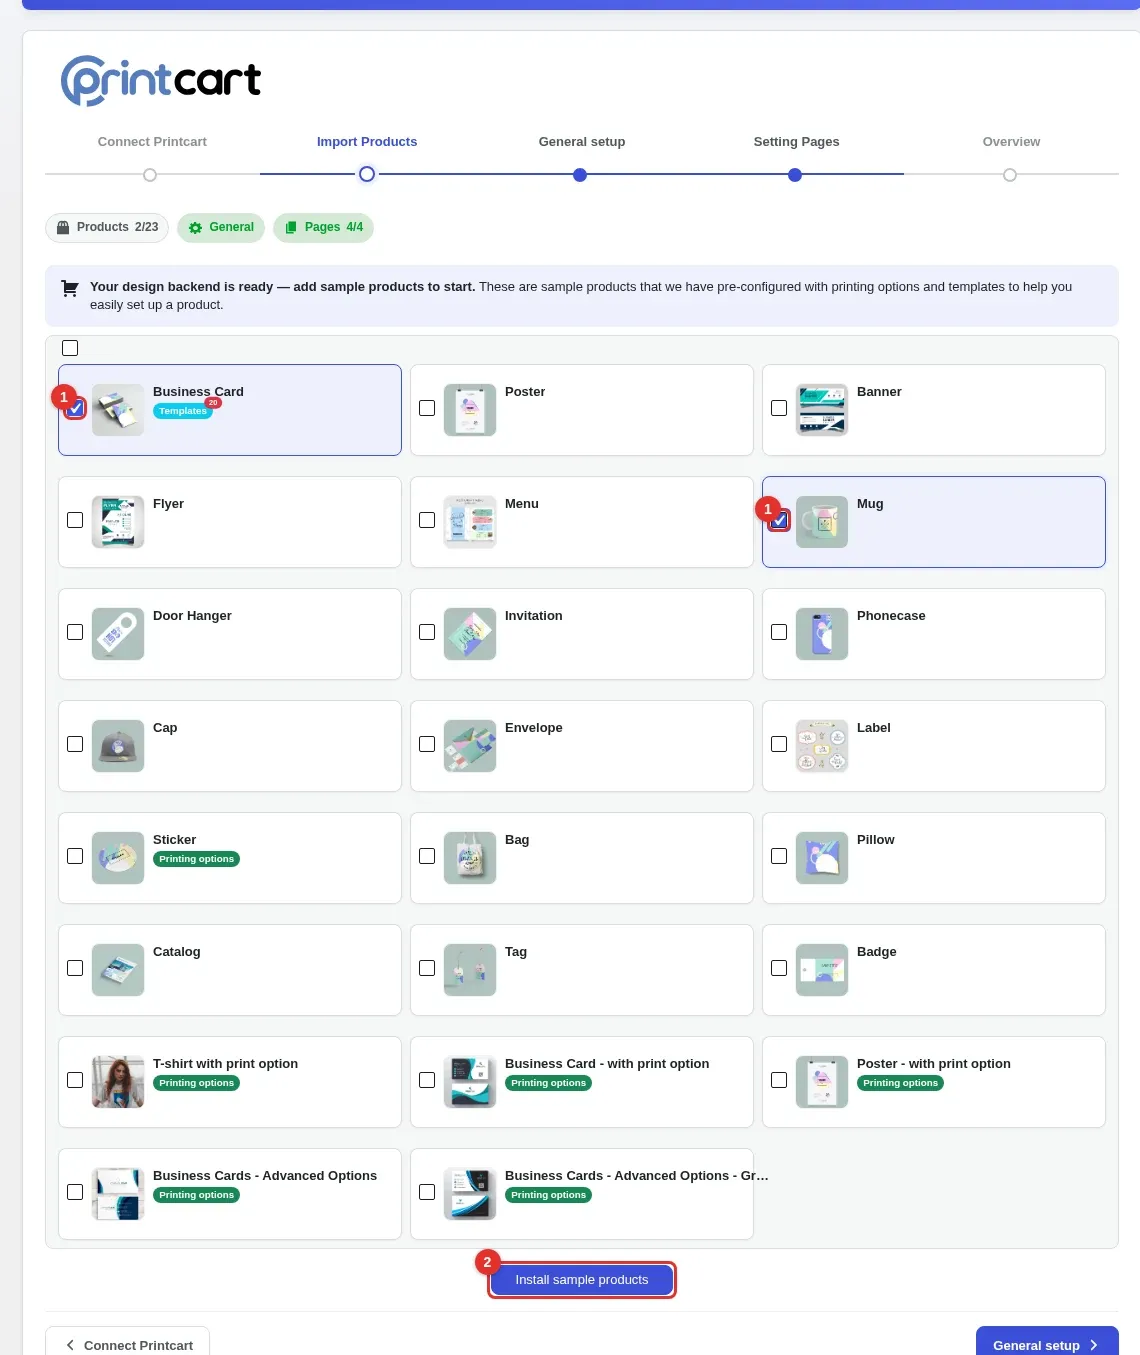
The Import Products step lists sample products that are already set up with printing options and templates. Untick Select all, tick Business Card and Mug, then click Install sample products at the bottom of the list.
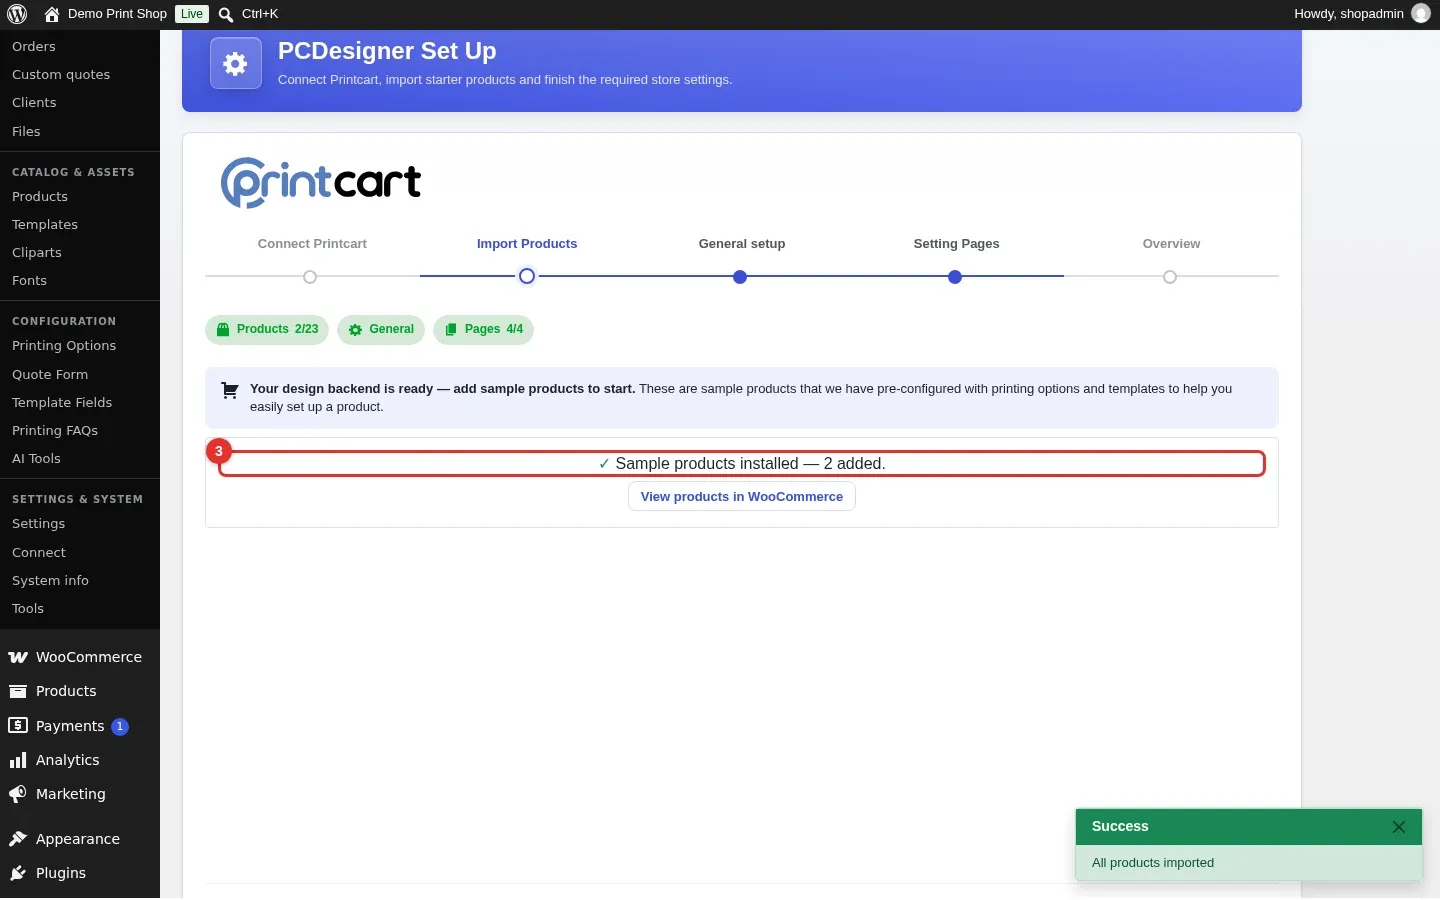
Expected result: A confirmation reads Sample products installed — 2 added, with a View products in WooCommerce button.
Step 5Check that the product is published in WooCommerce
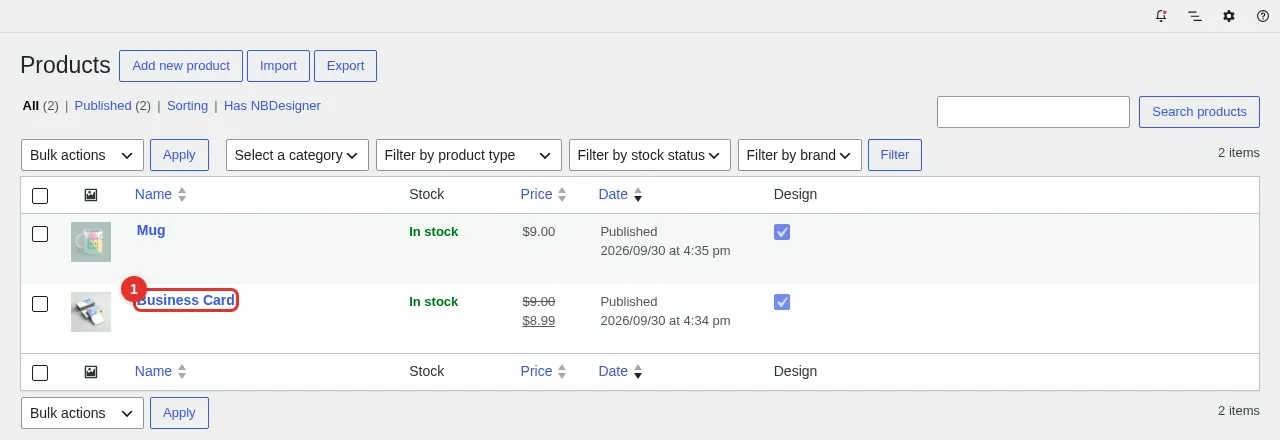
Open Products > All Products. The imported products are normal WooCommerce products. If one of your own products shows as a draft, open it and click Publish so shoppers can see it.
Expected result: Business Card and Mug are listed as published products, and the Design column shows a tick for each product that has the designer switched on.
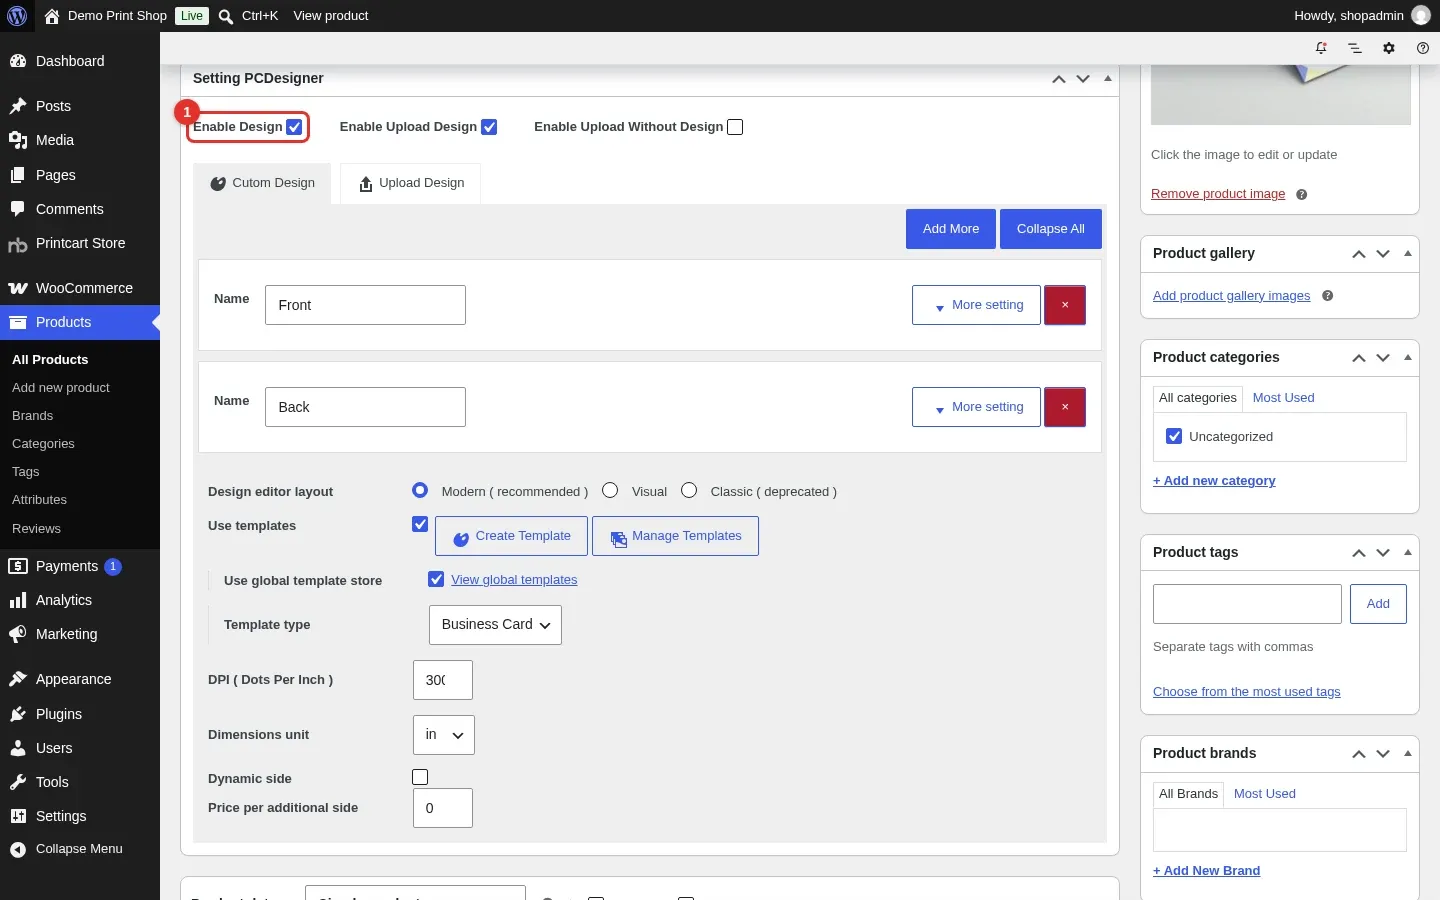
Step 6Confirm the designer is turned on for the product
Open Business Card and scroll to the Setting PCDesigner box. Enable Design is what lets shoppers customize this product online. The sample product also has two sides (Front and Back), the Modern (recommended) editor layout and templates switched on. Click Update if you change anything.
Expected result: Enable Design is ticked and the product keeps its Front and Back sides.
Step 7Open the product as a shopper
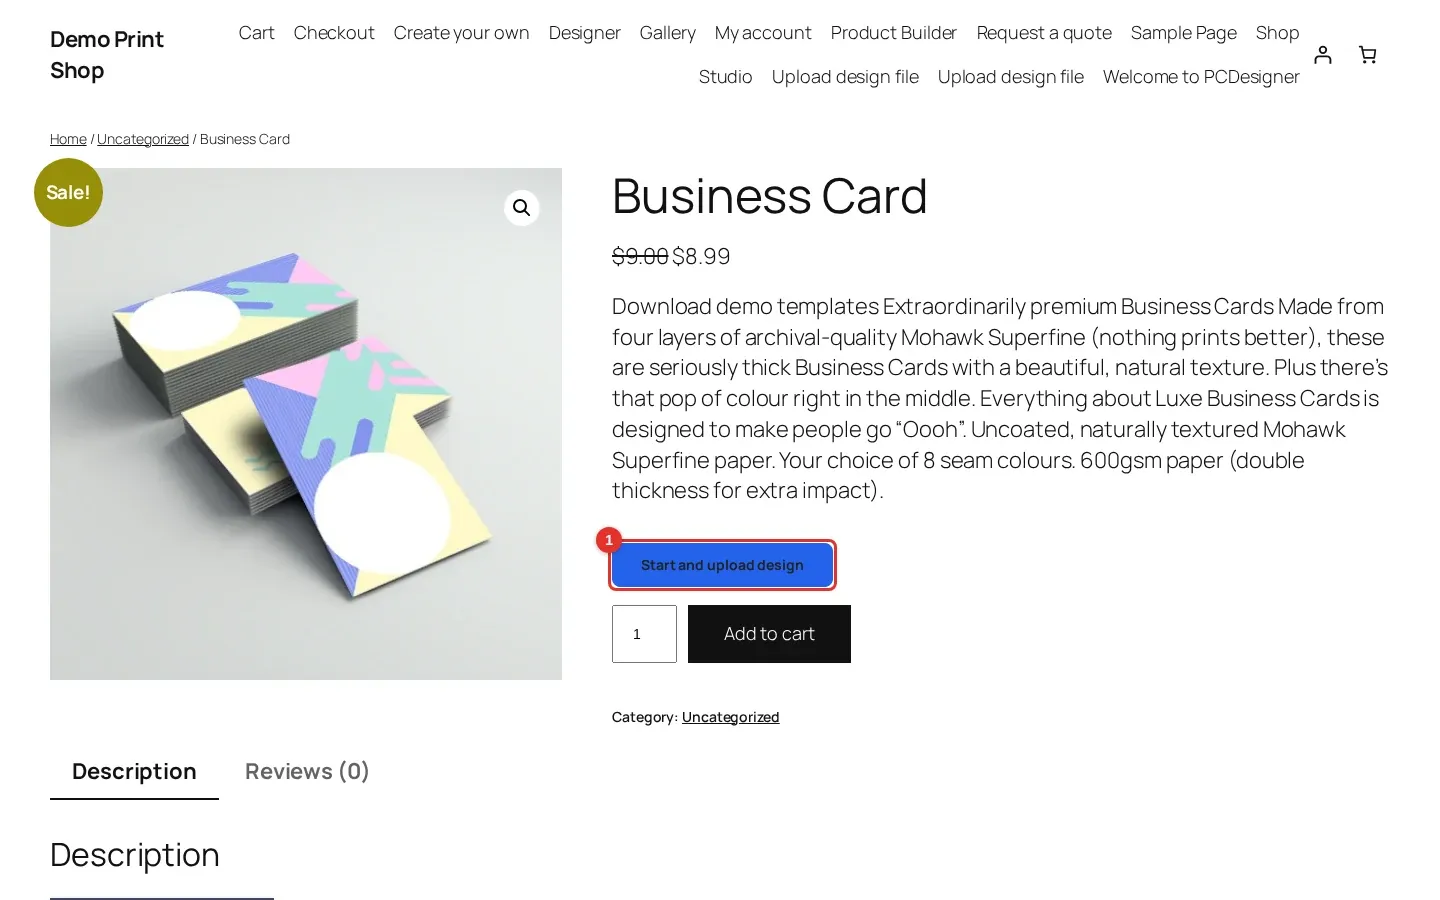
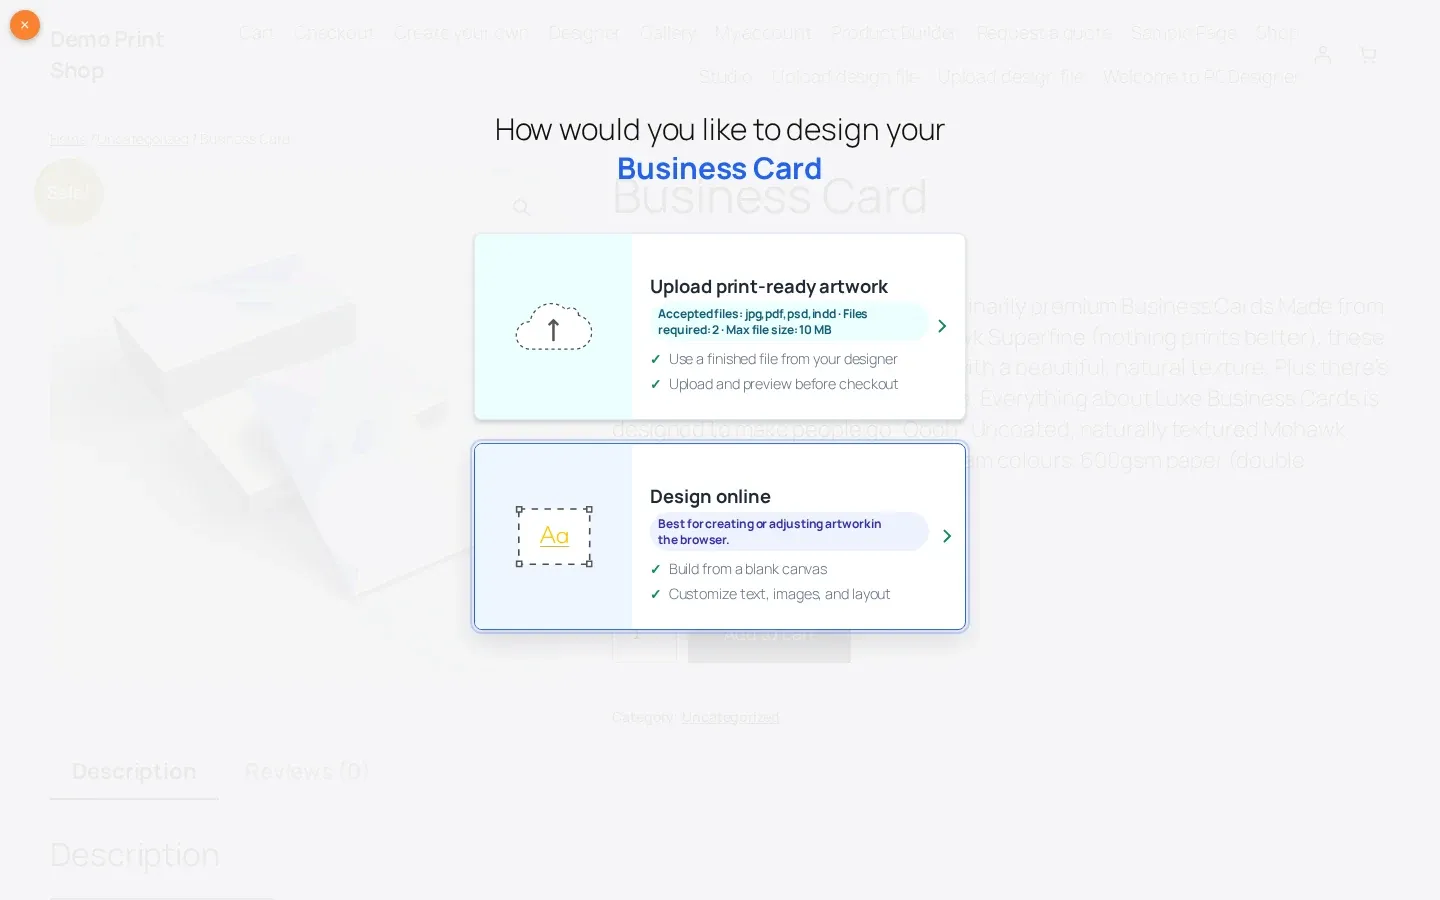
Click View product or open the product in your shop. Because both design and upload are enabled on this product, the button reads Start and upload design. Click it and choose Design online to build the artwork in the browser, or Upload print-ready artwork to send a finished file.
Expected result: A chooser asks how you would like to design the product.
Step 8Customize the design
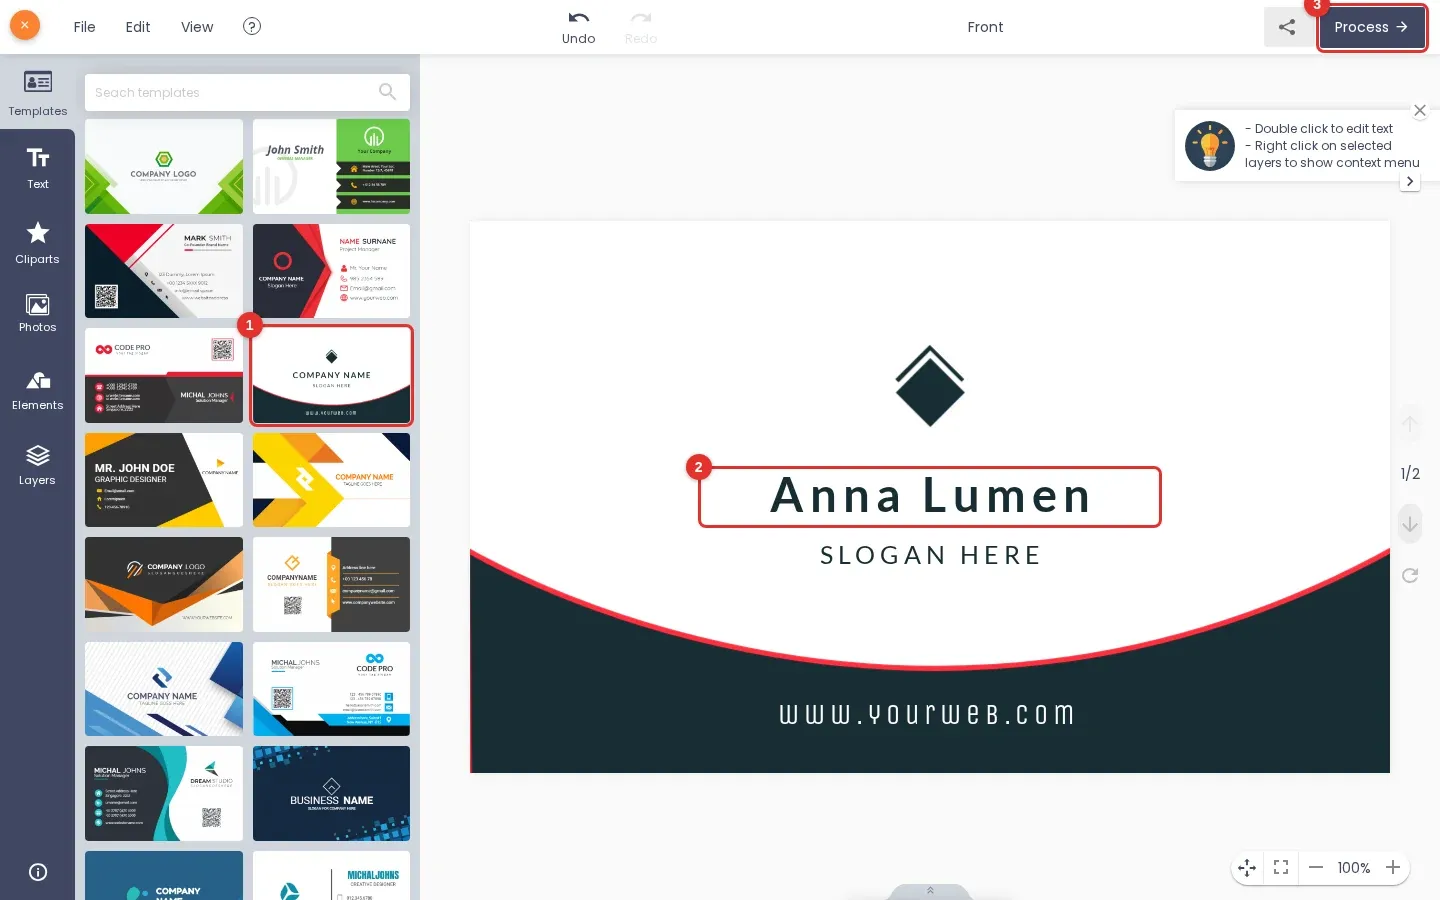
The designer opens with ready-made templates for the product. Close the first-time tour, pick a template, double-click the text you want to change and type your own, then click Process.
Expected result: The designer saves your changes and returns to the product page.
Step 9Review the artwork and add it to the cart
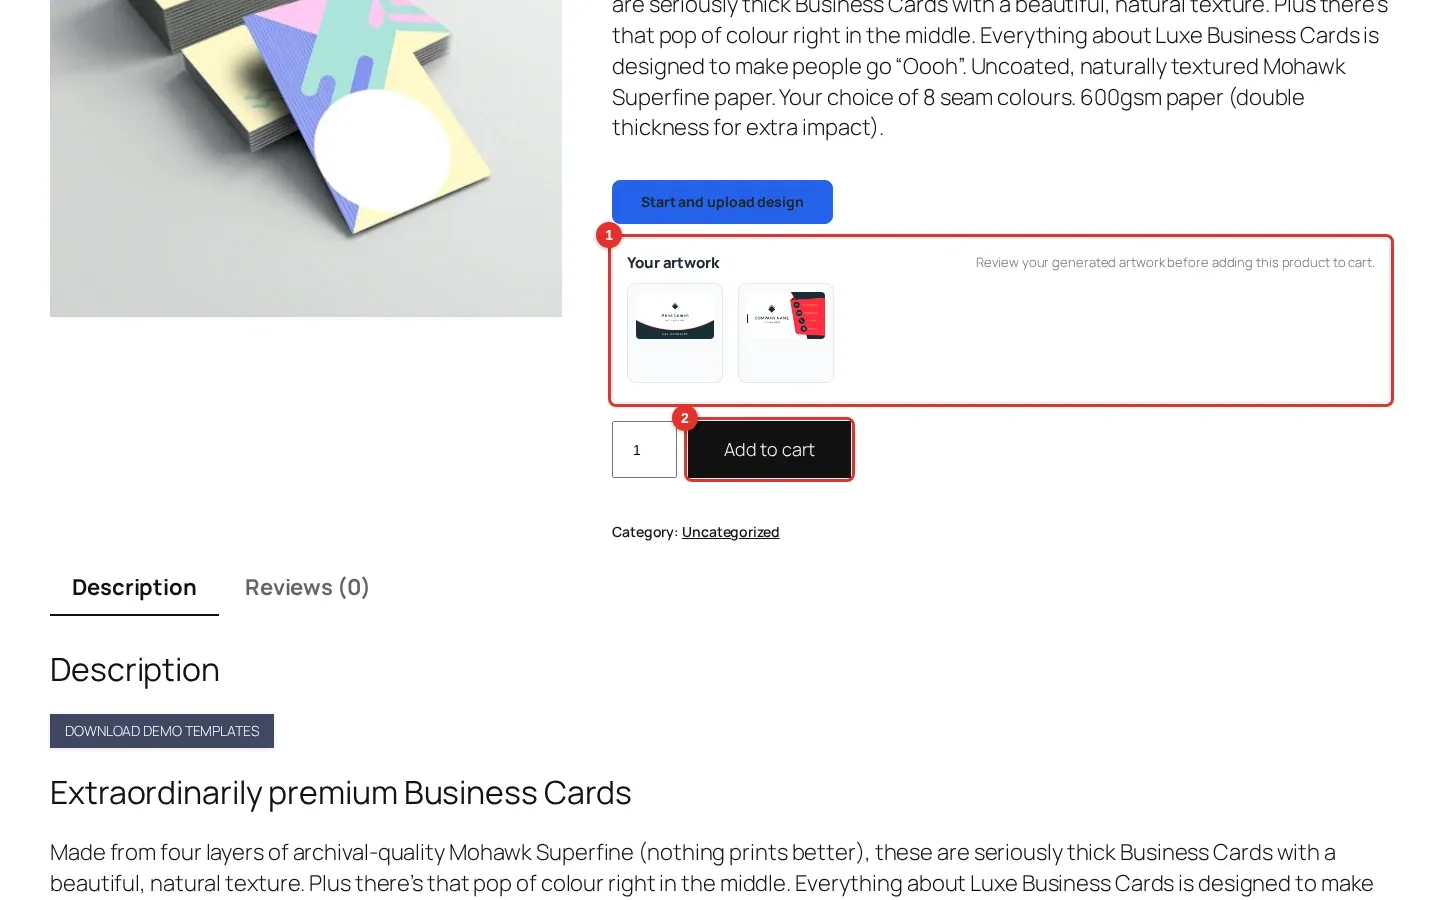
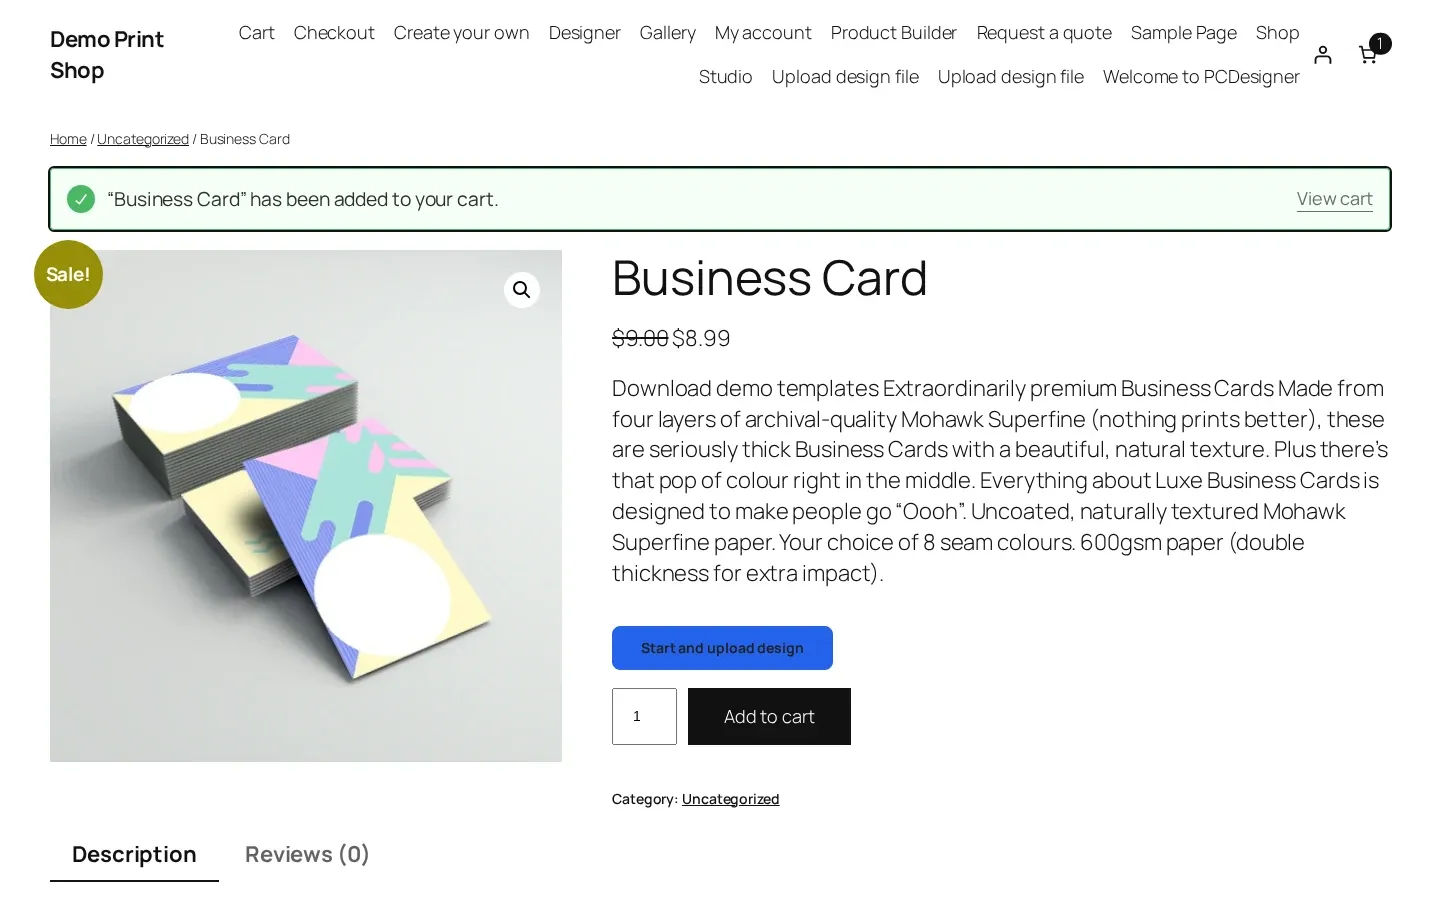
Back on the product page, Your artwork shows a preview of every side. Check it, then click Add to cart.
Expected result: The customized Business Card is added to the cart, and your first customizable product is live in your store.
Do you need a Printcart account to use the plugin?
No. The setup wizard says connecting Printcart is optional, and everything in this guide works without it. Connecting adds cloud designs and fonts, print-ready PDF and CMYK output, the AI print tools and order sync to the Printcart Dashboard. The free plan allows up to 5 designable products.
Can shoppers upload their own artwork instead of using the designer?
Yes. Turn on Enable Upload Design in the same Setting PCDesigner box. On the sample Business Card the upload option accepts jpg, pdf, psd and indd files and asks for two files (front and back), with a 10 MB limit per file. You can change these rules per product.
What should you do next?
- Set up the online product designer: a complete guide
- Prepare print-ready files: DPI, bleed, color and fonts
- WooCommerce web-to-print with Printcart: setup and selling
- Browse all Printcart tutorials
Stuck on a step? Message the Printcart team on WhatsApp and include a screenshot of the screen you are on.
Printcart field note
What to verify before you roll out Get Started with Printcart Store for WordPress: Your First Customizable Product
This tutorial is written from Printcart implementation patterns across web-to-print launch planning, buyer experience, and repeatable production. Before treating it as complete, test the workflow with one real product, one real design file, and one real order path.
Get Started with Printcart Store for WordPress: Your First Customizable Product — common questions
What do you need before you start?
The screenshots come from a fresh test store (WordPress and WooCommerce with a default theme) using Printcart Store 2.11.0 from the WordPress.org plugin directory. Your theme will look different, but the Printcart screens are the same.
Do you need a Printcart account to use the plugin?
No. The setup wizard says connecting Printcart is optional, and everything in this guide works without it. Connecting adds cloud designs and fonts, print-ready PDF and CMYK output, the AI print tools and order sync to the Printcart Dashboard. The free plan allows up to 5 designable products.
Can shoppers upload their own artwork instead of using the designer?
Yes. Turn on Enable Upload Design in the same Setting PCDesigner box. On the sample Business Card the upload option accepts jpg, pdf, psd and indd files and asks for two files (front and back), with a 10 MB limit per file. You can change these rules per product.
What should you do next?
Stuck on a step? Message the Printcart team on WhatsApp and include a screenshot of the screen you are on.
Next steps in Printcart
Connect get started with printcart store for wordpress: your first customizable product with catalog setup, templates, production workflows, and implementation support.
Want to put get started with printcart store for wordpress: your first customizable product into practice?
Use the related Printcart tool below, or create a free account to start building with the product designer.