To make a WooCommerce product customizable with Printcart Store, open the product, tick Enable Design in the Setting PCDesigner box, enter the product size and the design area, then publish. Shoppers get a Start Design button on the product page that opens the online designer. This guide builds a custom A5 notebook from scratch in about 10 minutes.
Key takeaways
What do you need before you start?
- Printcart Store installed and activated (see Get started with Printcart Store for WordPress).
- WooCommerce active and administrator access.
The screenshots come from a fresh test store with the Storefront theme and Printcart Store 2.11.0. Your theme will look different, but the Printcart screens are the same.
How do you create a customizable product with the online designer?
Step 1Add a new product
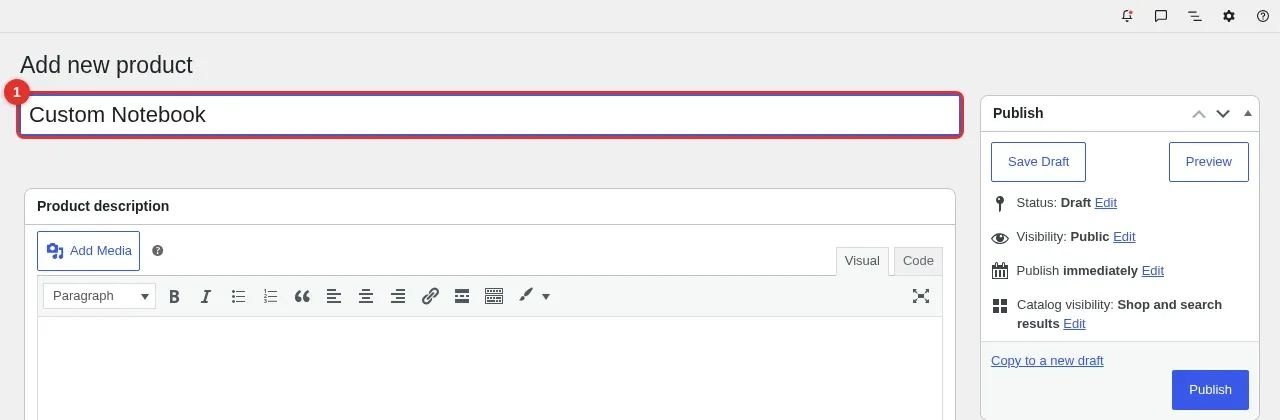
Go to Products > Add new product and type the product name. The example uses Custom Notebook.
Expected result: The new product screen shows your name in the title field.
Step 2Set the price
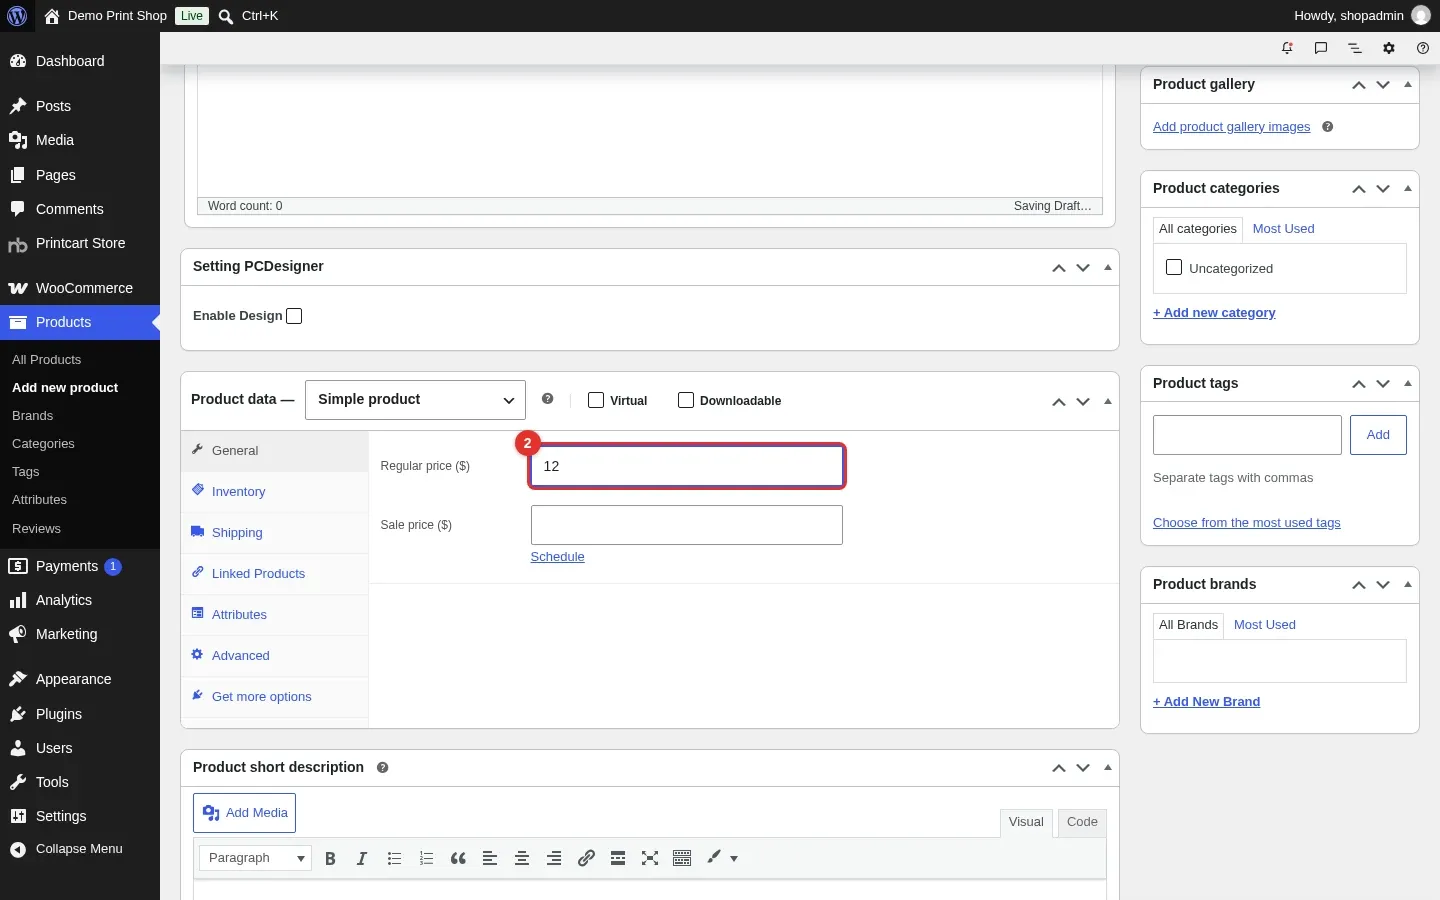
Scroll to Product data, stay on the General tab and enter a Regular price. The example uses 12. Just below the description you will also find the Setting PCDesigner box, which is where the designer is switched on.
Expected result: The price is filled in and the Setting PCDesigner box shows Enable Design unticked.
Step 3Turn on the designer
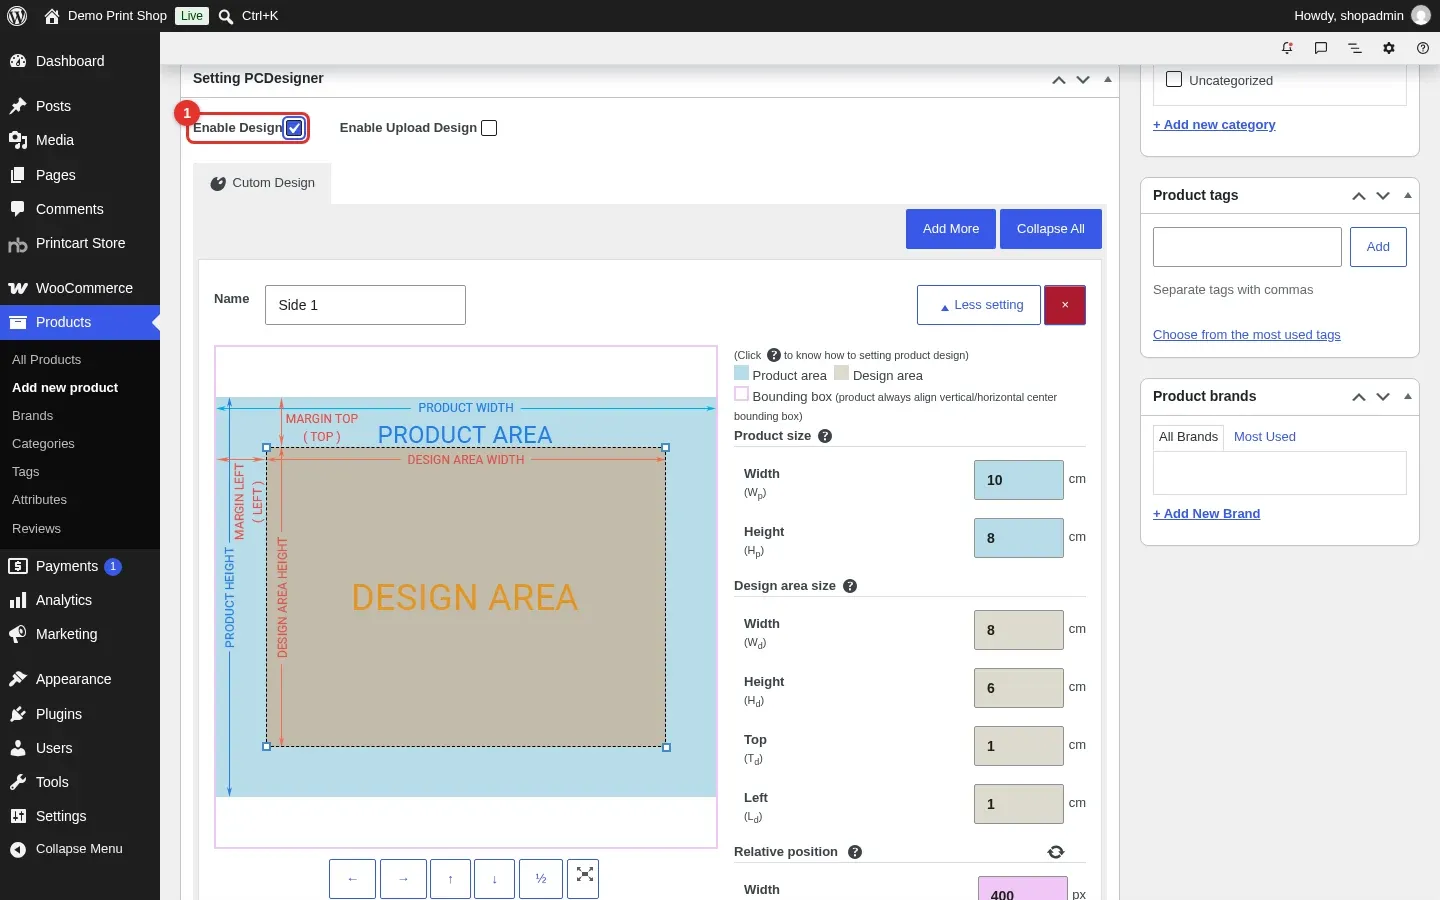
In the Setting PCDesigner box, tick Enable Design.
Expected result: A first side called Side 1 appears with a preview of the product area and the design area.
Step 4Set the product size and the design area
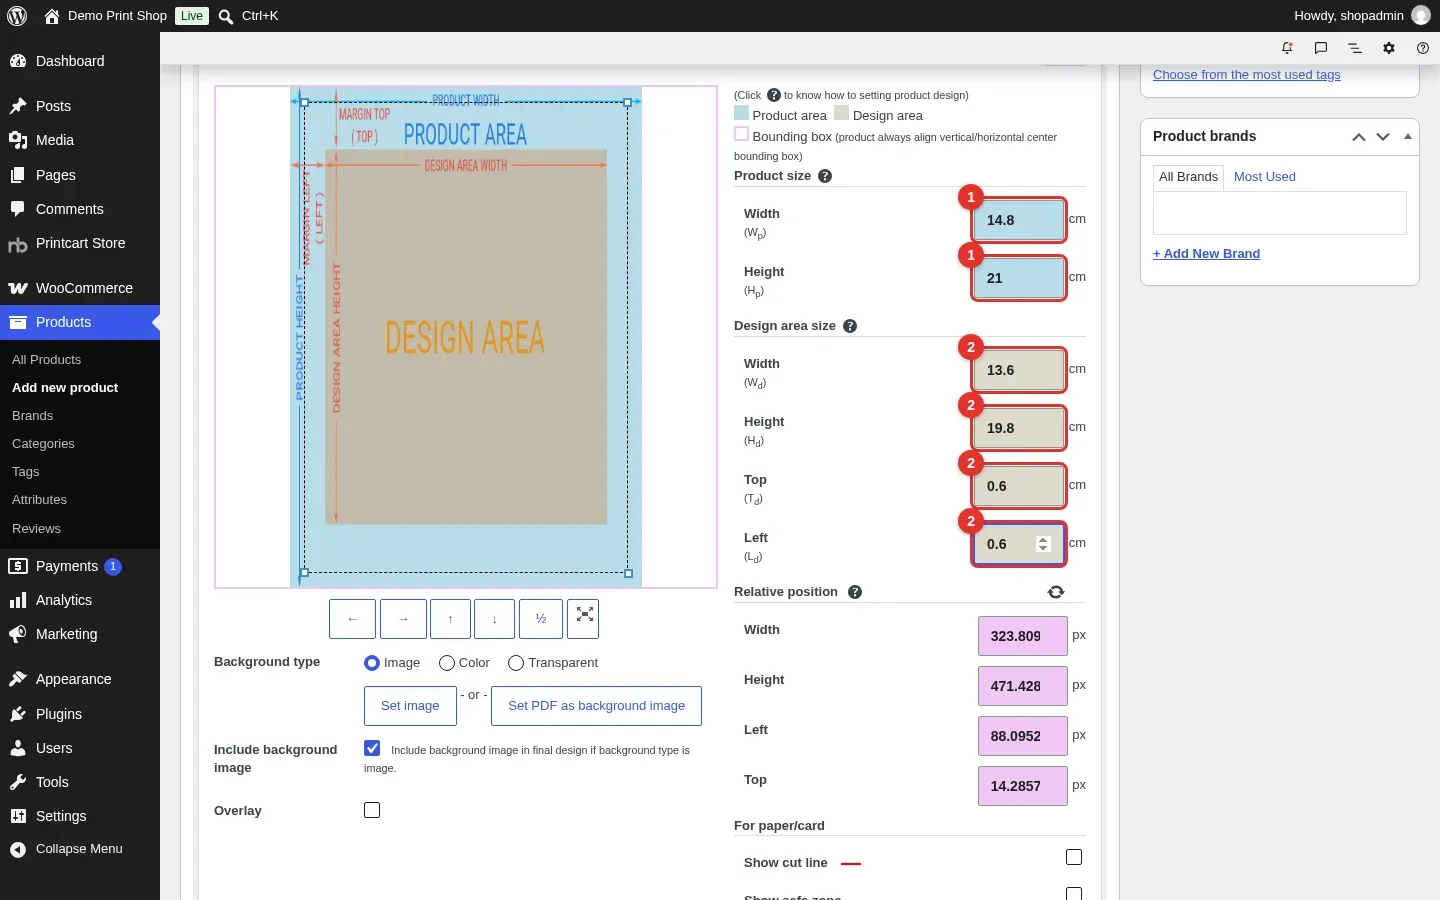
Enter the Product size (width and height) and the Design area size (width, height, top and left). The design area is the part of the product where customers can place artwork. The example uses an A5 notebook: product 14.8 by 21 cm, design area 13.6 by 19.8 cm, 0.6 cm from the top and left edges. The Relative position values update by themselves.
Expected result: The preview redraws the blue product area and the tan design area in the same proportions.
Step 5Publish the product
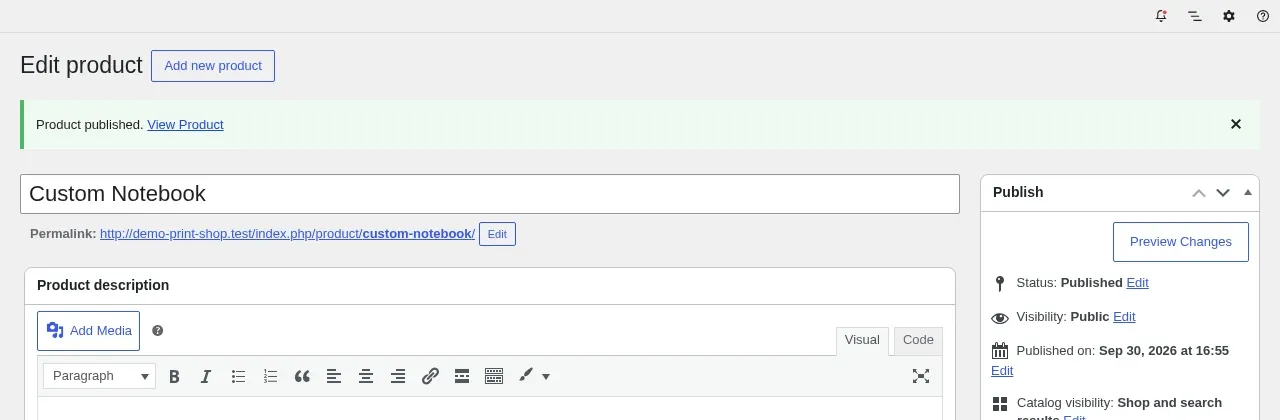
Click Publish at the top right of the screen.
Expected result: A green notice reads Product published with a View Product link.
Step 6Open the product as a shopper
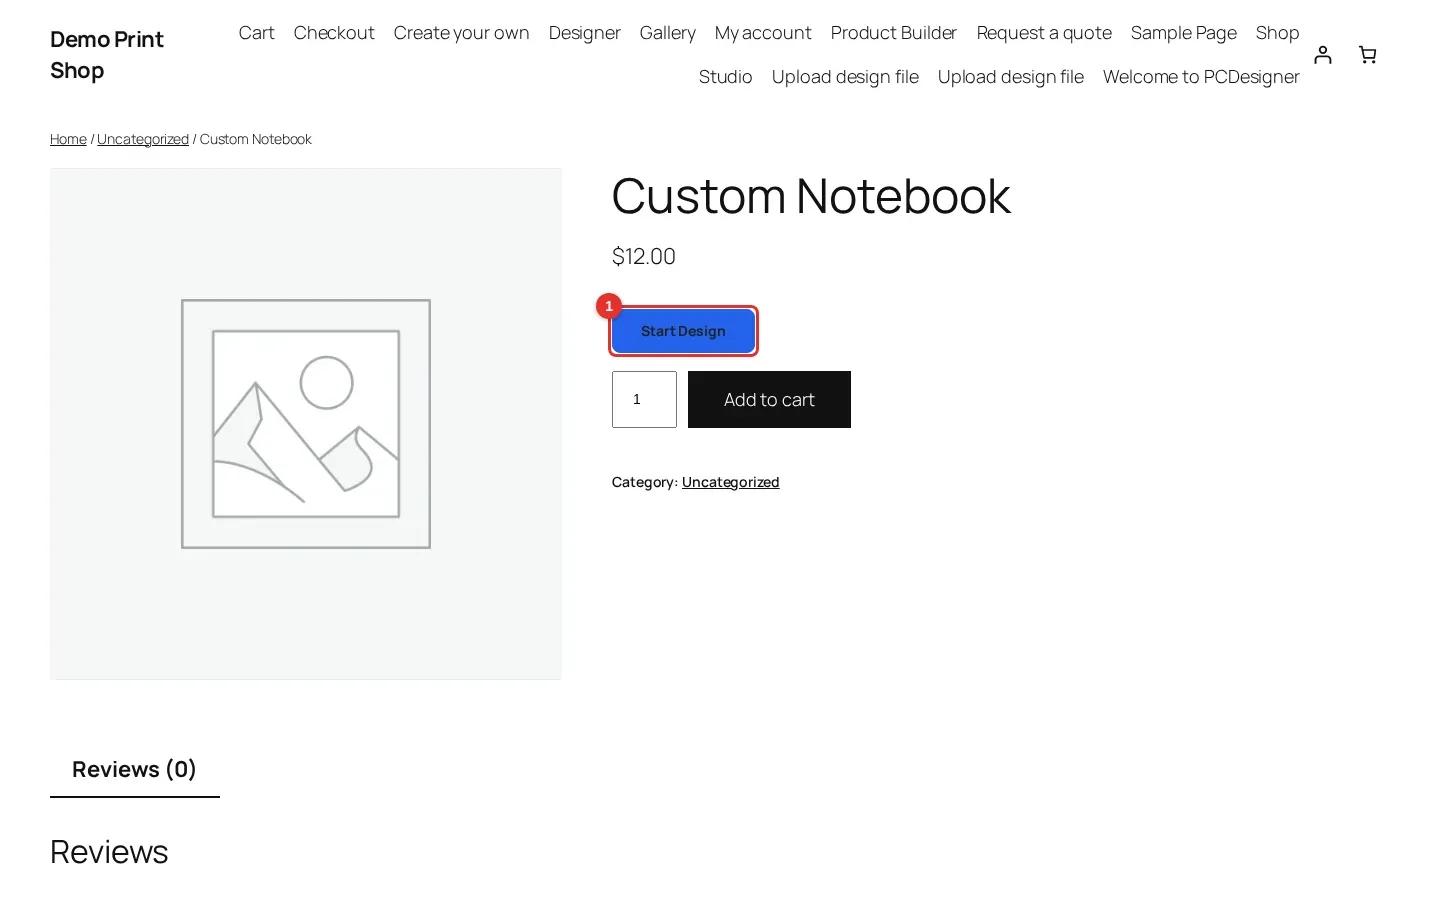
Click View Product. Because only Enable Design is ticked, the product page shows a Start Design button next to Add to cart.
Expected result: The product page lists the price, the Start Design button and the Add to cart button.
Step 7Try the designer
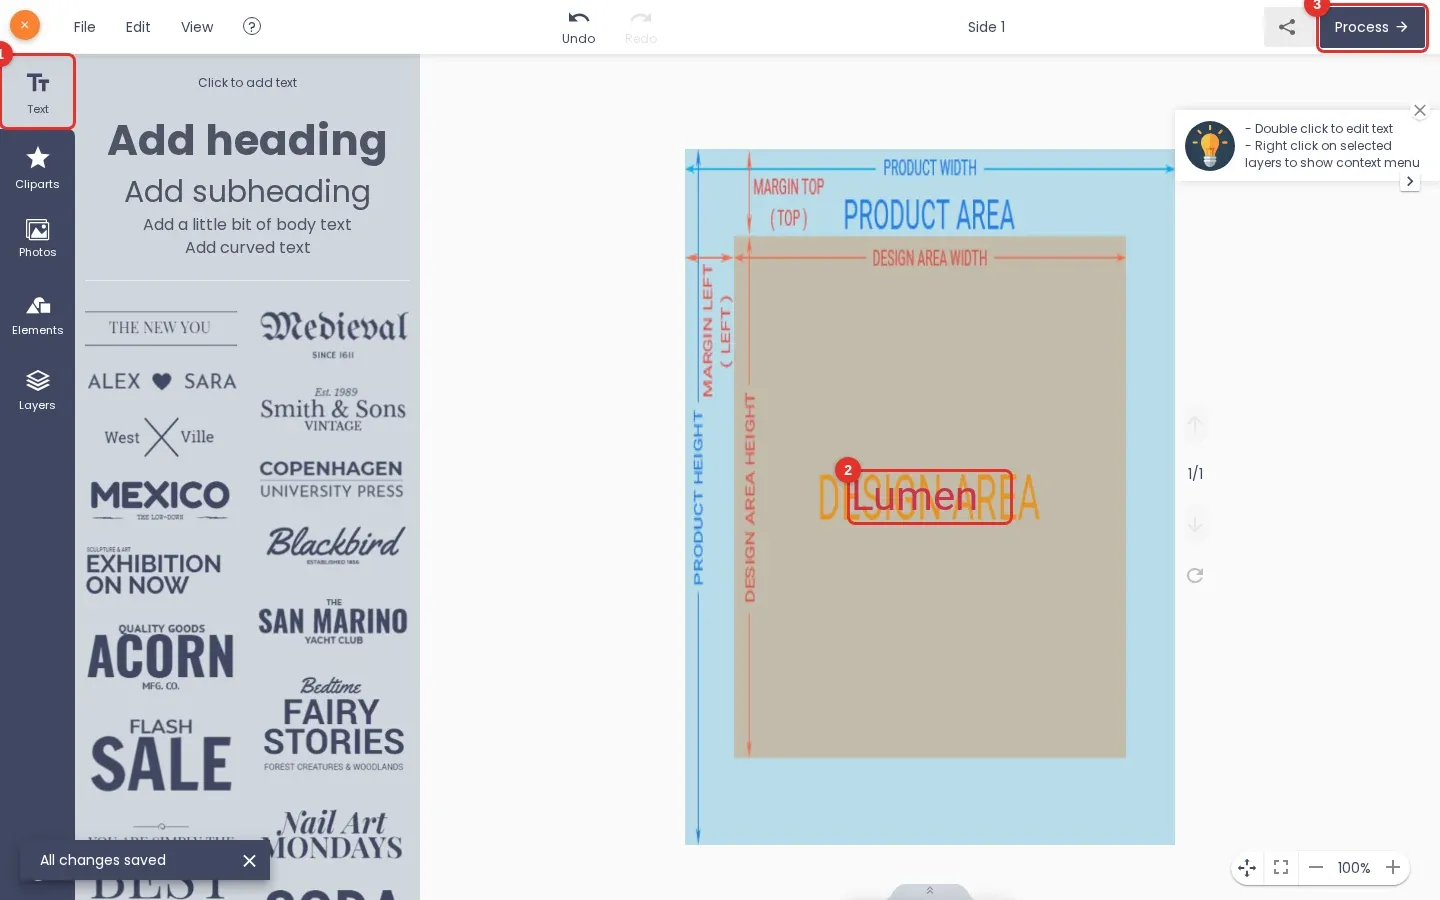
Click Start Design. Open the Text tab, click Add heading, then double-click the new text on the canvas and type your own words. When you are happy, click Process to return to the product page.
Expected result: The designer opens at the proportions you set, with your text inside the design area.
What are the product area and the design area?
The product area is the full size of the product, for example the whole notebook cover. The design area is the part inside it where customers can add text and images. In the Setting PCDesigner box the product area is drawn in blue and the design area in tan, so you can see the proportions before you publish.
Can a product have more than one side?
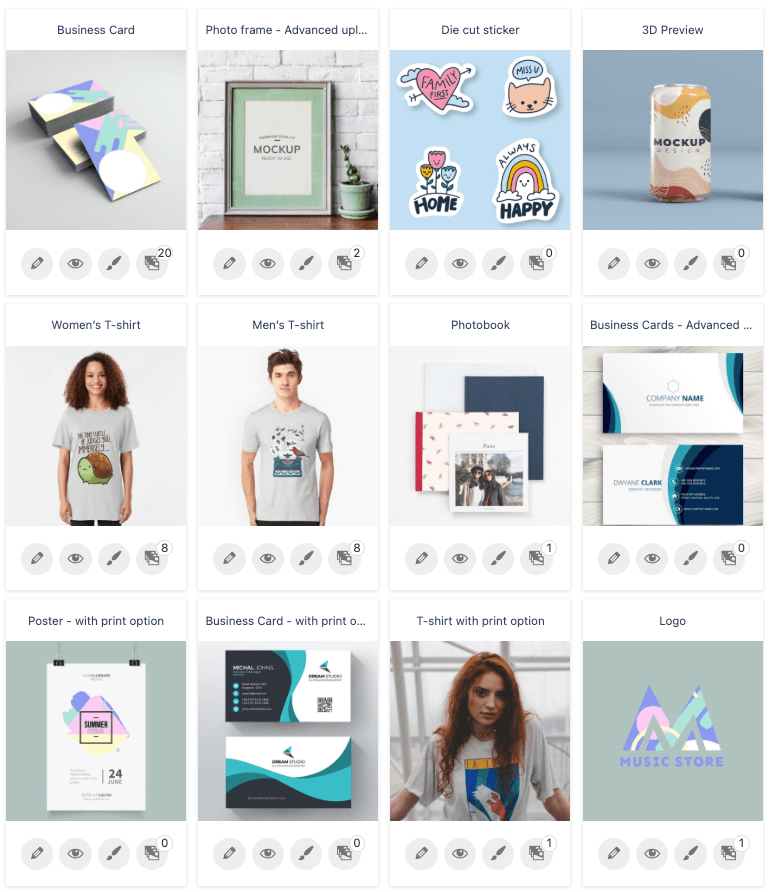
Yes. Click Add More in the Setting PCDesigner box to add another side, for example a back cover. The sample Business Card product from the setup wizard has two sides, Front and Back.
How do I show a real product photo behind the design?
Open More setting for the side, choose Image as the background type and click Set image. You can also set a PDF as the background image. Without an image the designer shows a placeholder that marks the product area and the design area.
What should you do next?
- Let customers upload their own artwork
- Add printing options and quantity discounts
- Set up the online product designer: a complete guide
- Browse all Printcart tutorials
Stuck on a step? Message the Printcart team on WhatsApp and include a screenshot of the screen you are on.
Printcart field note
What to verify before you roll out Create a Customizable Product with the Online Designer in WooCommerce
This tutorial is written from Printcart implementation patterns across catalog structure, design controls, and customer personalization. Before treating it as complete, test the workflow with one real product, one real design file, and one real order path.
Create a Customizable Product with the Online Designer in WooCommerce — common questions
What do you need before you start?
The screenshots come from a fresh test store with the Storefront theme and Printcart Store 2.11.0. Your theme will look different, but the Printcart screens are the same.
What are the product area and the design area?
The product area is the full size of the product, for example the whole notebook cover. The design area is the part inside it where customers can add text and images. In the Setting PCDesigner box the product area is drawn in blue and the design area in tan, so you can see the proportions before you publish.
Can a product have more than one side?
Yes. Click Add More in the Setting PCDesigner box to add another side, for example a back cover. The sample Business Card product from the setup wizard has two sides, Front and Back.
How do I show a real product photo behind the design?
Open More setting for the side, choose Image as the background type and click Set image . You can also set a PDF as the background image. Without an image the designer shows a placeholder that marks the product area and the design area.
Next steps in Printcart
Connect create a customizable product with the online designer in woocommerce with catalog setup, templates, production workflows, and implementation support.
Want to put create a customizable product with the online designer in woocommerce into practice?
Use the related Printcart tool below, or create a free account to start building with the product designer.